


I was invited to try out Project Life, and after playing with this scrapbooking system, I’m SO excited to share it with you! I used to be a major scrapbooker. I have albums full of photos from before I was married. Vacations, everyday photos, and a giant album filled with the photos from the disposable cameras we had at the tables at our wedding. We had an official photographer as well, but I love going through my wedding scrapbook filled with candids. I’ve even made scrapbooks that I’ve given away as gifts.
My love of taking photos has only grown over the years, and between the increased number of photos I am taking, and the decrease in free time now that I have two kids, the amount of time I have in my day to scrapbook has dwindled down to almost nothing. In the last year, I’ve probably completed half a dozen scrapbook pages… until now.
Project Life is a modular scrapbooking system. It includes plastic sleeves for holding photos and cards, and sets of themed cards for embellishment and journaling. I’ve seen modular scrapbook systems in the past, but never tried them out because they felt too limiting. I didn’t want to be locked in to one way of putting together a scrapbook – my creative mind doesn’t like being boxed in. But Project Life didn’t lock me in at all.
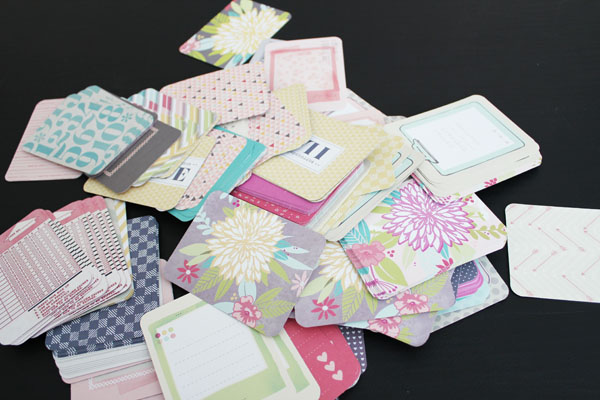
First, there are so. many. different. cards. I was sent the 5th and Frolic line, and these are just some of the cards from the line – plus, they are double sided! There are several copies of each card in the package as well, so this gives me lots of design possibilities.
Second, the Project Life sheets fit into a standard scrapbook. So I can create fast layouts when I have lots of photos (like for this birthday party I was scrapbooking), but can add in full page layouts in between, like if I want a special, large layout for the smash cake. This also makes the Project Life line perfect for the novice scrapbooker (or the scrapbooker who is crunched for time) who just wants to fill the pockets, add a little journaling and embellishment. You can put together the pages without any tools at all – no scissors or adhesives.
The line is equally perfect for an experienced scrapbooker. There are tons of ways to “hack” the modular pages – you can have things stick out of the pockets, cut the pockets, and cut photos in all kinds of ways to take advantage of the page.
I started my layouts by sorting photos. I was working through photos of my son’s first birthday. My older son. Who is about to turn 5. Yes, I’m that far behind. (But not for long!)
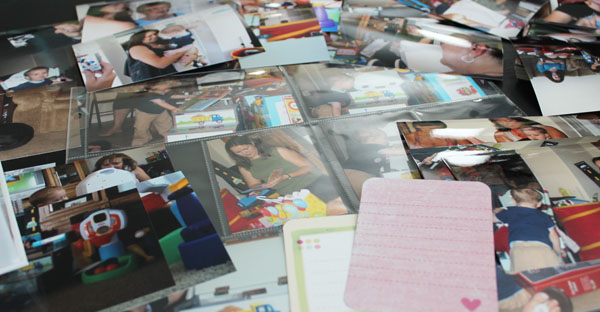
I picked cards from the 5th and Frolic line that coordinated with my pages, and went to work. In 30 minutes, I whipped up several double-sided layouts, and kept going… these layouts are addicting!
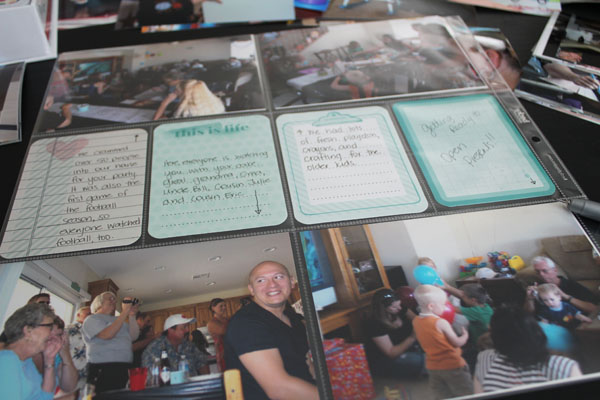
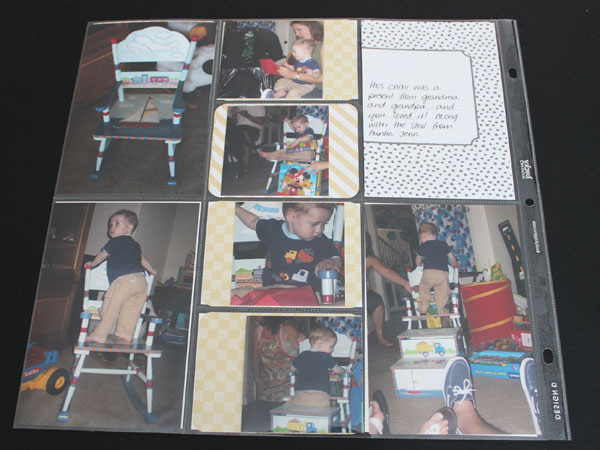
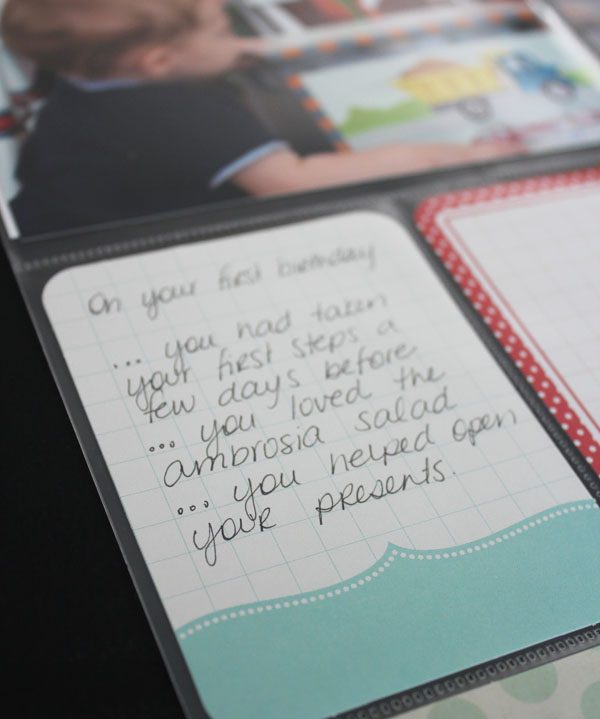
This layout was super simple, and super basic. I added a photo in each of the large photo slots, and then a journaling card in each of the small pockets. On each of the journaling cards I put an arrow to the photo that the note references. Four big pockets, four small pockets, it all comes together perfectly.
I love that the card sets also have large cards to put in the large pockets, and it is super easy to cut down the photos to fit the small pockets.
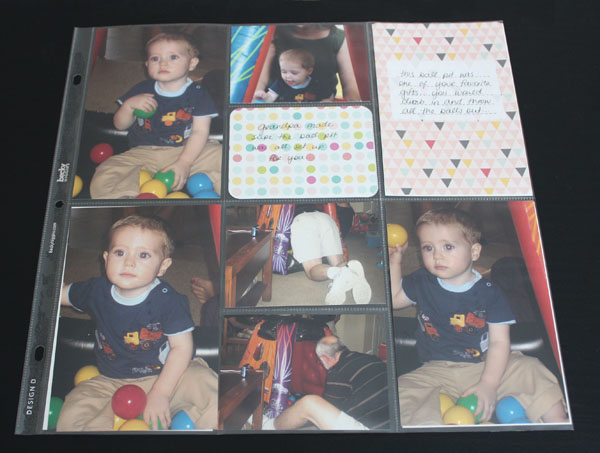
 I liked this very vertical layout, but thought it needed a little something more… so I chopped up some photos to add more images to the layout.
 Yup… more photos. I haven’t tacked them down yet, though. I think I like them better in the center of each card, instead of staggered the way I have them in this photo.
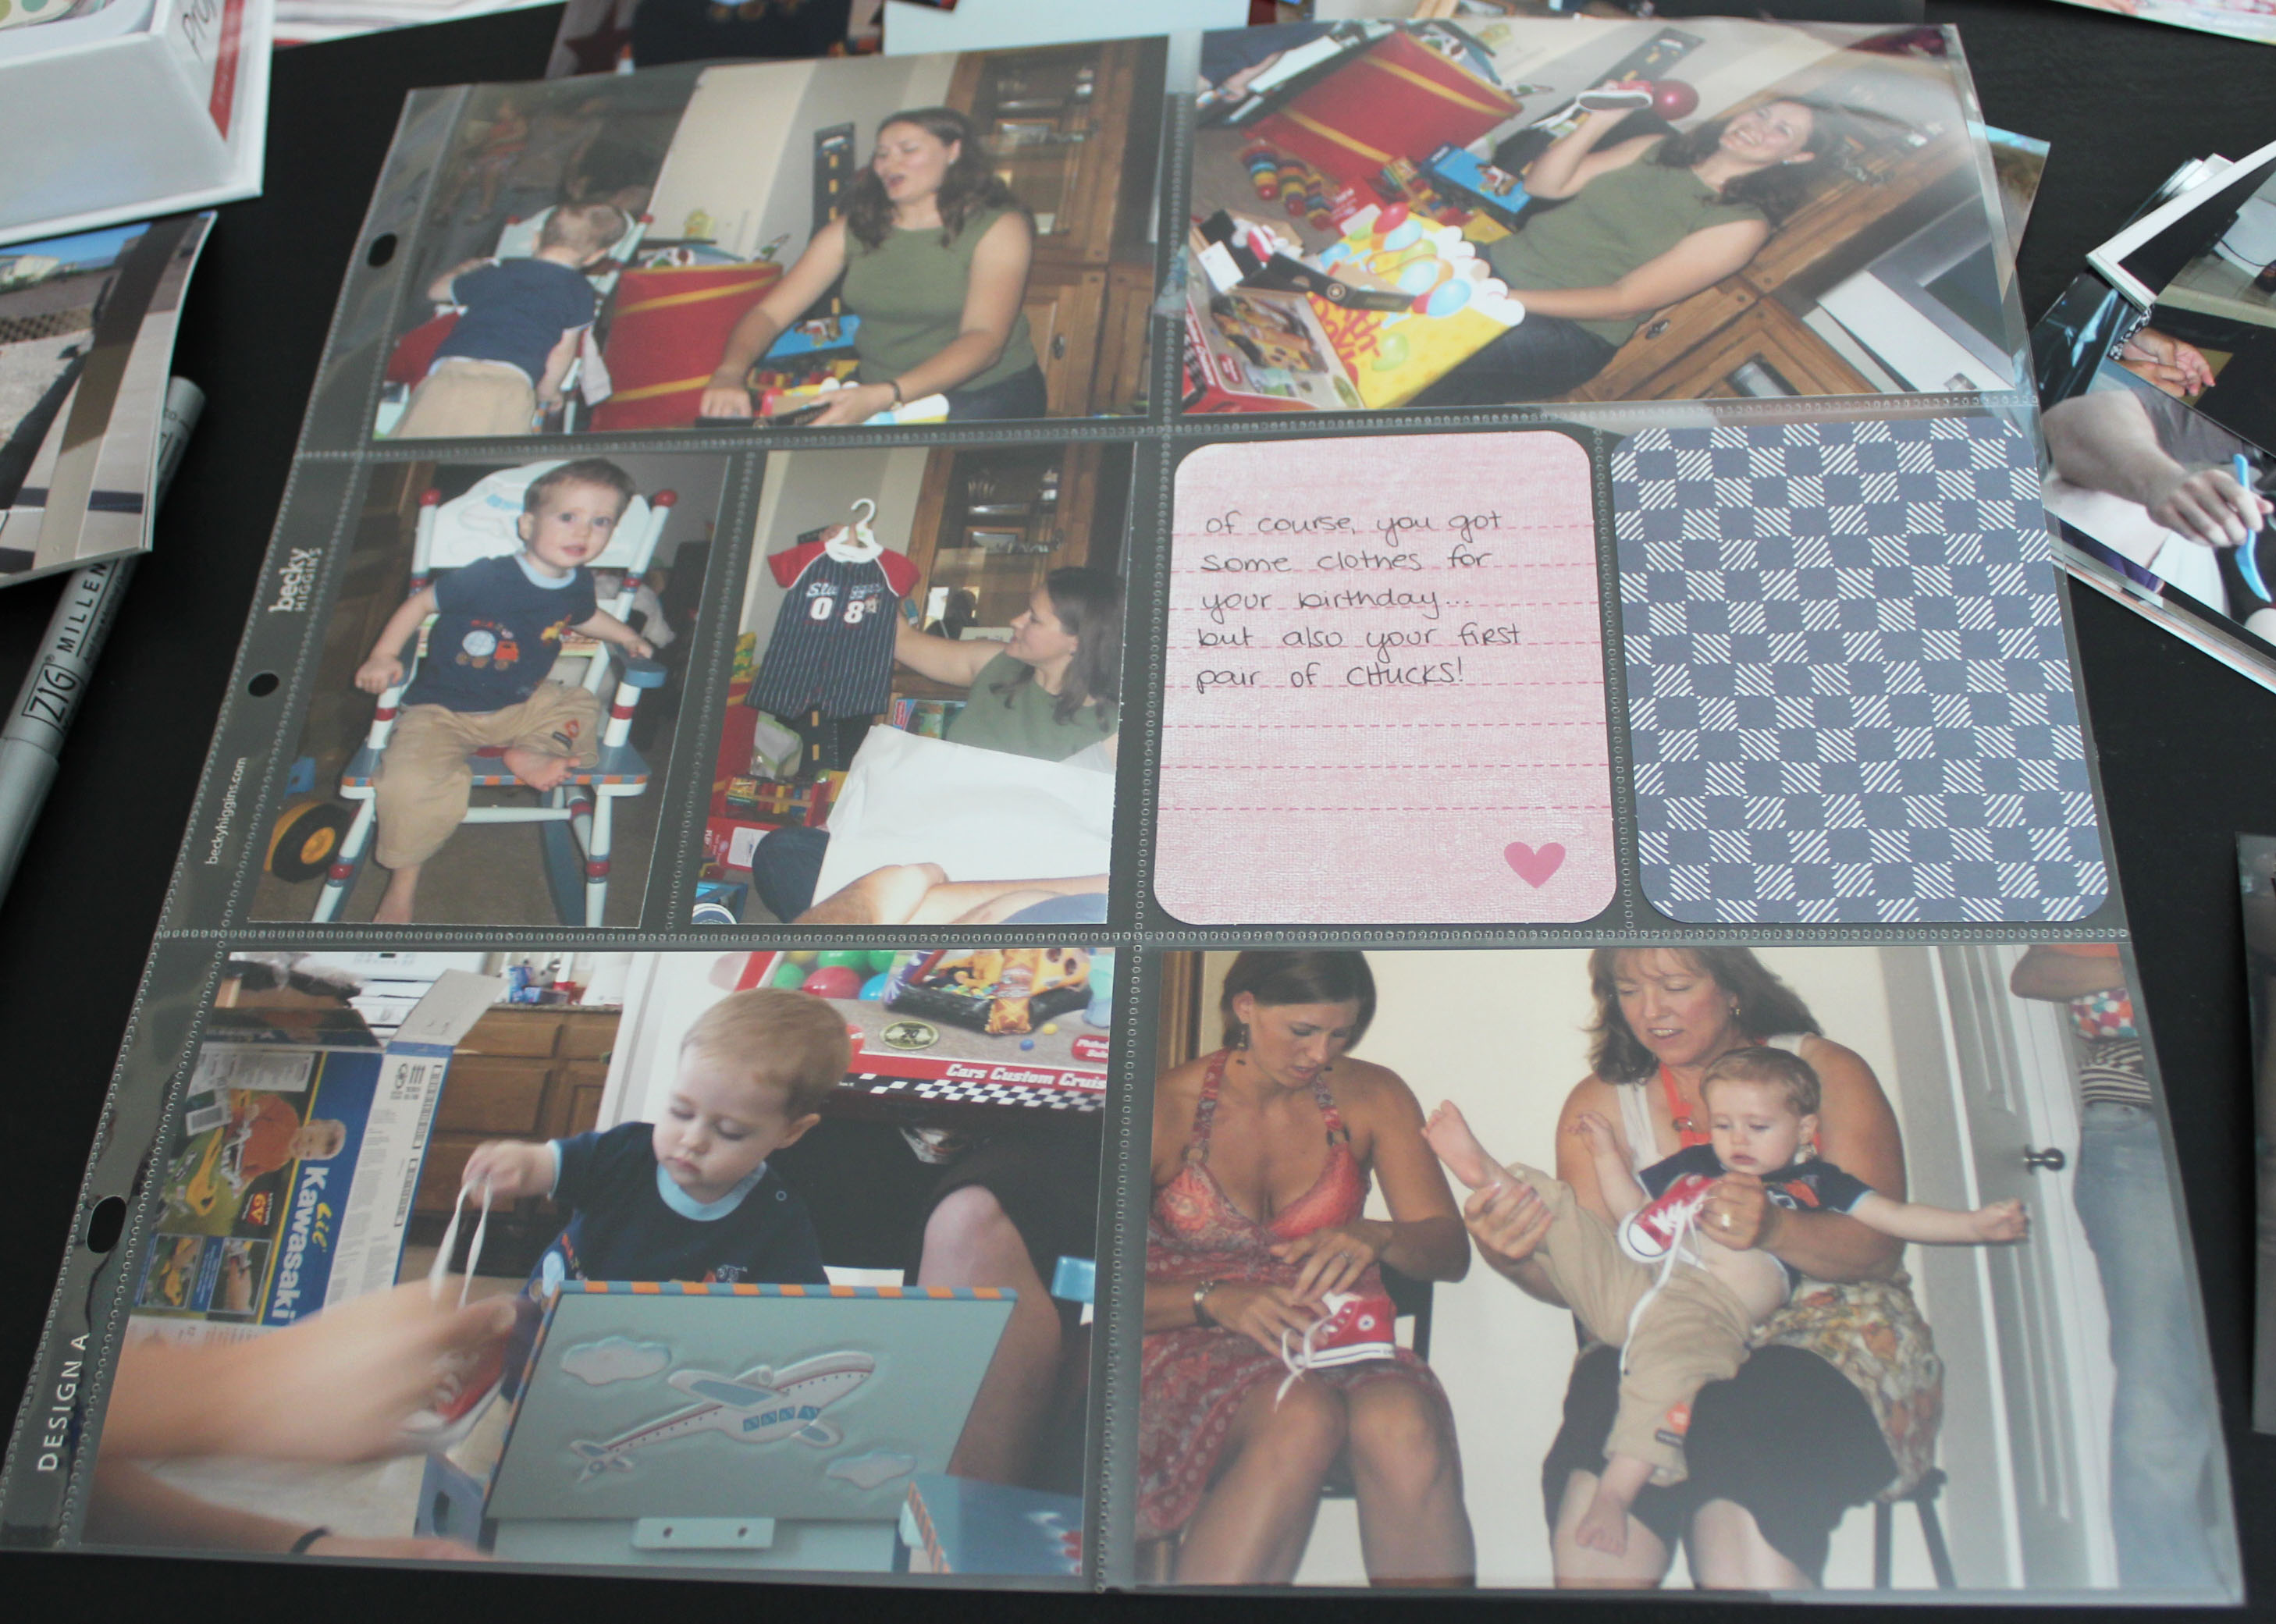
I love the way the 5th and Frolic cards add a pop of color, and at the same time give the eye a place to rest in a series of busy photos.
The cards also coordinate with others from the Project Life series. I went out and bought the Childhood Edition – Wellington and the Baby Edition for Him, to give me lots and lots of options as I catch up on photos.
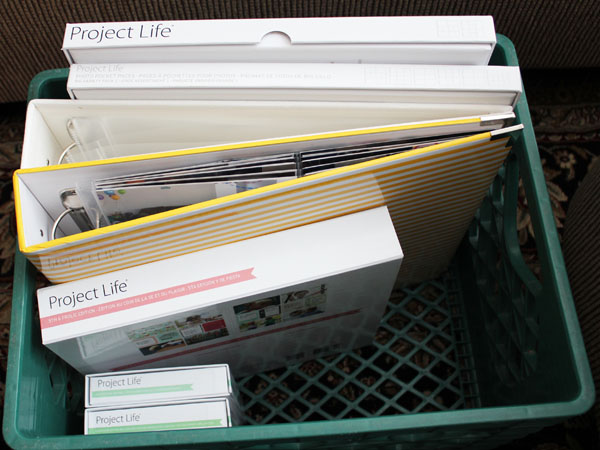
The boxes that the Project Life system comes in are fantastic, and make for great clean-up as well! Here are 2 boxes of the page protectors, two albums (one for each of my boys), the large 5th and Frolic Collection, and the two smaller collections all tucked into a milk crate! There is plenty of room to add a paper cutter, a couple scrapbooking adhesives, and some acid-free pens, to have a full kit ready to scrapbook any time I have a few minutes to spare!
I used the The Dear Lizzy 5th and Frolic Core Kit for these pages. The cards in this collection feature an array of light blues, pinks, greens, yellows and airy neutrals. The fun icons are very modern, and include birds, trees, foxes, houses, keys and clipboards with a distressed feel. This set is brand new, and you can find it at Michael’s. The other new core kit you can find at Michael’s is the The Vintage Travel Core Kit. It features deep blues, reds and browns, combined with darker neutrals. The icons in the Vintage Travel collection include trains, airplanes and maps.


Leave a Comment