


This weekend I’m heading off to CHA. That’s the Craft and Hobby Association Trade Show in Anaheim (close to Los Angeles if you’re not familiar with the West Coast). I enjoy going to CHA because so many amazing craft companies are there, showing their latest and greatest products in their booths at the trade show. And many of them offer “make and takes”. A make and take is a quick craft that can be done right at the booth. I did several at the Summer CHA show here in Vegas, and shared them with you… the Fast Floral Necklace, Super Fast Button Ring, Spray-Dye Scarf and Mini Quote Canvas. I have more that I’ll be sharing with you this week!
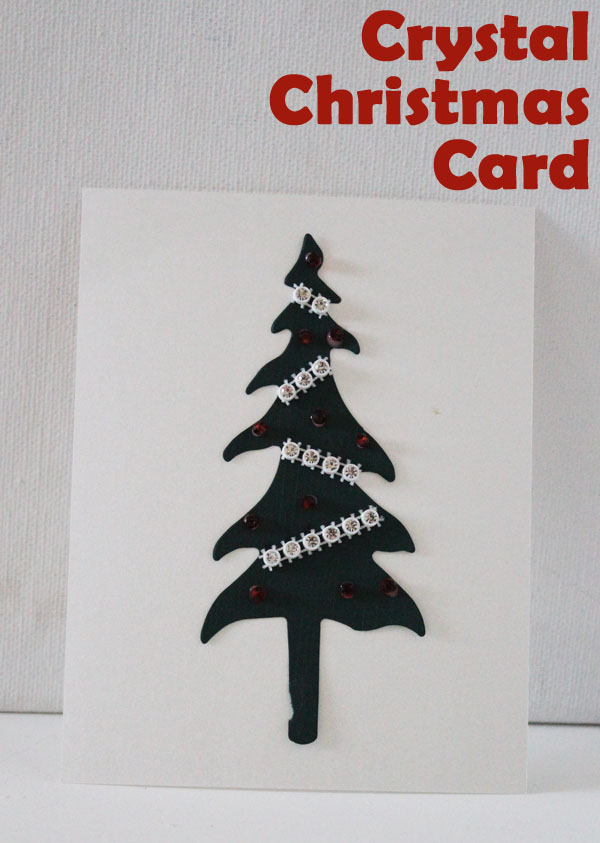
Today I’m sharing with you one of the make-and-takes from the Connie Crystal booth. This is a simple way to make a card with a little bling!
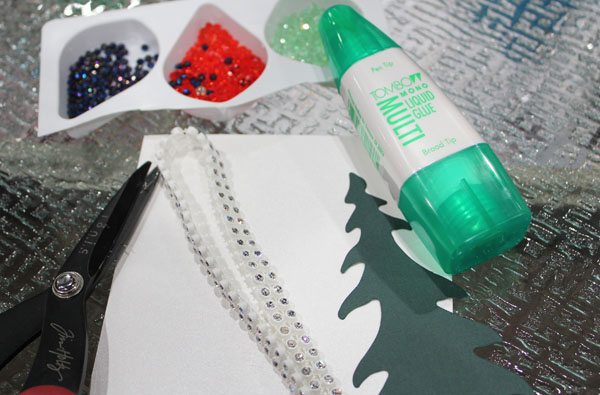 To make your own card you’ll need:
Colored Crystals
Card Base
Die Cut Tree
Glue
Crystal “Rope”
Scissors
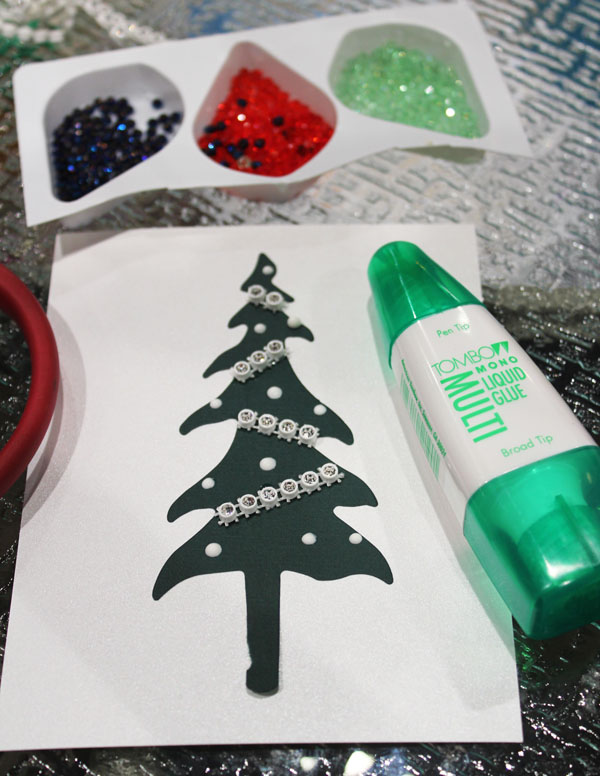
Start by gluing the die-cut tree to the card base. Cut short lengths of the crystal “rope” and glue those down on the tree. Then add dots of glue for the colored crystals.
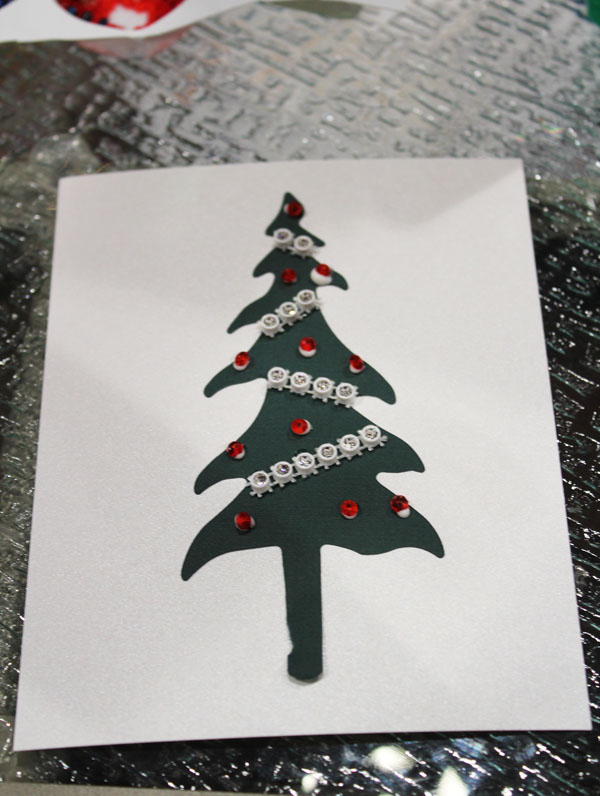
Glue the colored crystals in place, and you’re all done! Just wait for it to dry before mailing it.
If you mail a card with this much stuff on the front, you’ll want to cut a piece of felt or foam to cover the front for mailing – that way the front of the card won’t get damaged. You may need to pay more for postage in order to have the card hand-canceled as well – cards with beads and crystals on them don’t always go through the postal machines very well. Bring a sample card to your post office to find out what special measures you’ll need to take.


Leave a Comment