


Last weekend I was at CHA, the big Crafts and Hobby Association tradeshow. There are so many fun things about CHA, but one of the MOST fun for me is just walking down the aisles and seeing all the fun craft supplies! It is like a belated Christmas, just getting to see all the good stuff coming out!
One of the booths that caught my eye was the Freckled Fawn. For lots of reasons, but the biggest was the paperclips. I don’t know if I’ve shared it here before, but I have a passion for paperclips. Back when I worked in Advertising, I loved clipping papers together with stars, smiley faces, and other fun paperclips. Little things. Little things make me happy.
I was hoping to convince them to part with a couple of their adorable arrow paperclips, and those gals gave me a whole package! If you don’t understand why a package of paperclips that costs less than $5 can make a person deliriously happy, I have no way to explain it to you. For those of you who do understand, welcome! You are my people.
Now that I had the highly coveted paperclips, I needed to create something. The Freckled Fawn folks are papercrafters, so I decided to go crazy and use the paperclips on felt (ps – I think adding whipped cream to ice cream is also going crazy. And putting sprinkles on top of that is overboard… but I like it).
 So, if you’d like to make your own stuffed paperclip hearts, here’s how you do it.
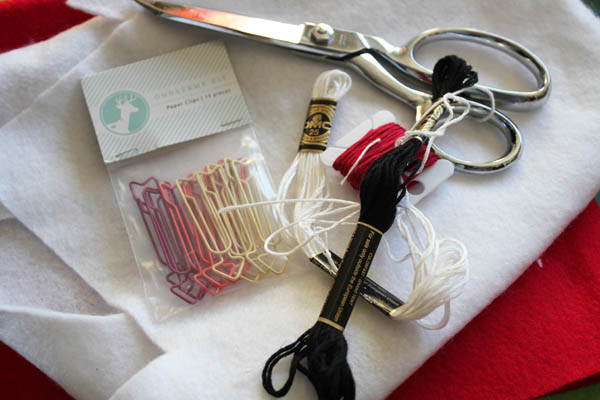
Start with:
Scraps of Felt
Freckled Fawn Arrow Paperclips
Coordinating (0r contrasting) colors of embroidery floss
Needle
Tiny bit of stuffing (I used Polyfil)
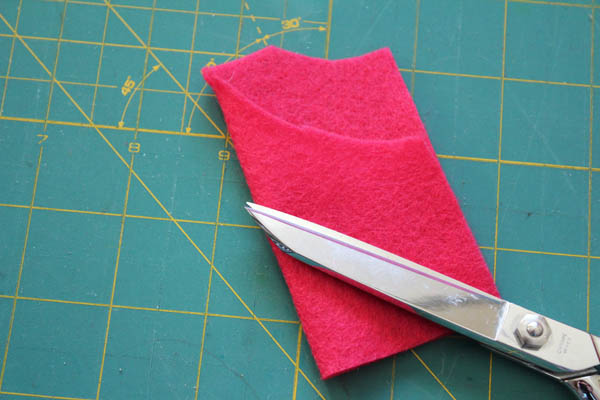
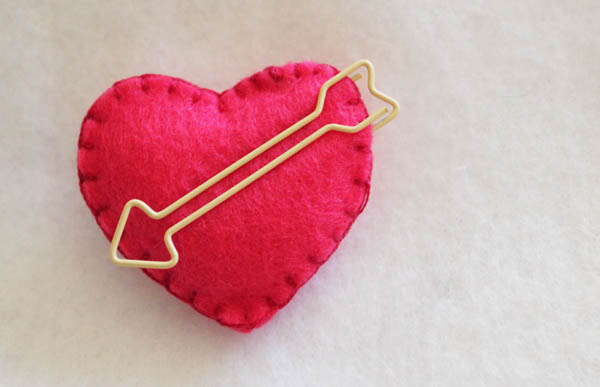
Fold a piece of felt in half to cut a heart shape. If cutting heart shapes makes you nervous, print off a heart shape from the computer and use it as a template. My heart was about 2″ x 2″, but I didn’t measure it out.
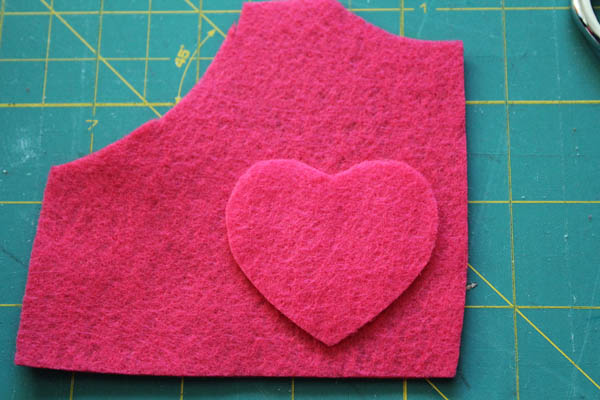
I put the heart on top of another piece of the same colored felt, and used it as a template to cut the back of my little stuffed heart.
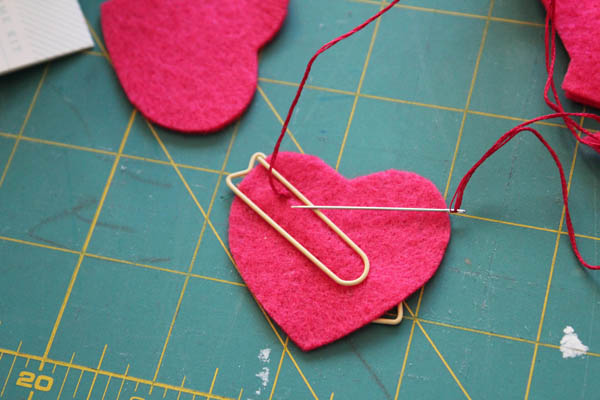
Then I put the paperclip on the front heart.
![]()
After threading my needle with 3 threads from the embroidery floss (cut a length of floss about the length of your arm, then split the 6 threads into two segments with 3 threads each). I did a couple stitches on the back, not going through the full layer of the felt (so that you can’t see it on the front), to secure the thread.
Then I started a simple blanket stitch.
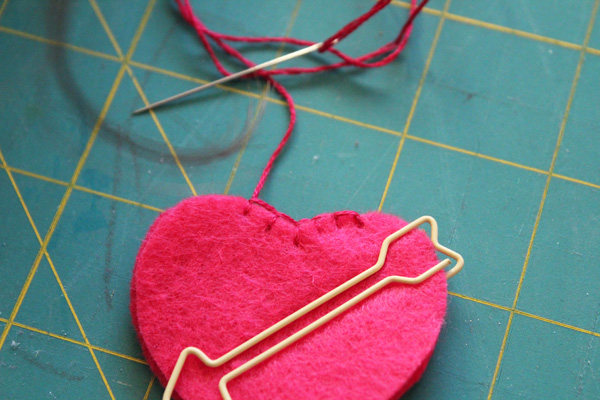
If you’ve never done a blanket stitch, watch this 2 minute video. She shows you how to start (she uses a knot, which is fine), and how to end the stitch as well.
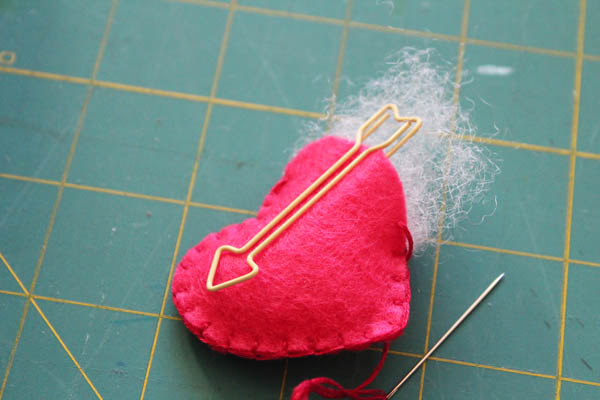
Then I finished stitching, and tied off the end (see the video above for details on how to do that).

I buried the end of my thread by inserting the needle close to my stitching, then exiting it about an inch away in the body of the heart. Then I pulled the thread tight and clipped it right up against the felt. The thread tucks right back in, and the end is hidden!
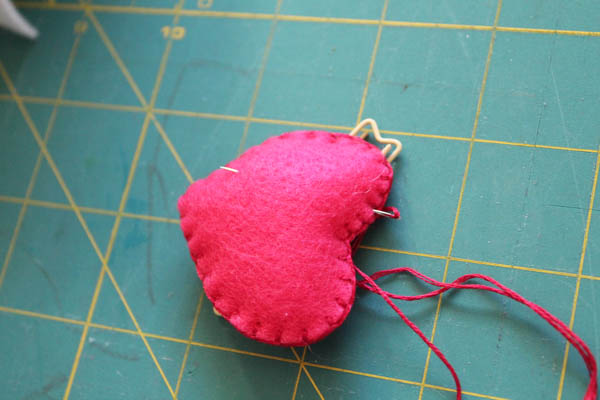
Super fast, super simple.
I might add a pin-back to the back, and wear it as a sweet Valentine’s pin. I could add a hair clip and put it in my hair. These little poofy hearts are just so sweet.
I might have gotten a little carried away making them.
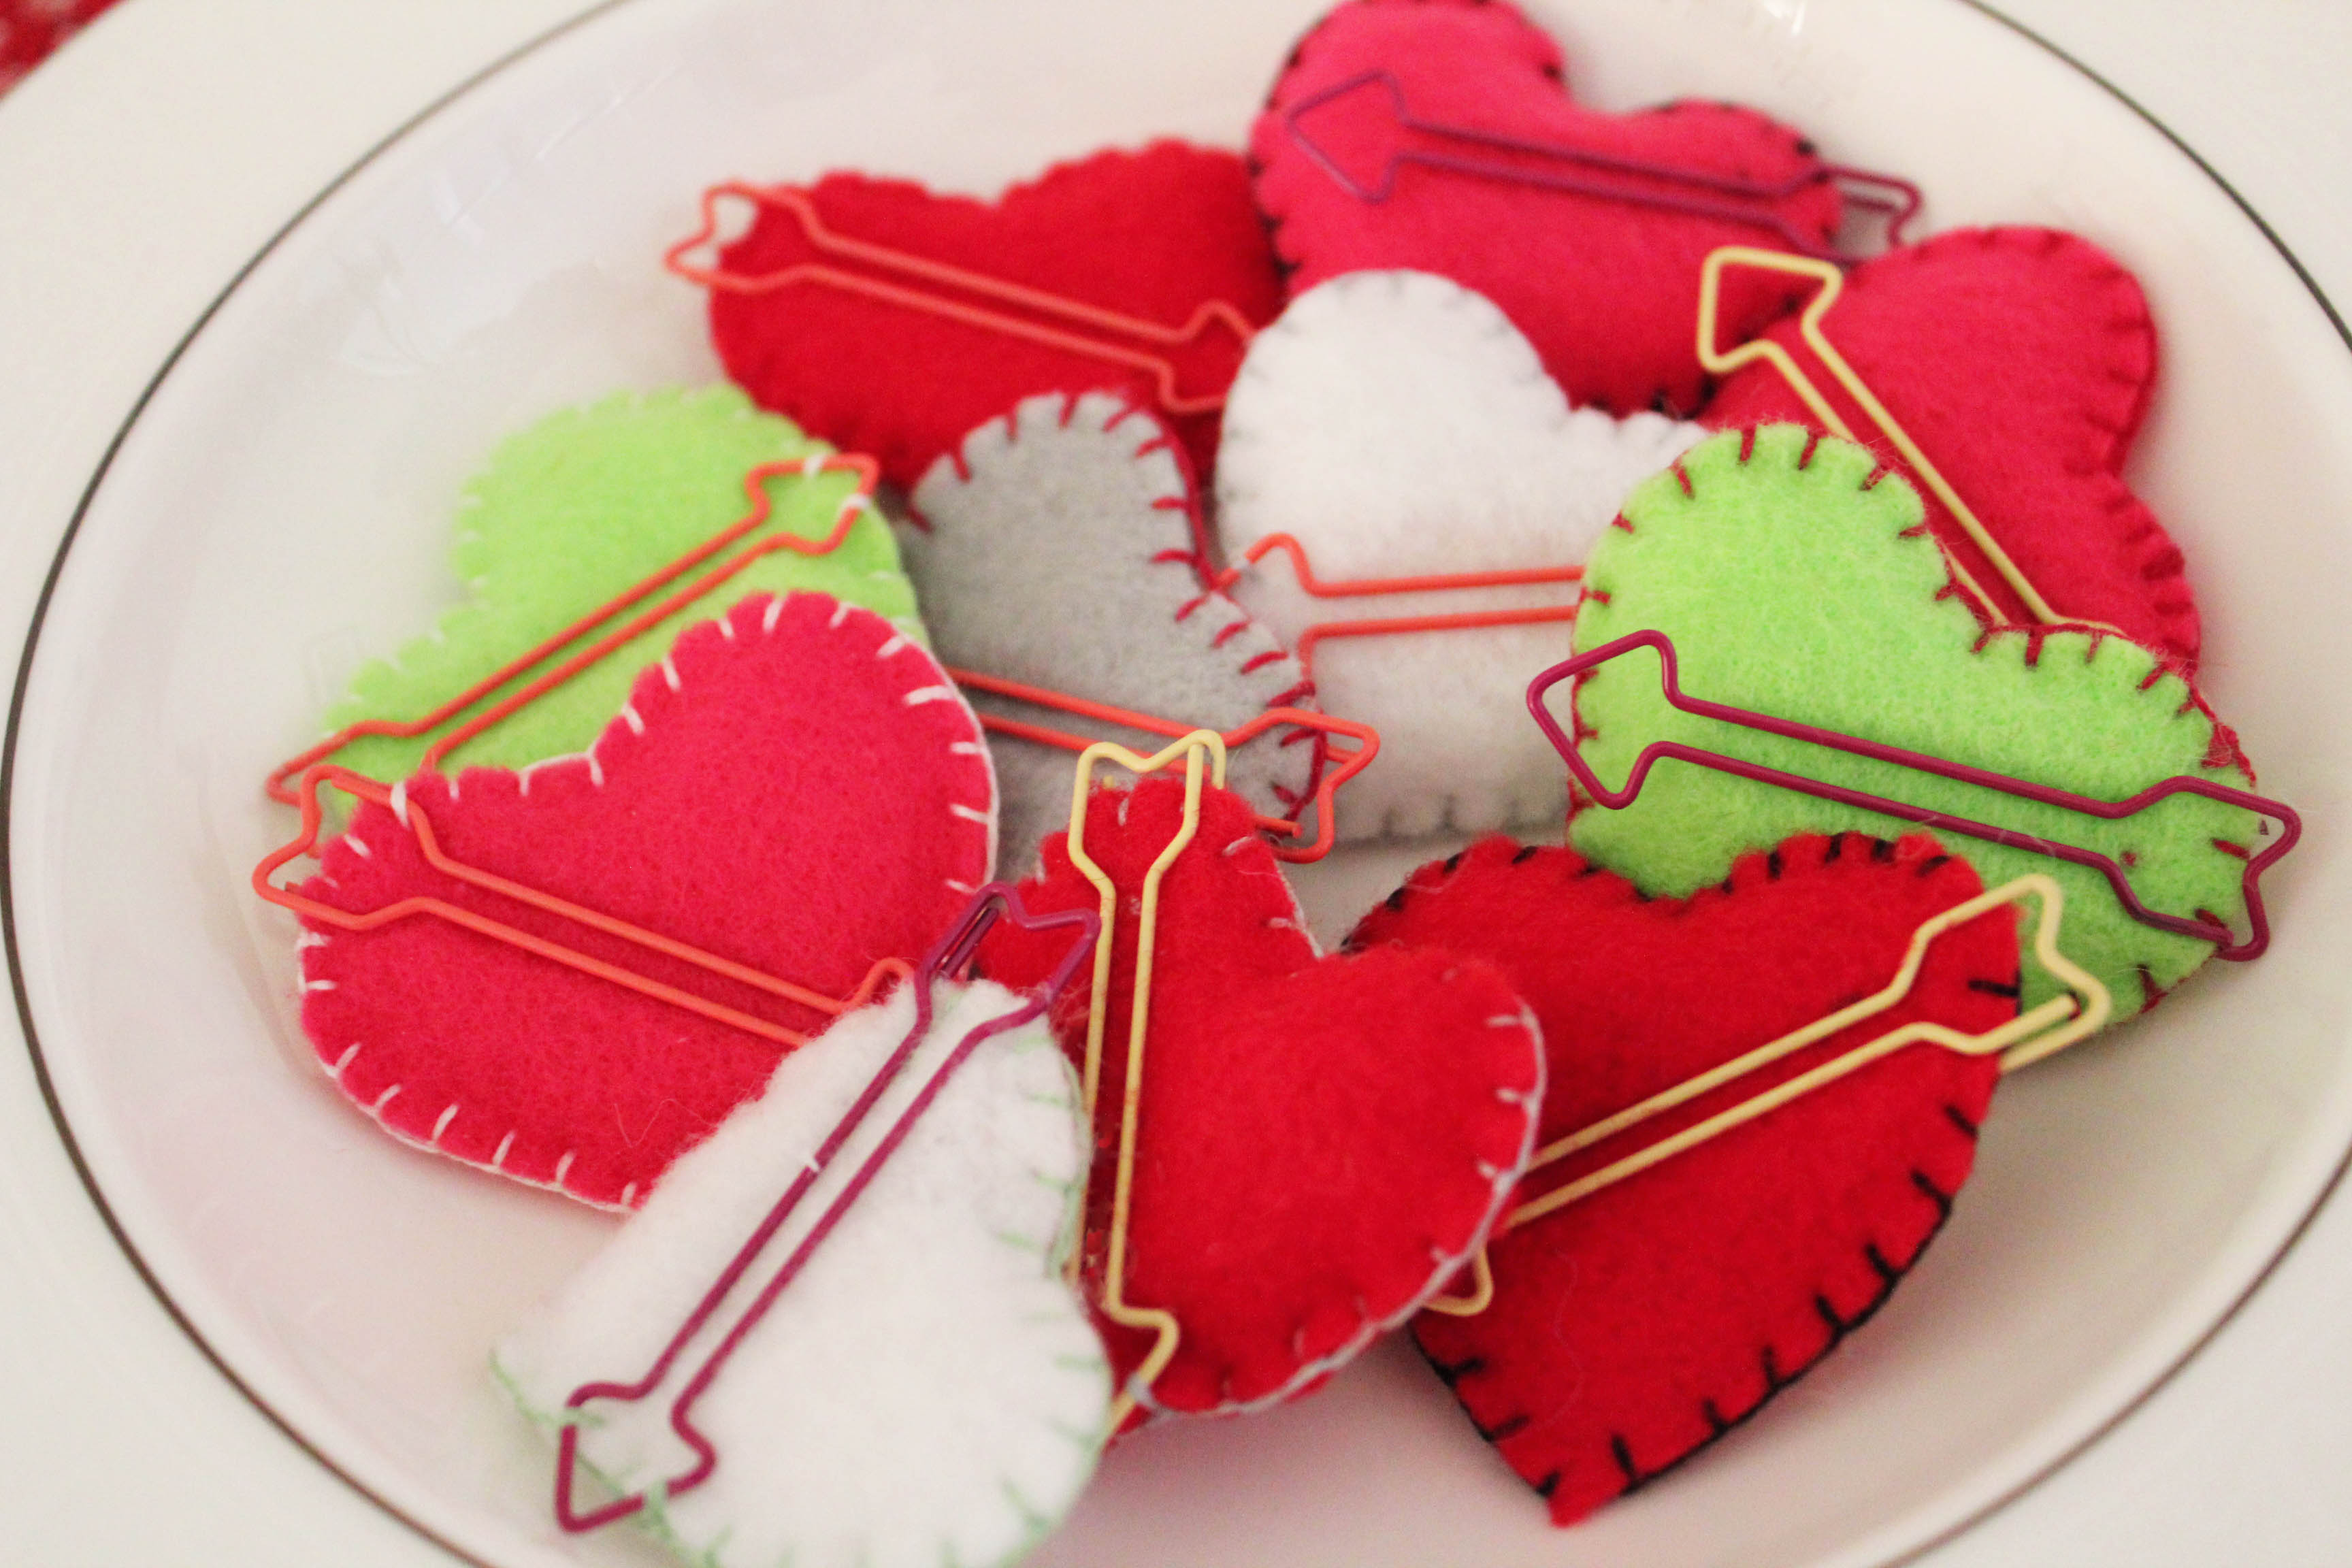
But they were so addicting!
A big THANK YOU for the gals at the Freckled Fawn for letting me abscond with a package of these adorable paperclips. If you’re addicted to cuteness (who isn’t?), you might want to check out their adorable monthly embellishment kits.


Hola! I’ve been following your web site for some time now and finally got the bravery tto go
ahead and give you a shout out from Kingwood Texas! Just wanted to mention keep up the good job!