


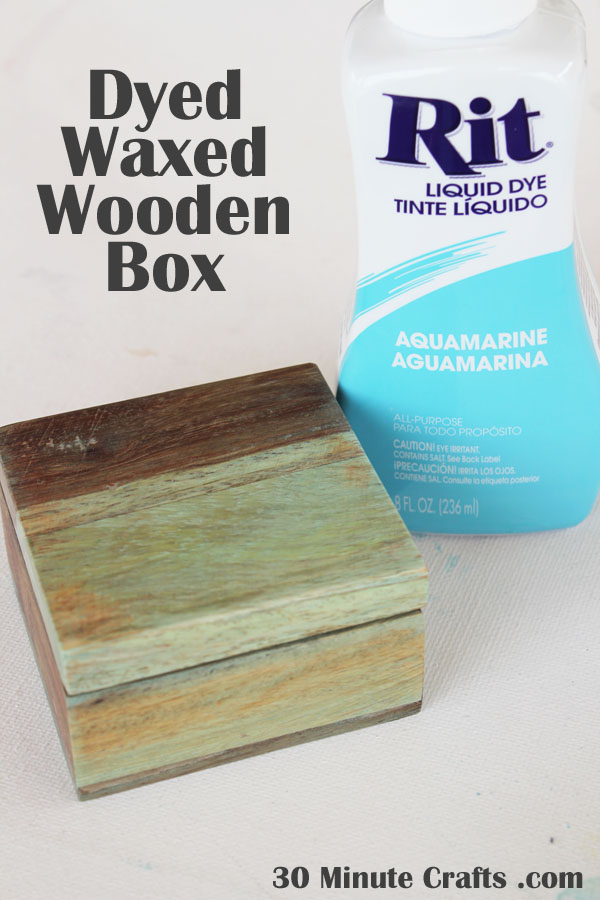
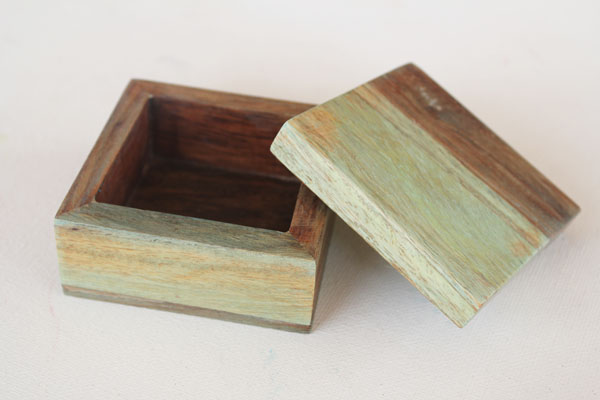
When I saw this plain wooden box at Target, I fell in love. With its potential. Sure, it is a pretty little box as-is. Nothing fancy. But I knew that with a little bit of color, I could really jazz it up! So I pulled out my crafting supplies, rolled up my sleeves, and added dye and wood to this plain little box. It now has a soft, weathered look. Perfect for a beachy cottage. Or, well, anywhere. It has such character! And it was super simple to do! I’ll show you how!

To add character to your wooden box you’ll need:
Wooden Box
DecoArt Americana Creme Wax
Sandpaper
Rit Dye (I used Aquamarine)
Old Rags (I used old mis-matched socks)
Disposable container and spoon for mixing
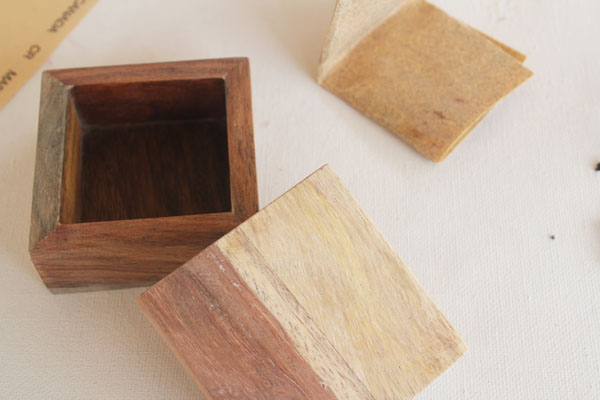
Start by sanding the finish off of the outside of the box, the inside of the lid, and the lip of the box.
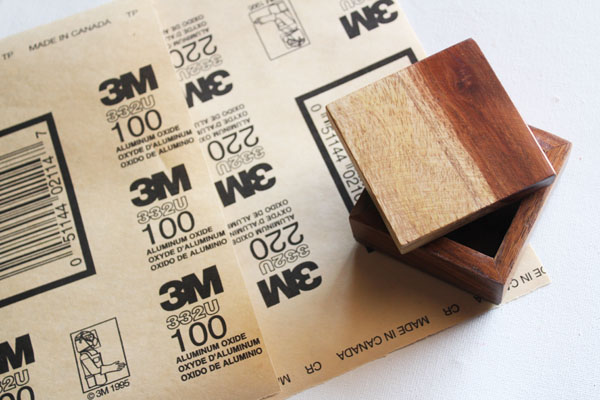
I didn’t sand the inside of the box. When sanding, I tried to keep my sanding in the same direction as the grain of the wood.
I poured some wax into a disposable container, added some Rit dye, and stirred with a disposable spoon.
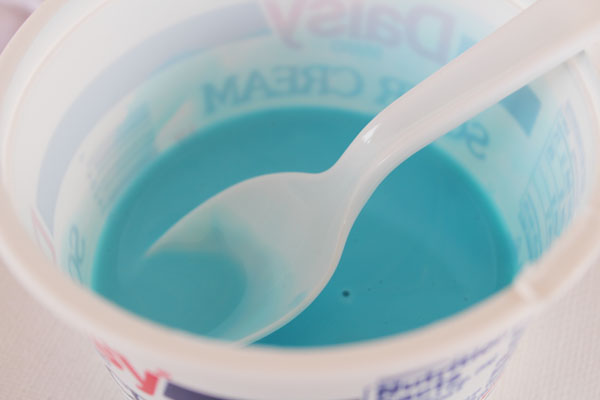
I dipped the sock into the dye and wiped on a layer.
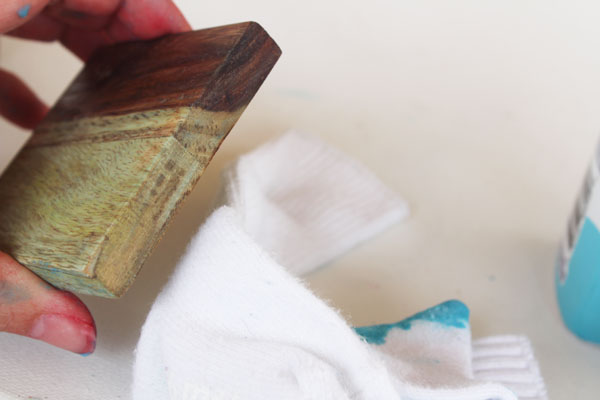
I kept adding layers, and smoothing them off until I had some nice color built up. I let it dry a little, then used a clean part of the sock to buff the wax.
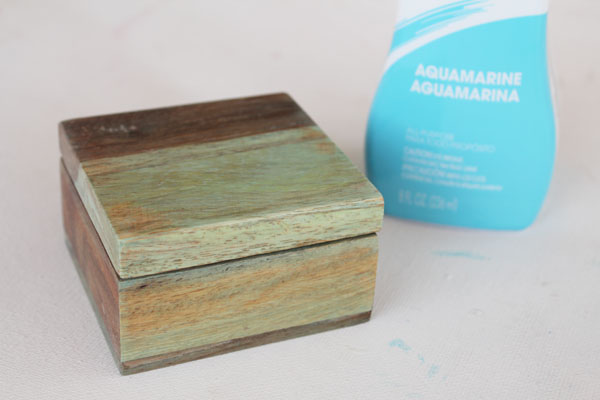
That was it! So simple, and adds some character to a simple box!


Leave a Comment