


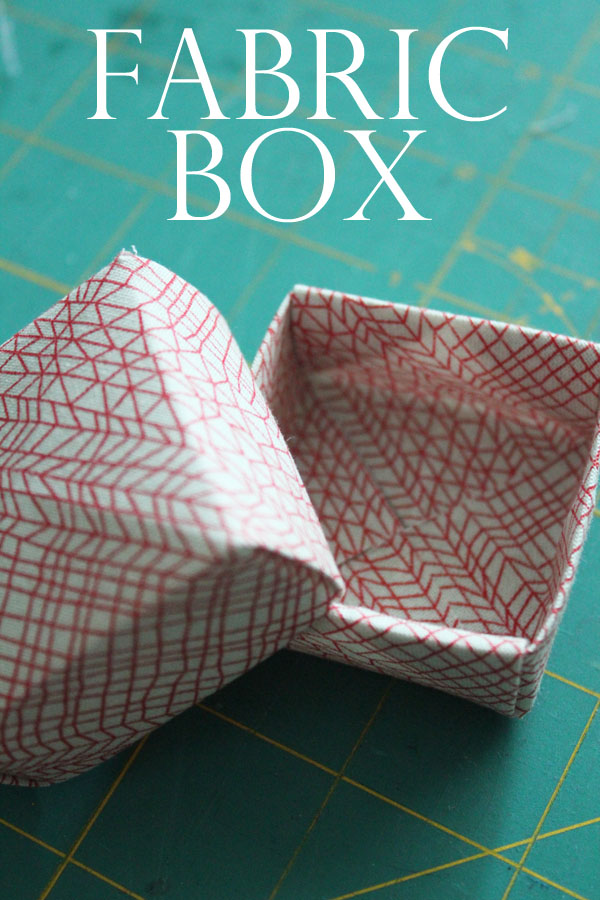
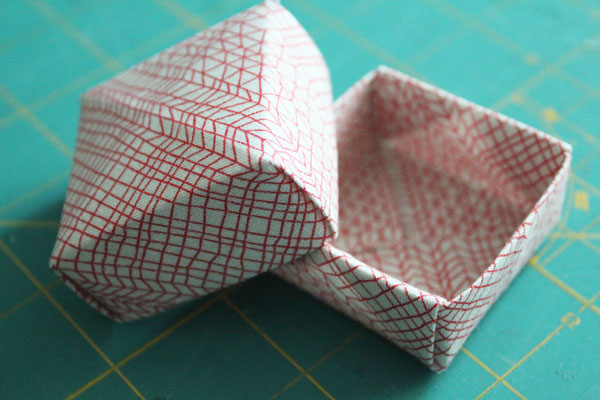
Earlier this week, I shared my product review of Terial Magic over on the Craft Test Dummies Blog. As part of that review, I made some fun projects using Terial Magic, including this fun little fabric box! If you’d like to make one, here are the instructions.
You’ll need:
Fabric
Terial Magic
Rotary Cutter and Ruler
Scissors
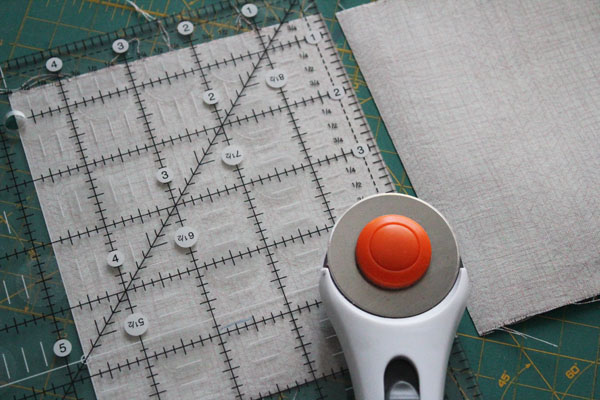
Start by preparing your fabric with the Terial Magic. Then cut your squares. You’ll need the square for the bottom of the box to be 1/4″ smaller than the top. I made a mini box, and used squares that were 5″ and 4.75″.
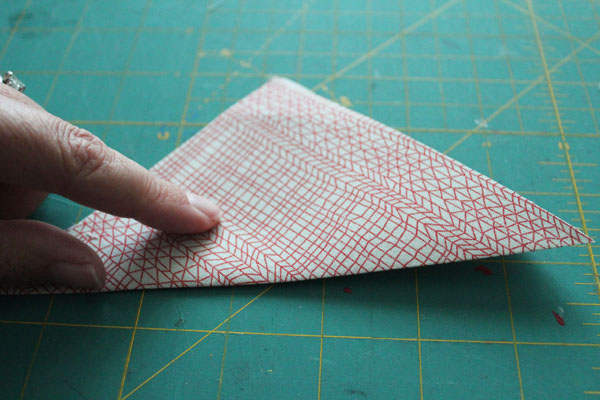
We’re going to start with some folds that will help orient us. Fold into a triangle, press to get a good crease, unfold, and re-fold into a triangle the other direction. This will make a creased X on the square.
Fold the four corners in to the center.
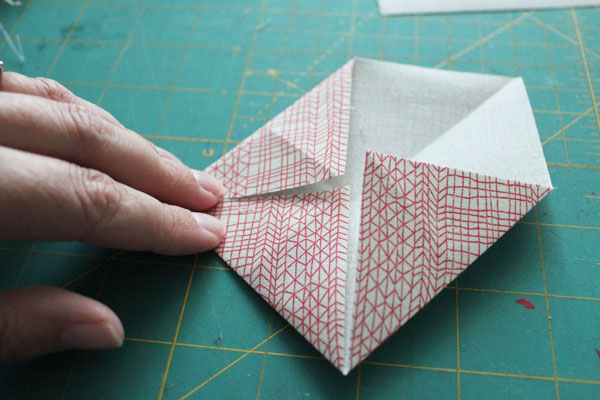
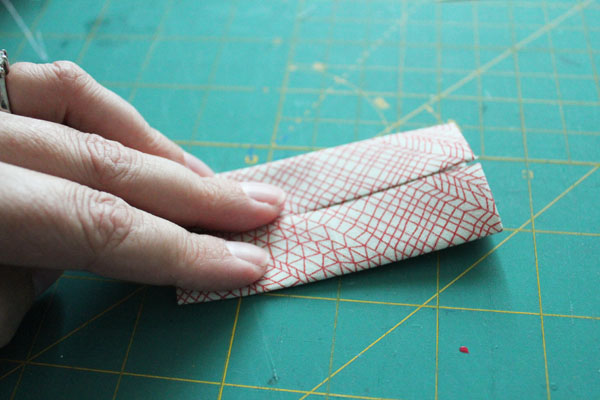
Make some more fold for registration: fold the two sides in to the center, crease. Unfold, and repeat the other direction. Unfold.
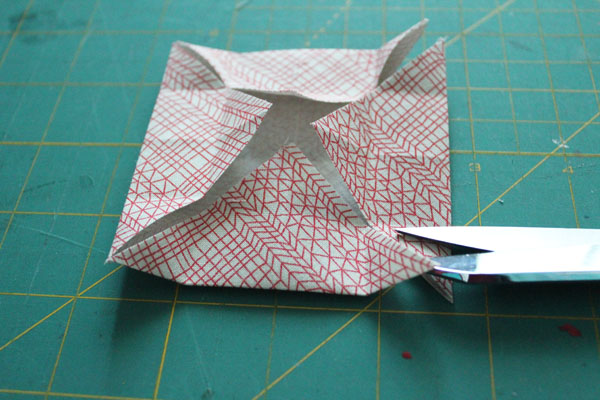
Using scissors, cut in each corner towards the center, stopping where the folds from the last step cross.
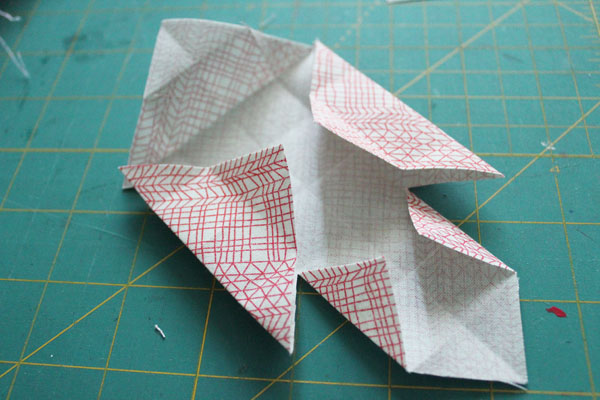
Unfold two opposing sides, fold in the flaps.
Fold these back in place, then tuck the flaps on the remaining sides in. Your box is complete. Repeat with the other square to have a box with both a top and bottom.


Leave a Comment