


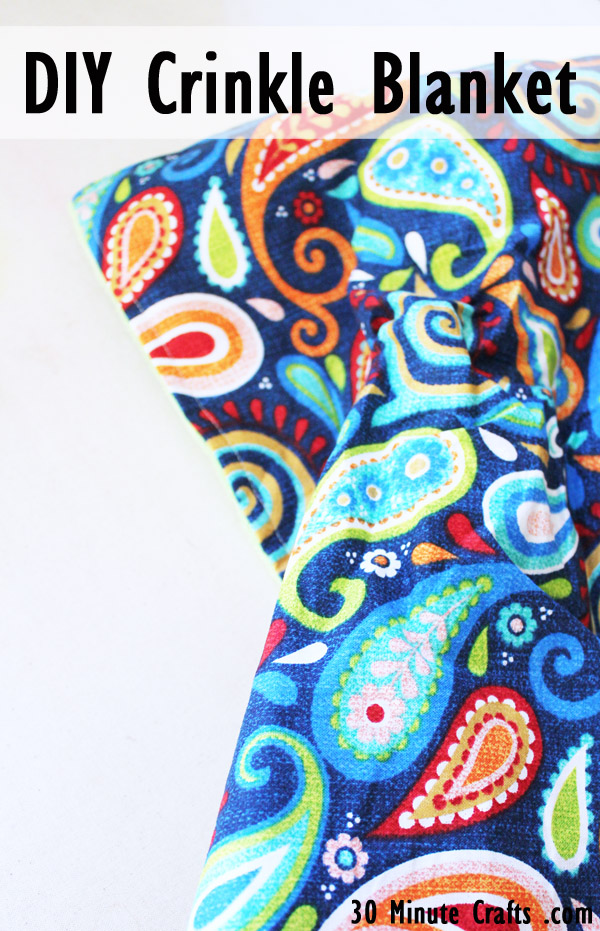
Today is the last day of Craft Lightning Recycled, and I’m super excited to share this Simple Crinkle Blanket with you… because the inside is made of something that would otherwise be garbage. You’d never think to hang on to a potato chip bag, would you? Well, now you’ll think twice, because that’s exactly what I used to make the crinkly center of this fun crinkle blanket!
Craft Lightning week is a week where my Co-host Angie from the Country Chic Cottage and I, along with a guest host, share 15 minute or less crafts. This week our guest host has been Carissa from Creative Green Living. She has so many fun upcycled, recycled, and other green crafts on her site – check her out! And be sure to scroll down to the bottom of this post for even more fun and fast craft ideas from our blogging friends, who are also in on the fun this week!
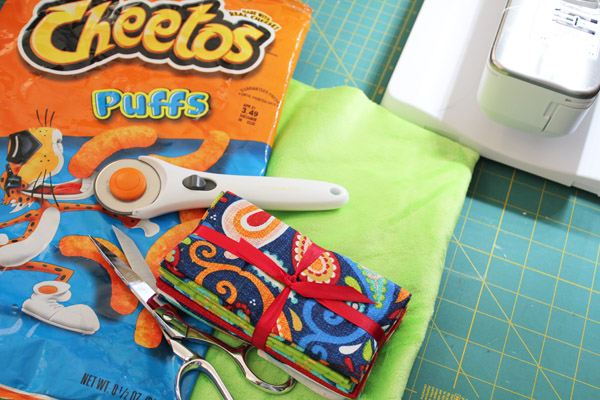
To make this fun crinkly blanket you’ll need:
Fabric – I went with this fun print from Fabric Editions on one side, and Shannon Cuddle on the other
Cheetos Bag, washed and dried – any bag that makes a crinkly sound will work, but Cheetos are a favorite around here
Sewing Machine
Pins
Ruler and Rotary Cutter
DISCLOSURE: Having any plastic or mylar bag around a small child could be a choking or suffocation hazard. Be smart about the age child you give this to. Be smart about supervising that child. Poking or cutting holes in the bag might minimize the risk, but any risk is something you should consider before making this project.
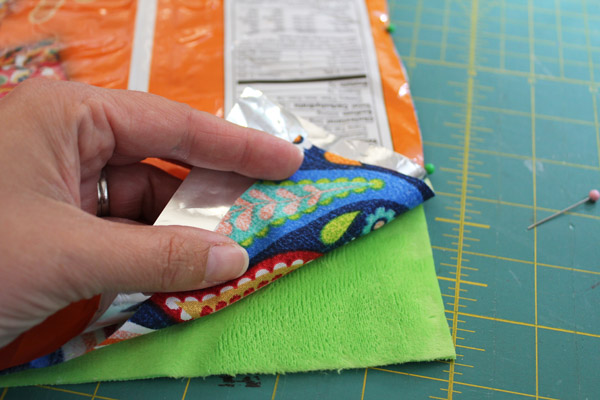
Start by cutting your fabric. You’ll want to open the bag into one layer, and cut the fabric and bag the same size. You need two pieces of fabric – I love Shannon Fabrics’ Cuddle because it is snuggly, and the bright Fabric Editions print went so well with it. Make the pieces as large as the chip bag will allow… or smaller if you like small.

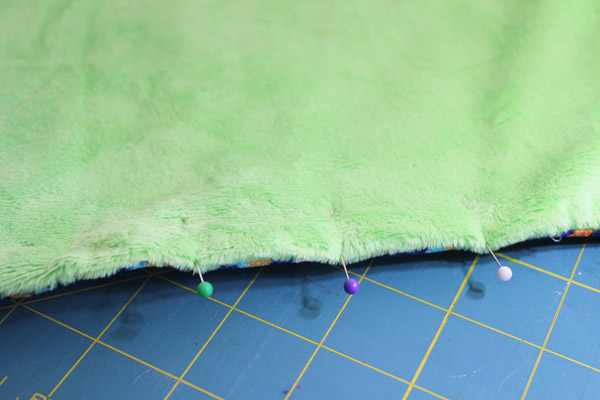
Layer. Cuddle on bottom (fuzzy side up), print goes next (right side down), then the chip bag (up or down, doesn’t matter). Pin the layers together.
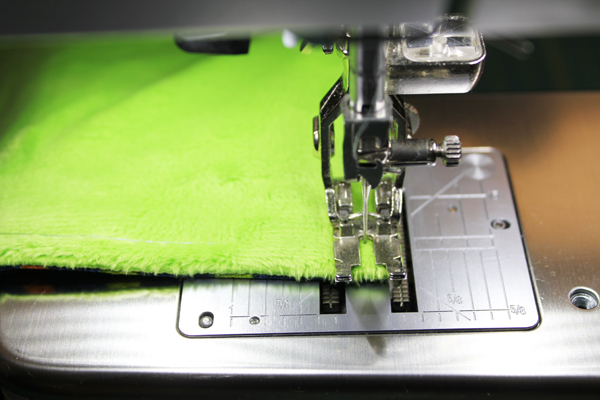
Stitch all the way around with a 1/2″ seam allowance, leaving a 4-6″ gap for turning. Clip corners.
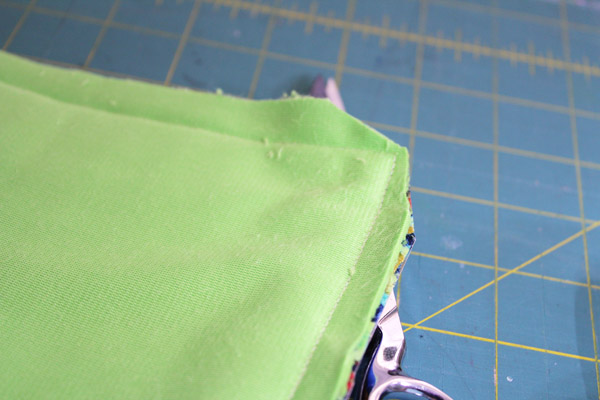
Turn right side out through the hole. Pin the hole closed.
Top stitch 1/4″ away from the edge, all the way around.
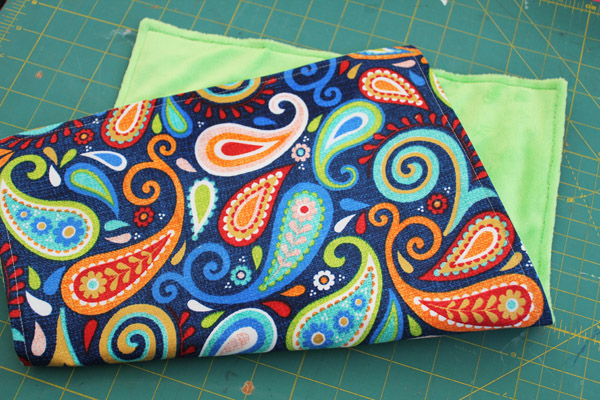
Blanket complete! I dare you NOT to crinkle it. So. much. fun!
And check out these fun and fast recycled projects from other bloggers around the web:
Amy from One Artsy Momma made this fun Balloon Car that any kid would love playing with.

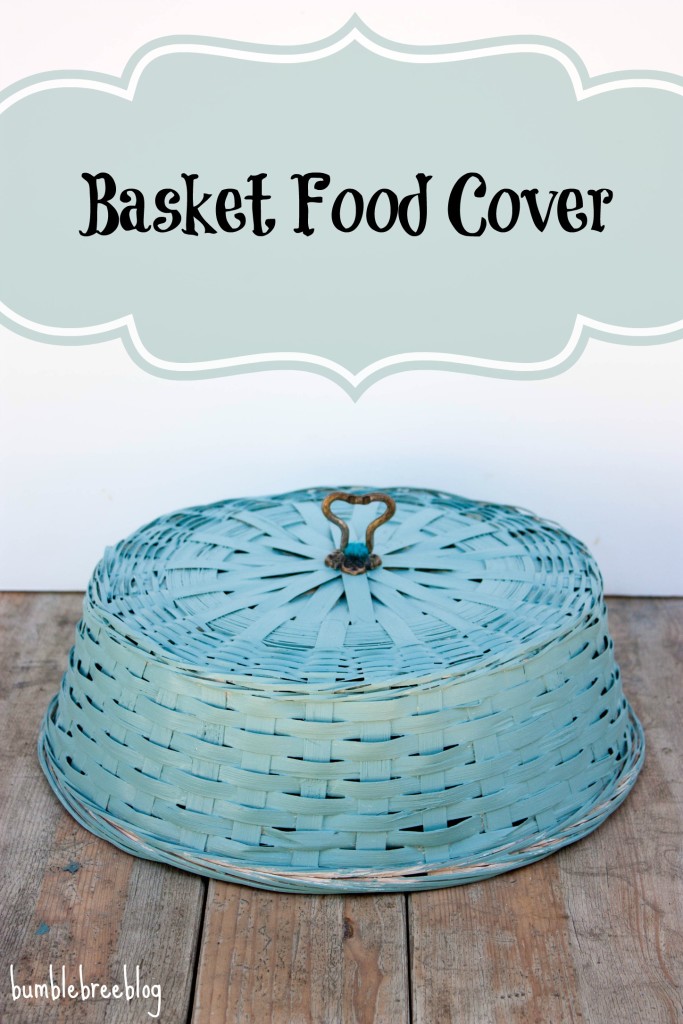
Bree at BumbleBree converted an old basket and knob into a clever food cover, perfect for any picnic!
Over at Ann Butler Designs, you’ll see how she gave some thrift store plates a makeover.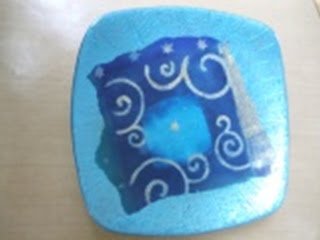
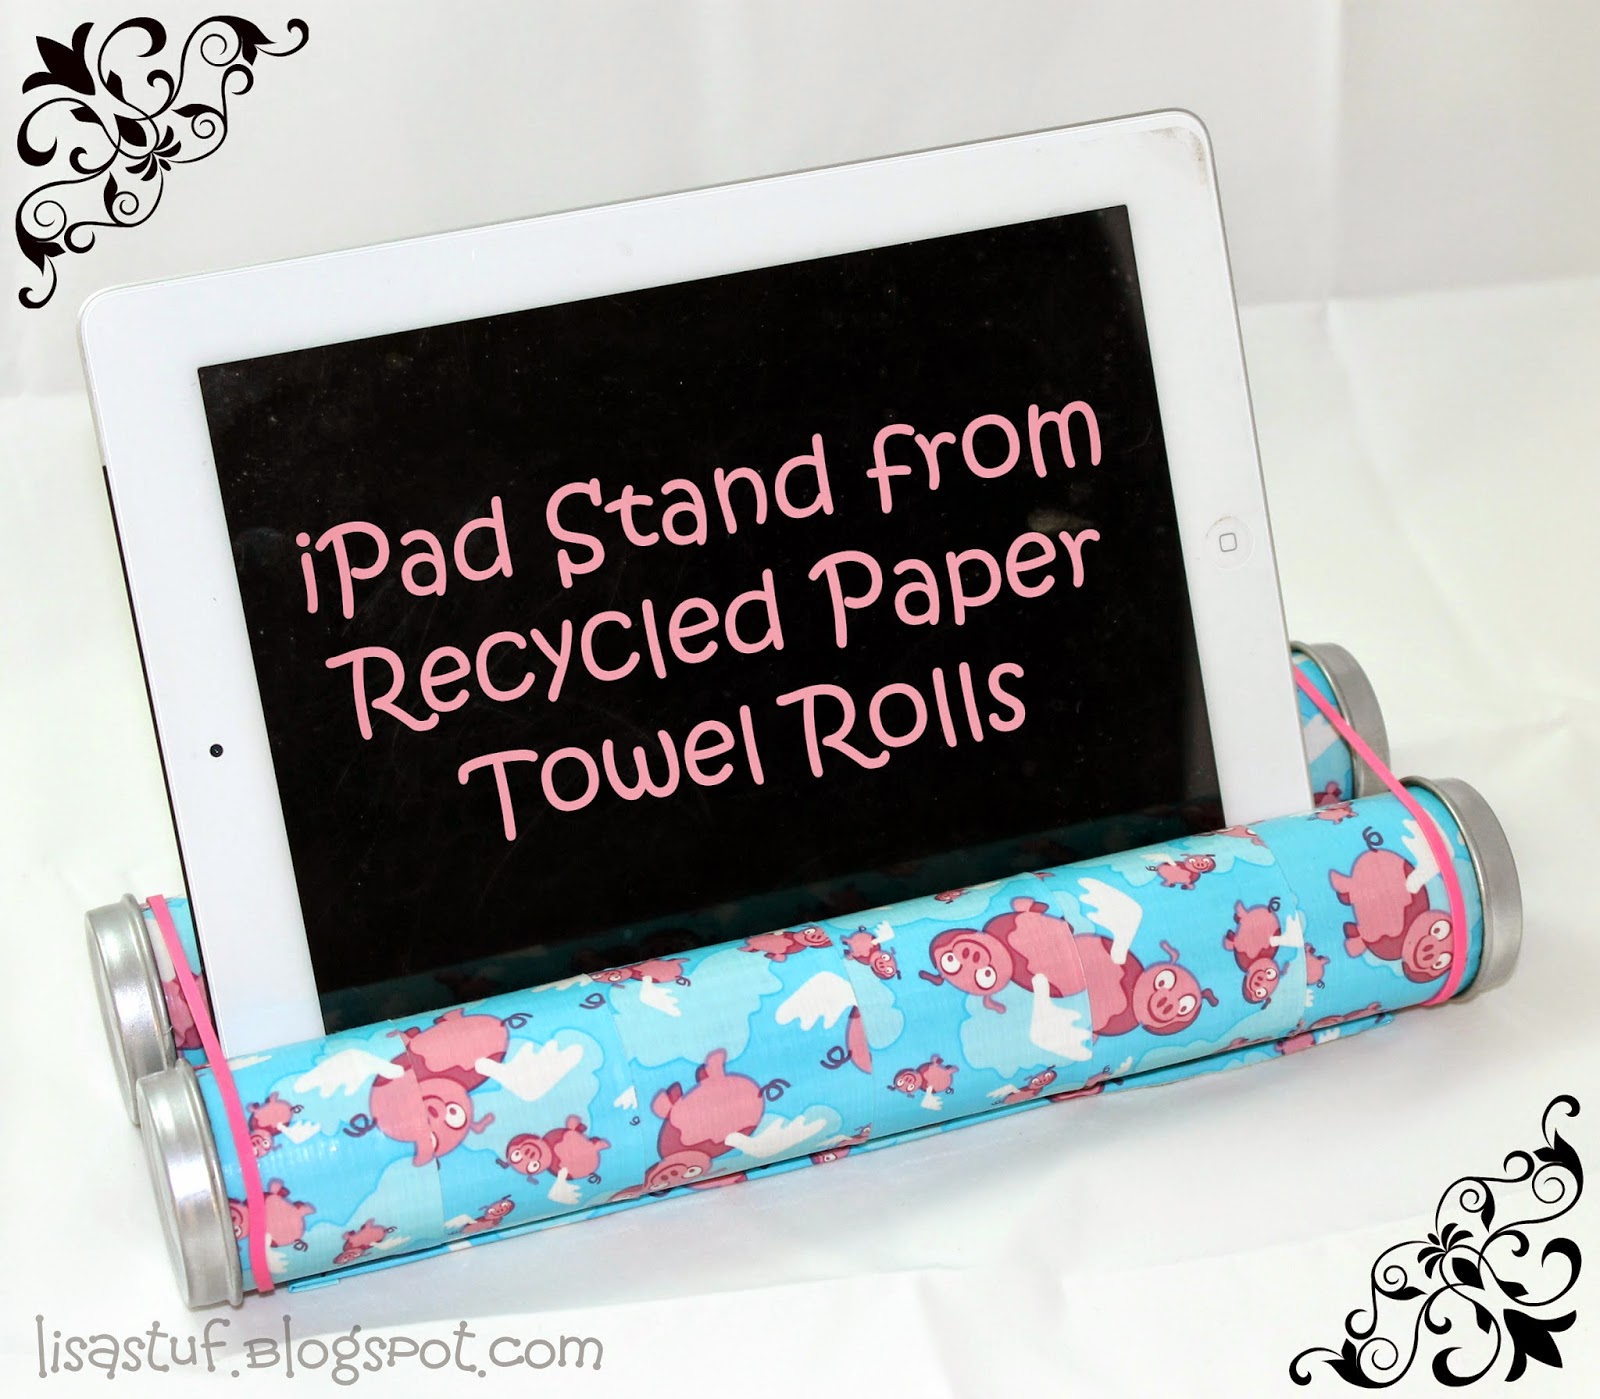
Lisa at Stuff n Such whipped up the cutest i-Pad stand from recycled materials.
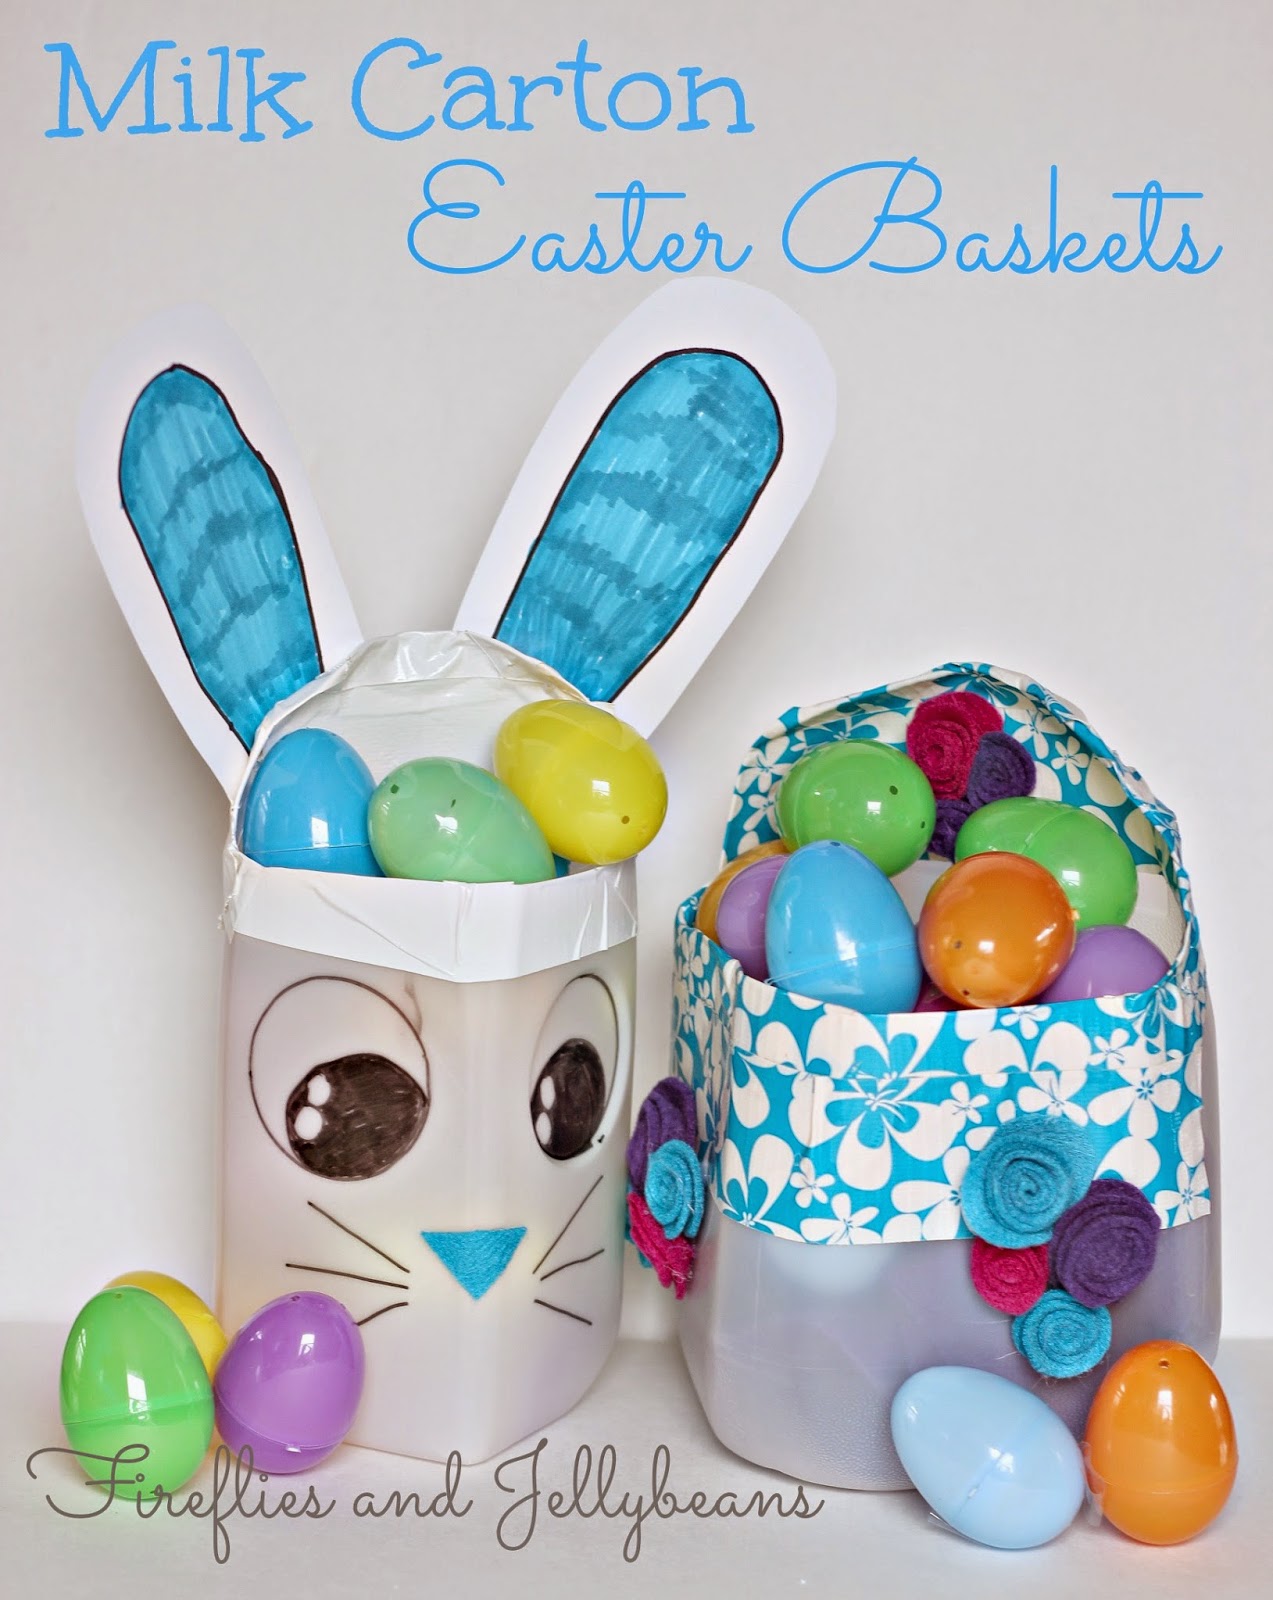
I made milk carton easter baskets as a child, but I don’t remember them being as cute as these milk carton easter baskets by Fawnda at Fireflies and Jellybeans.
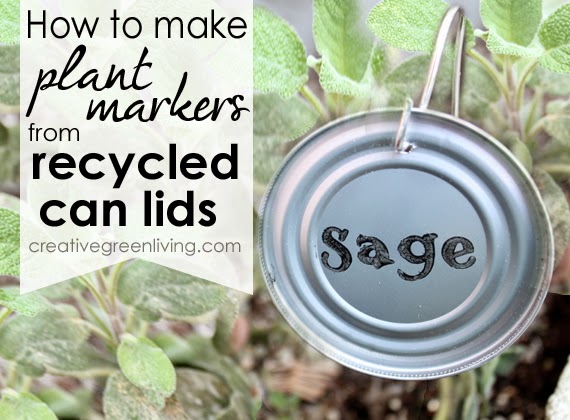
Carissa from Creative Green Living made these fun upcycled plant markers.
Angie from The Country Chic Cottage made these adorable bottlecap bunnies: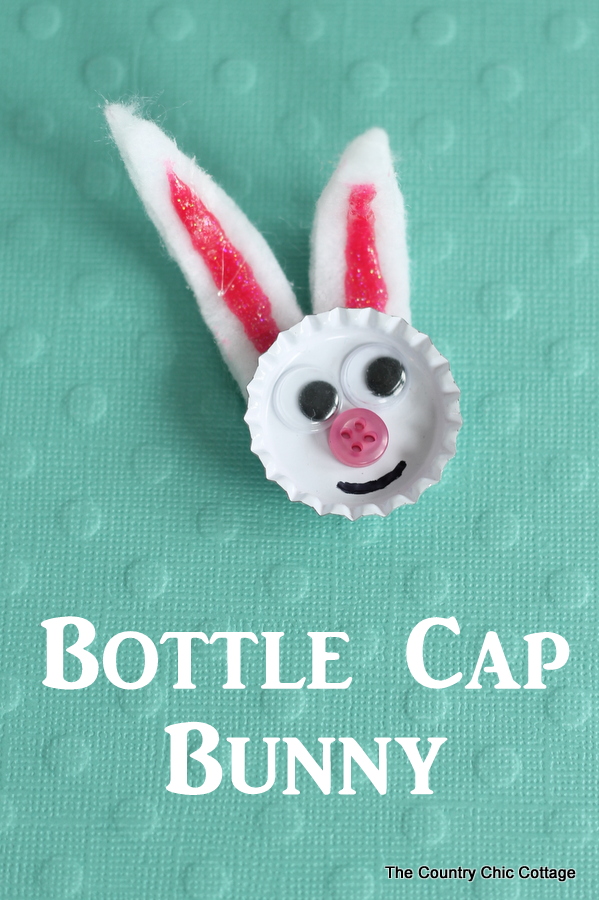
Angie also made this Metallic Gold Arrow – did you know that you could make decor this cute from recycled items?
![]()
And Carrisa shows you how to make a no-sew market bag from a shirt.


Leave a Comment