


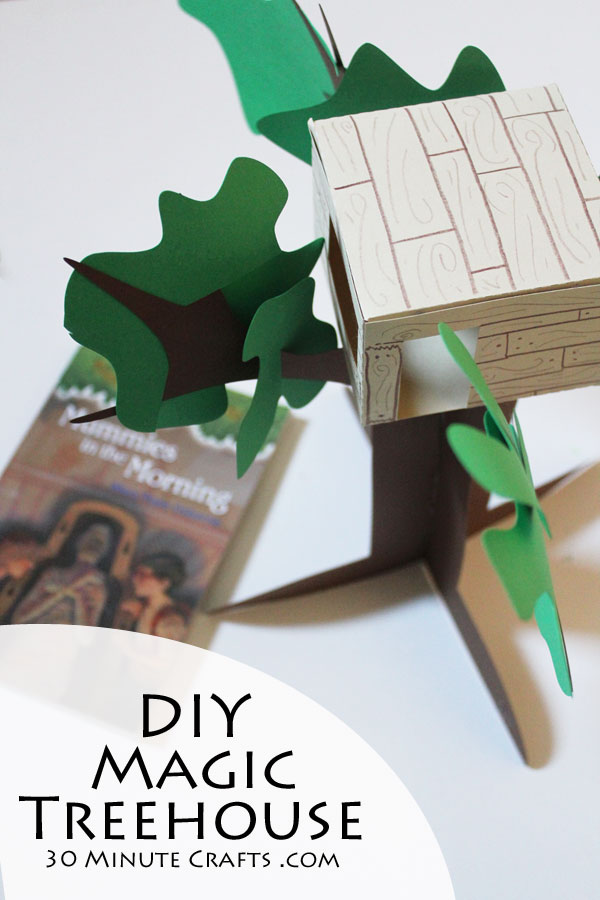
I grew up loving to read and to craft. Getting to pass these two passions on to my sons is one of my greatest joys as a mom. That’s why, when Barnes & Noble gave me a gift card to shop in their store, I headed immediately for the kids’ books. My oldest is 7, and recently started getting excited about “Chapter Books”. He doesn’t love to read, but he has gotten very excited about the “Magic Treehouse” series. I’ve had the chance to read several of these books with him, and I love the way the stories weave together imagination, history, and mystery into a story my son loves – while helping him build his vocabulary! I love bringing fiction to life, so I thought I’d make this 3D paper version of the Magic Treehouse.
To make your own 3D Magic Treehouse out of paper, you’ll need:
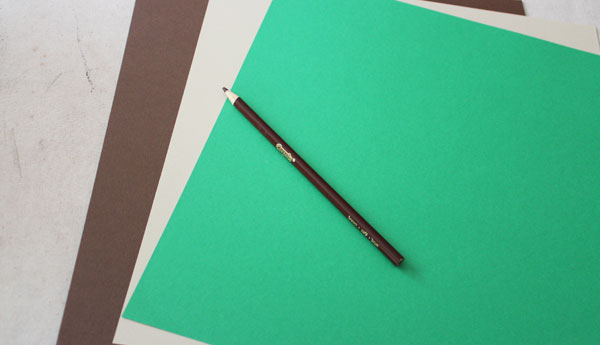
Cardstock in Dark Brown, Light Brown, and Green
Brown Colored Pencil, Marker, or Crayon
Glue – I like a hot glue gun
Magic Treehouse Files:
To cut out by hand: Tree trunk top, Tree trunk bottom, Treehouse, Leaves
To cut by Silhouette: Tree trunk top, Tree trunk bottom, Treehouse, Leaves
The Silhouette files are designed to cut on 12×12 paper. The pdf files are designed to be printed on 8.5×11″ paper. So, your tree will be smaller if you use the pdf files – but you can scale either version of the files to make it whatever size you like.
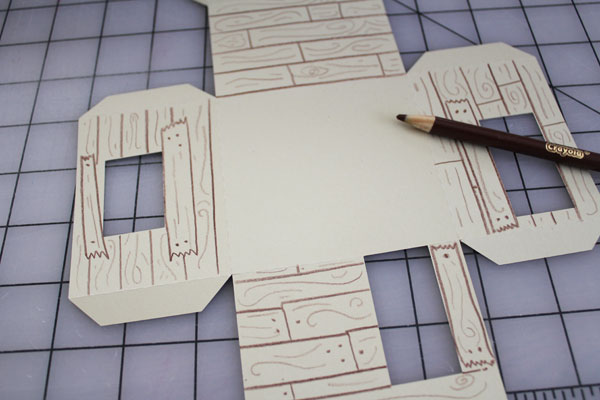
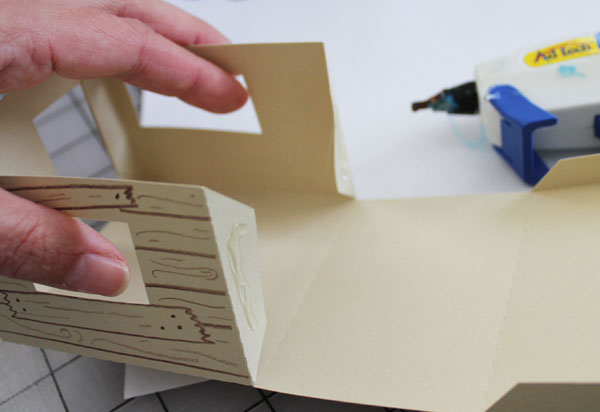
Cut out all the pieces on the various colors of paper. Fold the treehouse on the score lines, then draw in the woodgrain. I pressed hard on the outlines of the wood, and lighter to add in some woodgrain detail.
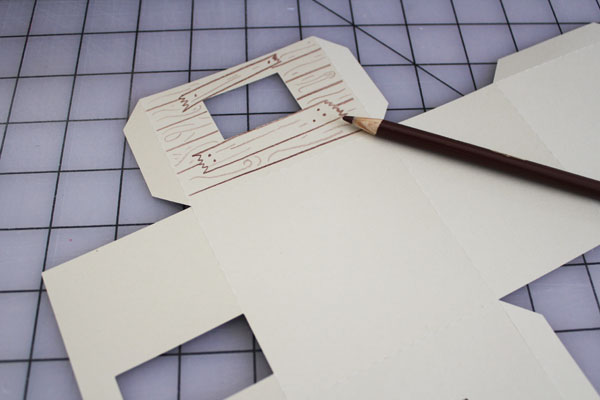
Do this on all the sections except the bottom.
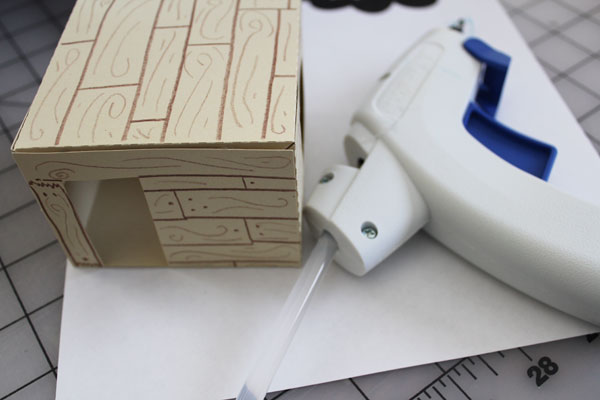
Glue the house together by adding glue to the flaps, and folding together.
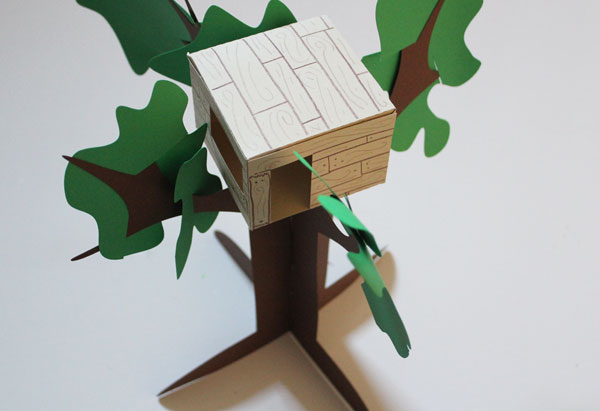
Slip the top and bottom trunk pieces together using the slits at the top and bottom. Glue on the sides to secure.
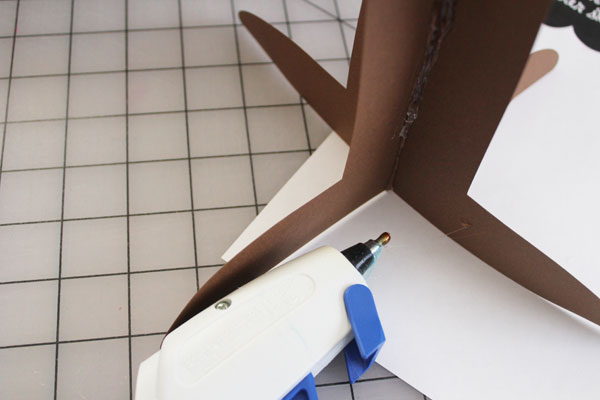
Use hot glue to secure the bottom of the treehouse to the center of the tree.
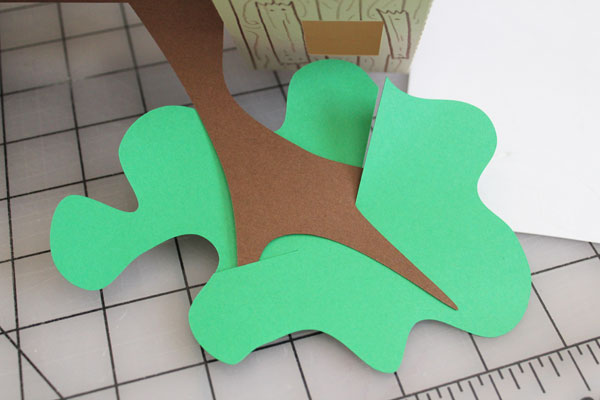
Slip the leaf pieces on using the slits. Add as few or as many as you like. The leaf pieces are all different – this keeps the tree from looking too symmetrical.
Your Magic Treehouse model is complete! If you like, you can use toothpicks and embroidery floss to make a rope ladder, but that will take this project beyond 30 minutes.
You can make mini paper books representing each of the books that Jack and Annie, the characters in the Magic Treehouse, use each time they go on one of their time-travel adventures. Each time you read one of the books in the series, draw what that book might look like – dinosaurs, castles, egypt, and more. And don’t forget a book that will take you back to Frog Creek, Pennsylvania!


love it
Thank you for this download! I plan to use it with my Magic Tree House book club of K-5 graders.
My pleasure! It was a fun one to make, and I’m glad others can enjoy it as well!!