Being a mom, I have to take credit wherever I can get it. Let’s face it – nobody is going to thank me for mopping the floors or making sure they have clean clothes to wear. So, when I made this simple felt ornament with my son, and he was over the moon about it, I let him pour on the thanks. Because it doesn’t matter that it took only a few minutes. What matters is that we spent those minutes together, creating a holiday keepsake that will last for years.
This project is the first in this year’s Holiday Edition of Craft Lightning. Angie from The Country Chic Cottage and I do this series together, where we each share a quick craft that takes 15 minutes or less to make… and then we invite some of our blogging pals to join in! Each day come here to see a fun, fast Holiday craft… then come back each night for a round-up of all the bloggers that are joining in!
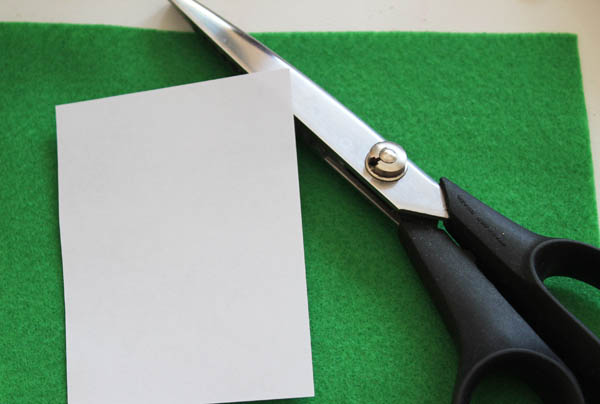 Here’s how to make your own simple felt frame ornament. You’ll need:
Felt
Pinking Shears (Zig-Zag scissors – but you can use regular scissors for a less fancy edge)
Ribbon
Hot glue (you could use regular glue)
Picture drawn by your child, or a photo.
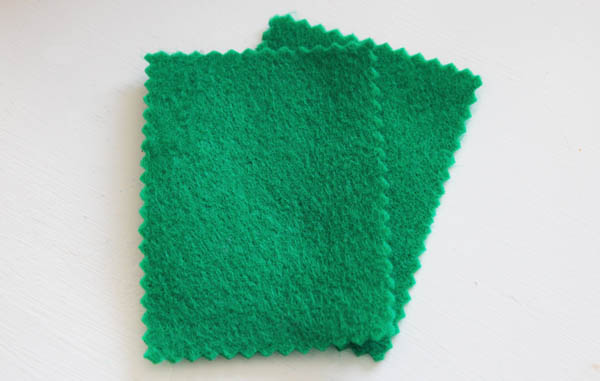
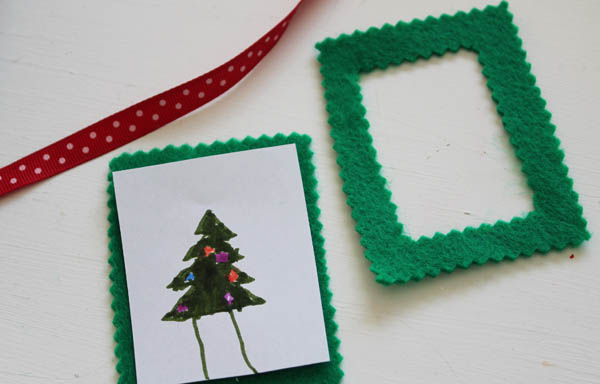
Start by cutting a rectangle out of a double layer of felt.
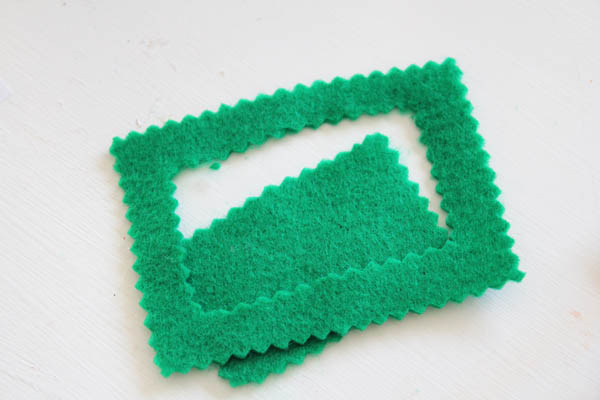
Fold one of the rectangles in half, and cut a rectangle out of the middle to make a frame.
Cut a piece of ribbon.
Glue the photo and ribbon onto the back piece of felt.
Glue the frame piece down on top, and your ornament is all done!
Remember to come back tonight for more Craft Lightning fun!


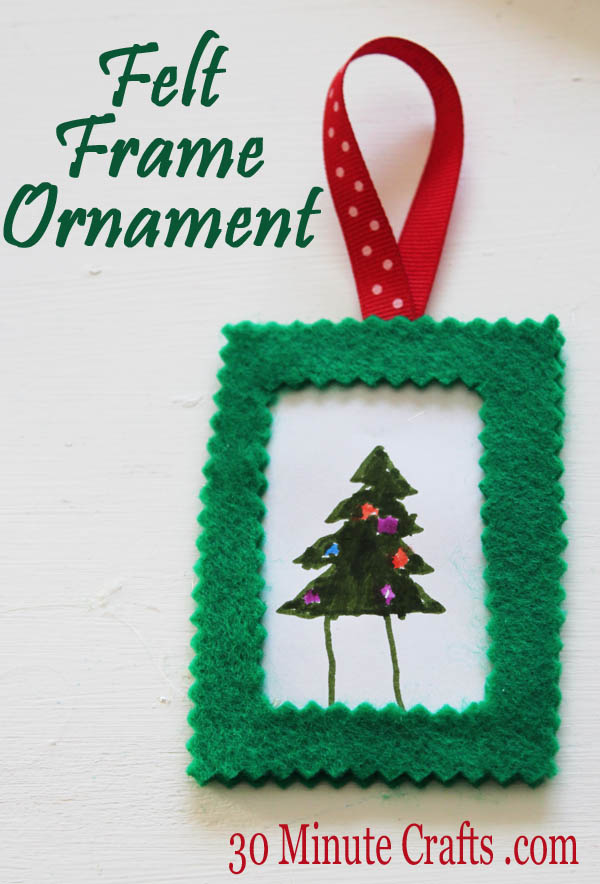
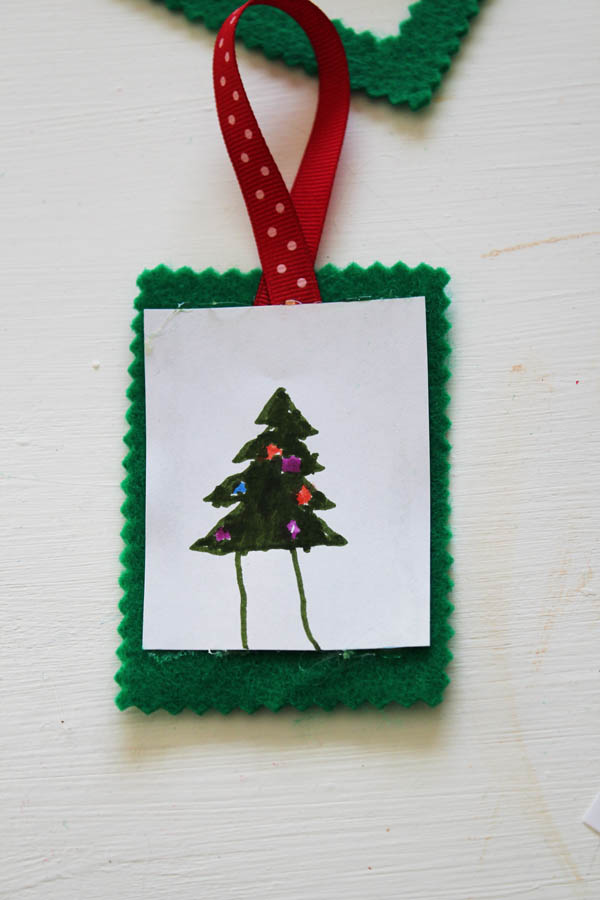


[…] Simple hanging felt frame (great for showcasing the kid’s holiday art work) […]