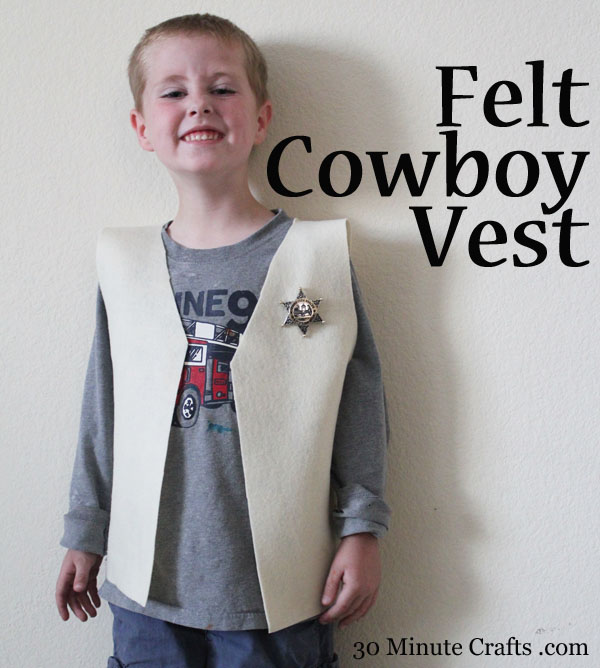
My son recently dug into his old Halloween costumes and found the Cowboy vest he wore when he was 2. Nearly two and a half years later, it doesn’t fit anymore, and he was disappointed. So he asked if I could make a Cowboy Vest for him. Of course I could. This vest is super easy to make, and I was able to whip it up for him in just a few minutes. The original vest had a matching belt with holsters and felt guns, and whipstitching around the edges of the vest. This vest isn’t nearly as fancy. I might later add whipstitching around the vest to add some color and interest, or if my son really wants for it and asks for it expressly.
The timing of his asking was perfect because this week is Craft Lightning Week! All week long I’m partnering with my friend Angie from The Country Chic Cottage and we are each sharing a super-quick 15-minute-or-less project with you in the morning, and then a round-up of great quick projects in the evening. This cowboy vest is the perfect Craft Lightning project.
To make your own felt cowboy vest, you’ll need:
Off-white felt. For my size 5-6T son, a half yard is plenty
Sharp Scissors
Sewing Machine (though you could use glue)
t-shirt that fits the child (for measuring purposes only)
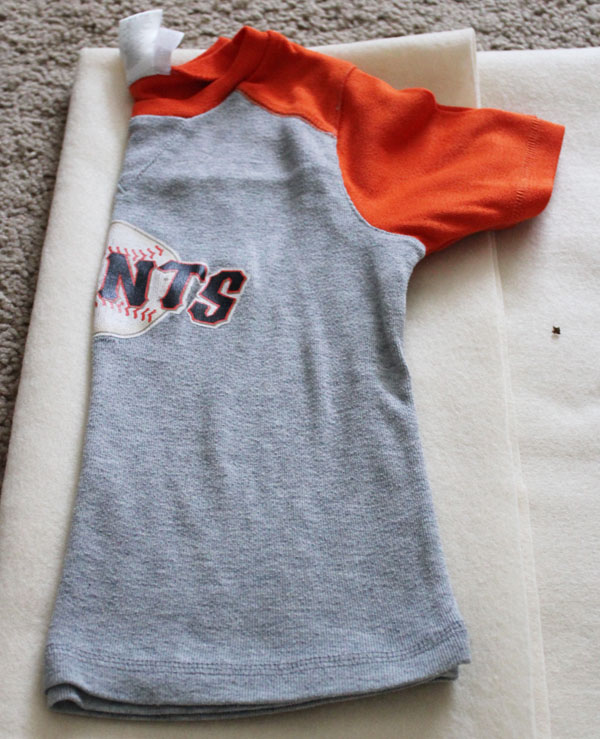
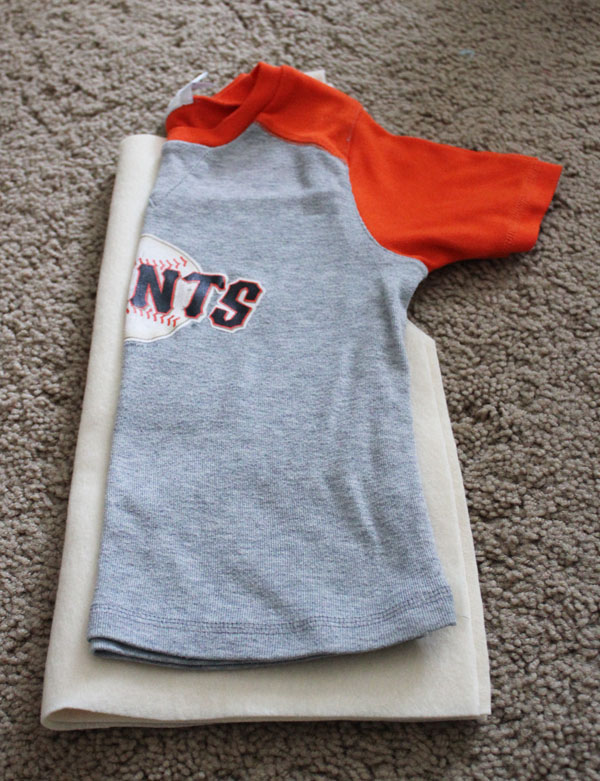
Fold your felt into quarters. Fold the shirt in half and lay it down on top, with the folded edge of the shirt up against the folded edge of the felt.
Cut roughly the shape of the shirt. Cut arm holes instead of sleeves – make the arm holes nice and roomy.
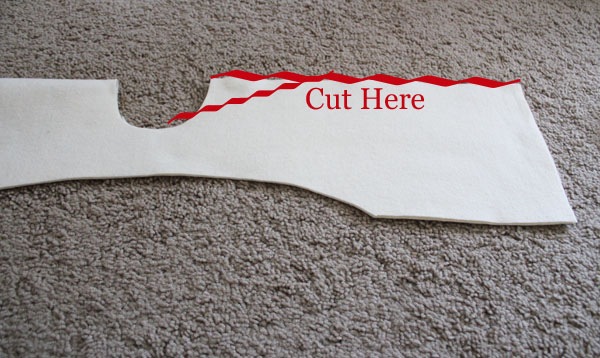
Unfold, and fold again as shown in the picture. Cut along the front fold, and then cut the front collar into a v-neck shape.
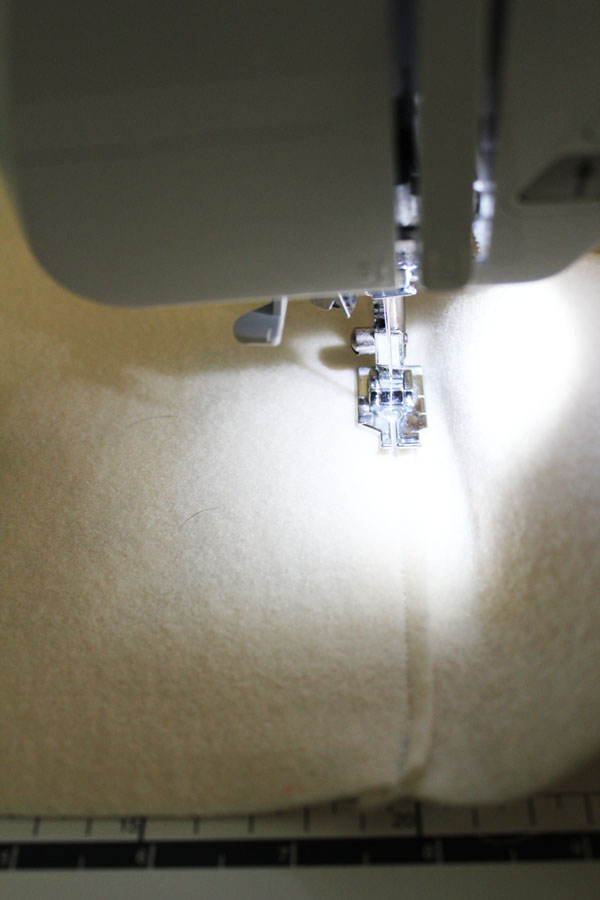
Stitch the two side seams quickly together. You could use fabric glue for this part if you don’t like to sew.
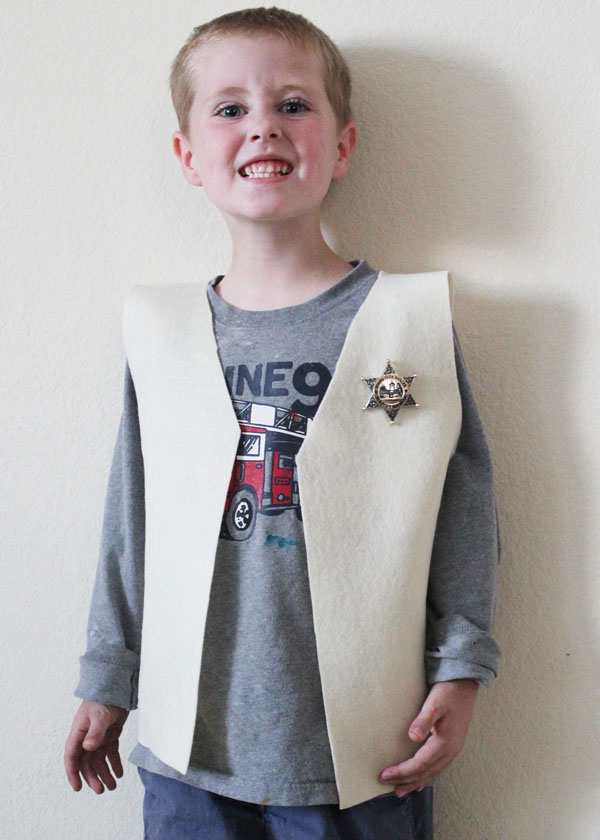
Once you’ve stitched the sides, you’re all done – you have made a cowboy vest! Let your child try it on and you can take pictures of him with a super cheezy smile!
Linked up at:




Love this tutorial but I’m a little bit lost…
Could you explain in greater detail this step “Unfold, and fold again as shown in the picture. Cut along the front fold, and then cut the front collar into a v-neck shape.” because I’m a little unclear on exactly what to do.
Thank you,
Taylor
Sure! So, you have the basic shape cut out. You unfold everything so that the fabric is flat. It looks a little bit like a big rectangle-ish with the hole in the center. Fold the piece of fabric in half. Fold it so that it is still very long, but now very skinny. The two arm holes will be lying on top of eachother. Cut along the fold, from what will be the bottom of the vest, all the way up to the neck hole (this is the horizontal red wiggly line in the photo). This cuts the front slit into the vest. Then, cut the v-neck into the front of the vest. Depending on the size of the person wearing the vest, the measurements will be larger or smaller. For my 5-year-old son, that meant cutting about 6″ down from the neck hole, along the side I just cut open. Cut a straight line from that point up to the curve of the neck hole (this is the angled red wiggly line in the photo).
Hopefully that clarifies it a little!
So the first time you cut the fabric, the felt is folded 4 times? Thanks for this tutorial.
Yes. 🙂
Thanks so much for this. I am making cowboy vests for a 6 year old birthday party. Using a cotton cow print and an iron on fusible interface to make it sturdier. Your pattern is so easy and they look so cute, even with the interface each one took me less than 30 minutes. Yee-Haw!
wow this is looking so cute.