


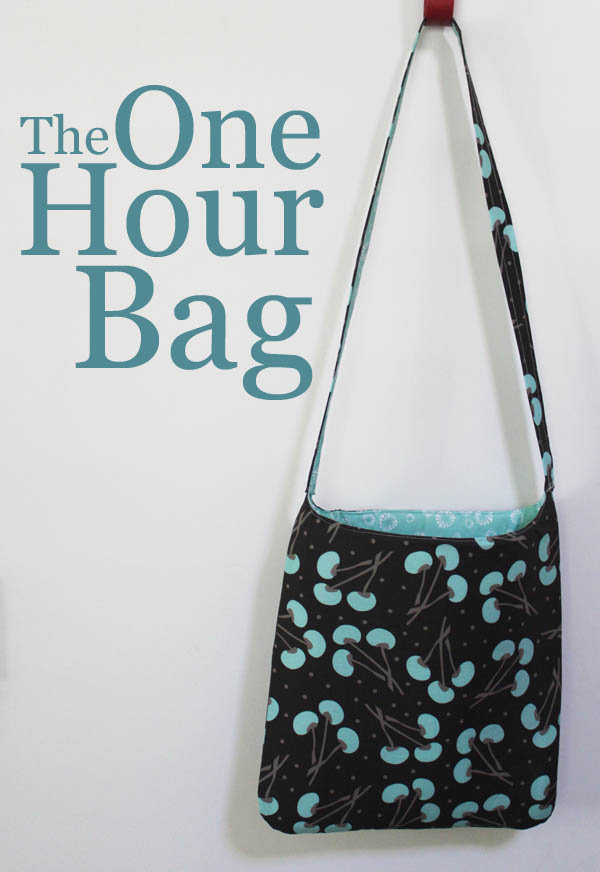
Before you start wondering why I’m sharing a 60-minute project on 30 minute crafts… let me explain. This bag takes about an hour to make… but you can make a version in 30 minutes, and I’ll give you the steps on how to make a 30 minute version right in this tutorial. Basically, the 30 minute version has a different handle and no pocket. But I really, really love the 60 minute version. So, if you’re looking for a super quick bag that you want finished today, go ahead and make the 30 minute version. But, if you have a little more time to spare (or are willing to spend 30 minutes today and 30 minutes tomorrow), indulge in the 60 minute bag. It’s worth the extra half hour, I promise!
I made my 60 minute bag with fabrics sent to me by Modern Yardage. They’re a fun online fabric company that prints the fabric as it is ordered. And when the fabric comes, they have an extra-wide selvedge that they print little goodies in. Which comes in handy on this pattern. You’ll see.
To make the 60 minute bag, you’ll need:
1/2 yard each of 2 different fabrics (I used Burst in Chocolate – printed medium – for the outside, and Float in Mint – printed small- for the lining)
1/2 yard By Annie Soft and Stable (you can use fusible fleece if you don’t have Soft & Stable. Your bag won’t be as firm, but it will be fine)
Standard Sewing Supplies – ruler, rotary cutter, scissors, sewing machine, pins, etc.
Drinking Glass (for marking)
Pen or Pencil
Nancy Zieman’s Create a Strap in both 1″ and 3/4″ sizes
To make the 30 minute bag, substitute 1.5 yards of 1″ wide grosgrain ribbon for the create a strap.
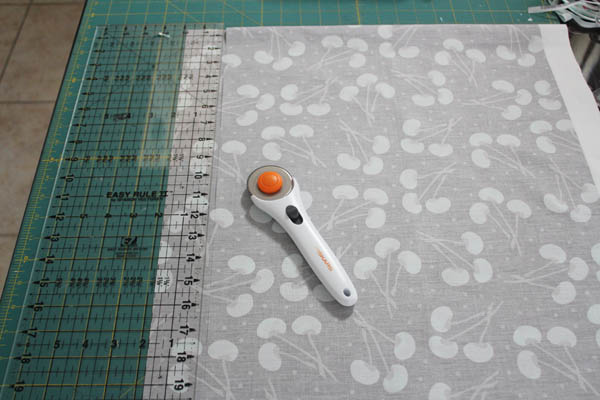
(SKIP THIS STEP IF MAKING THE 30 MINUTE VERSION) Start by cutting your fabric. You’ll need to cut a strip off of your outer fabric for the 1″ Create a Strap and a strip off of your lining fabric for your 3/4″ Create a Strap. Follow the package instructions. If you want more information on Create a Strap, you can find my full Create a Strap review here on Craft Test Dummies.
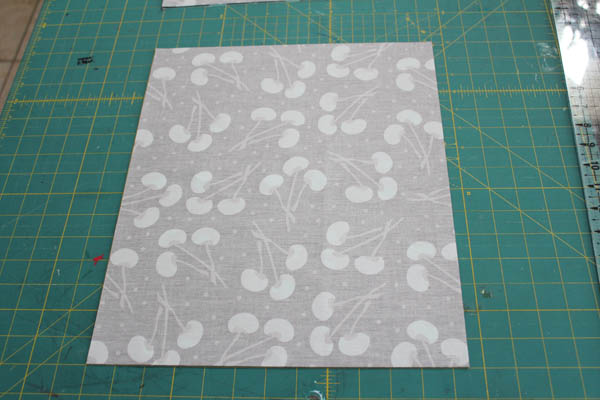
(START HERE IF MAKING THE 30 MINUTE VERSION) Cut the outside fabric and the lining fabric. You’ll need 2 pieces from each, each piece 15×12.5. You can adjust this size to make it larger if you like. I wanted a small bag that was still big enough to carry around my keys, cell phone, wallet, and a magazine or couple of toys for the kids.
Put the two lining pieces right sides together, then the two outer pieces on top of those (also right sides together)
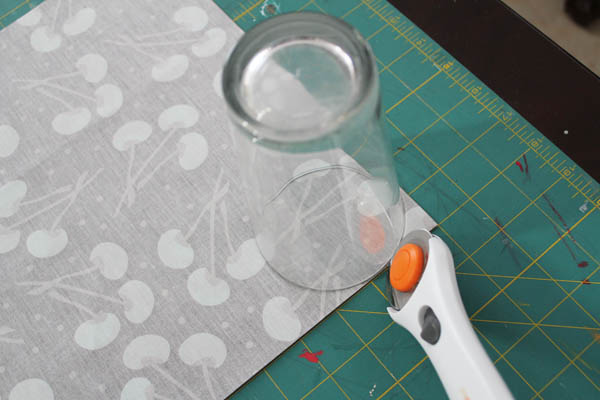
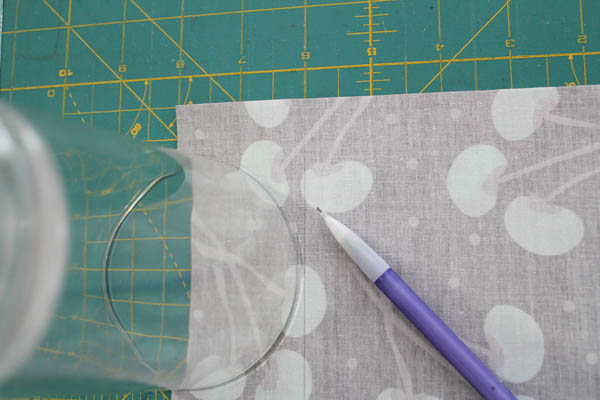
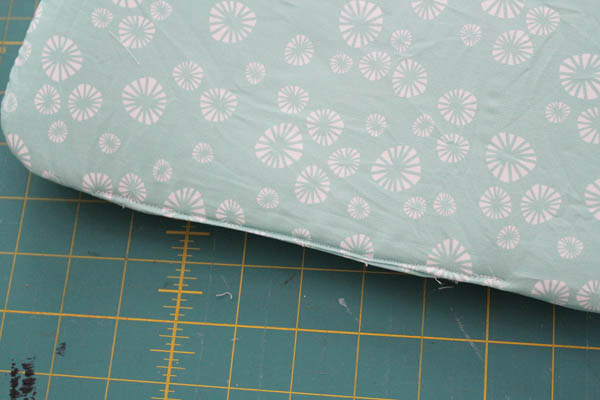
Use the wide mouth of your drinking glass to cut the bottom two corners into curves.
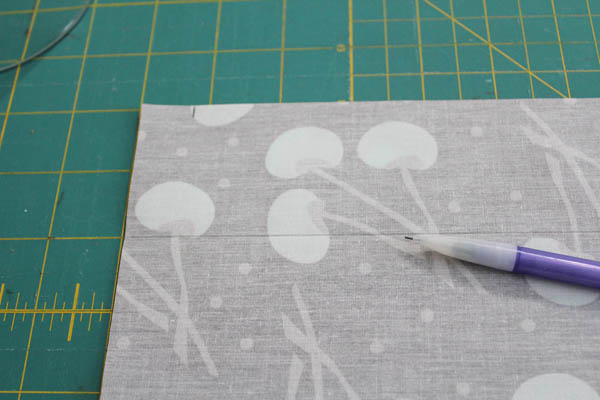
Draw a line across the top, 2″ down from the top edge. Mark in 3/4″ from each side. Use these markings to position the water glass to mark curves on the top edge.
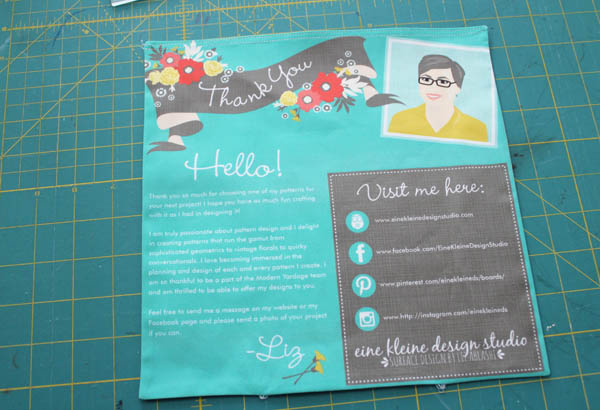
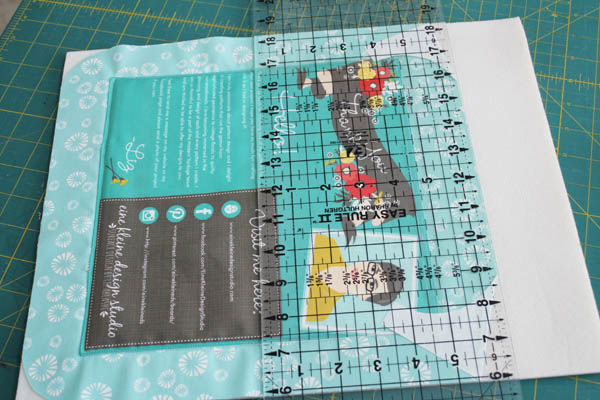
To make the pockets, find the “fun bits” that Modern Yardage puts in the selvedge, and cut into a large rectangle. You’ll need two pieces. I used the designer’s square and the Modern Yardage social media info (trimmed down). If you’re using store-bought yardage, you’ll still have enough fabric to make a pocket – cut two pieces 9″x10″.

Put the pieces right sides together, and stitch all the way around, leaving about a 4″ hole on the bottom for turning. Clip the corners.

Turn the pocket right side out through the hole, use a pen or other pointy object to push the corners into place.
Topstitch across the top to hold the pocket together, and give it a finished look. For the 30 Minute version, do just one line of stitching. If you’re splurging, add a second line of stitching… it looks good. Don’t worry about stitching the bottom yet.
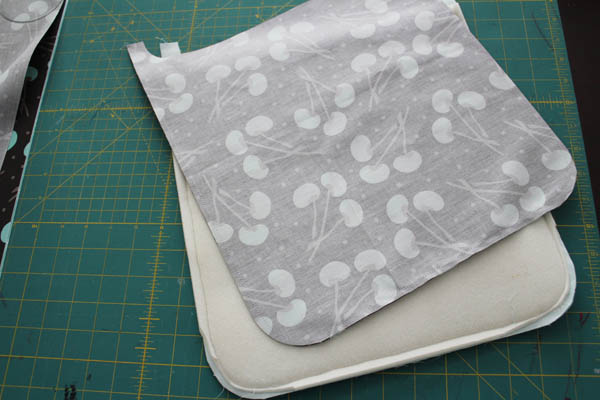
Put the lining piece on top of a piece of the Soft and Stable. Pin the pocket on, pinning through all the layers.
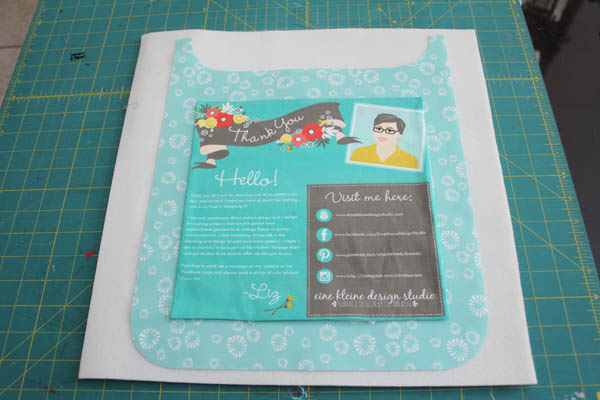
Stitch down the pocket, stitching from the top, down one side, across the bottom, and up the other side.
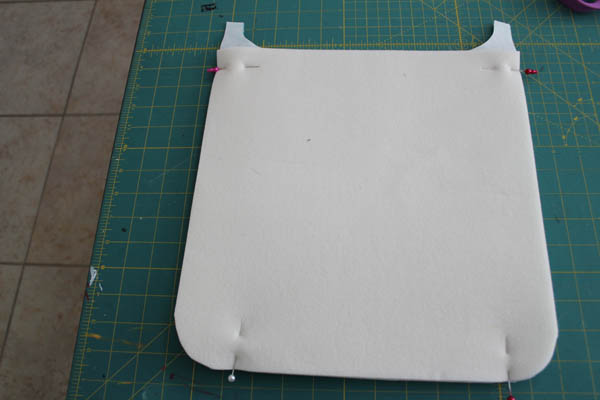
Cut the Soft and Stable to size with a rotary cutter. To make cutting the top easier, and to reduce bulk, fold down the handle flaps (so they are out of the way), then cut the top with a rotary cutter.
Repeat this cutting process with the second lining piece and piece of Soft and Stable. Since there is nothing holding them together, be careful to make sure the pieces don’t shift.
Put the outer pieces and lining pieces right sides together, and stitch all the way around each. Leave a 6″ hole at the bottom of the lining piece for turning later.
Trim the excess Soft and Stable in the corners.
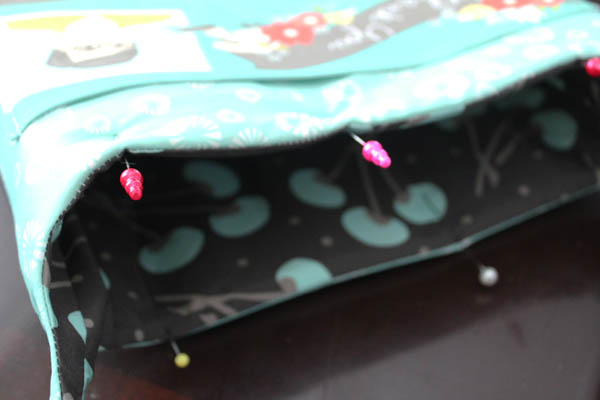
Turn the outer piece right side out, and insert into the lining piece. Line up the top edges and pin.
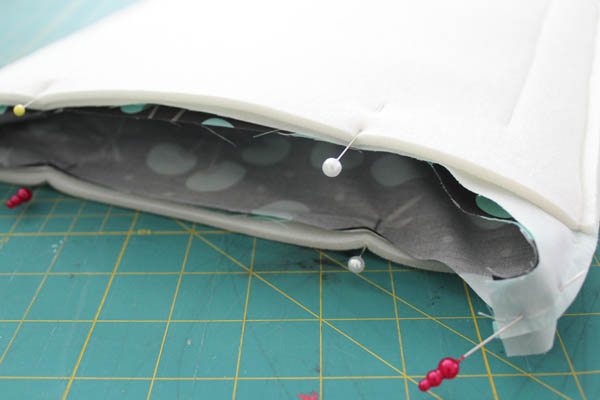
Sew all the way around the top.

Turn the bag right side out through the hole left at the bottom of the lining. Stitch the hole closed.
Adjust the top of the bag so that the lining and outer shell meet properly. Pin. Top stitch all the way around to secure.
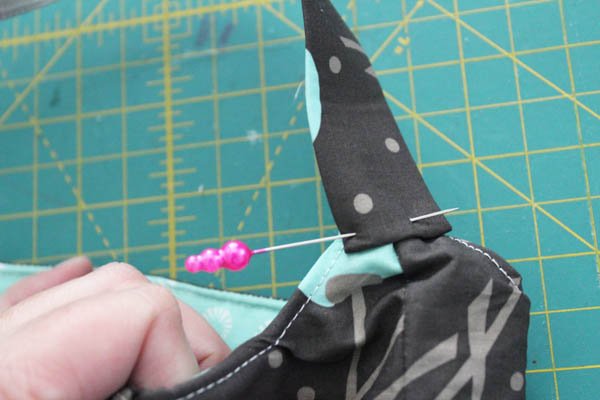
(IF YOU ARE MAKING THE 30 MINUTE VERSION, SKIP THESE HANDLE STEPS AND GO DOWN TO THE 30 MINUTE VERSION’S HANDLE) Stitch the outer of the two handle pieces made with the Create a Strap in place, tucking 1/4″ of the raw edge under to cover it.
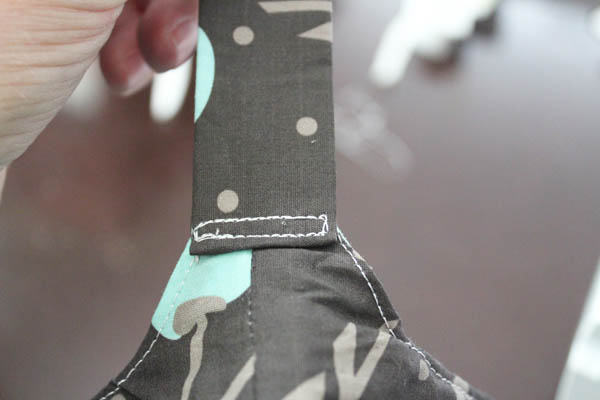
Try on the strap, adjusting the length to make it perfect for you, then pin the other side. Stitch the other side in place.
Repeat this process with the inner handle piece, by stitching one side down on the inside. Before securing the other side, topstitch down both sides to secure.

Then secure the other side of the inner handle, stitching it into place. The bag is complete!
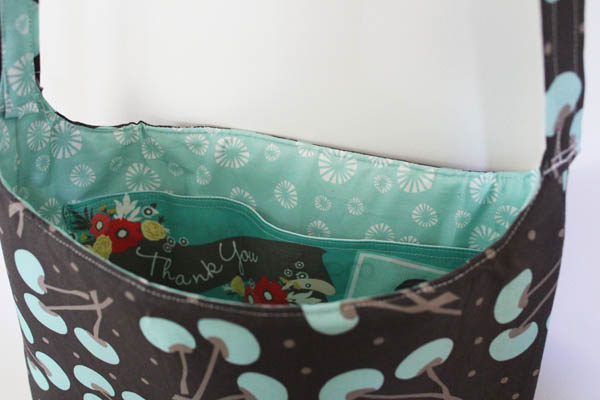
I love the little peek of the pocket made with the bonus fabric!
30 MINUTE VERSION HANDLE:
Tie an overhand knot in the Grosgrain ribbon, right on the handle nub that sticks up from the main body of the purse. The length of the ribbon should go up, with a few inches sticking down. Topstitch the tail at the bottom in place. Cut the ribbon handle to the desired length, then repeat the process of tying and stitching the ribbon in place. Your 30 Minute Bag is Complete!


Thank you for sharing this tutorial. Your bag is beautiful!
Thanks for sharing the tutorial. The tutorial is so easy to follow & I can’t wait to make one for me. Thanks again.
Super cute bag! I’m definitely adding this to my to-do list. Thanks for sharing 🙂
I have got to make one of these thanks for puting it on pintres.
what is the finished size of the 60 min bag, love it but need to carry 7″ tablet, ta
I designed it to fit my old paper planner, which is about 9″x12″, and it fits perfectly. Your 7″ tablet should fit well. And if you use the Soft & Stable it will give it some nice cushion (I’m assuming you’ve got a technology tablet, not a paper tablet – that would fit, but not need the cushion!)
Love it! I will add a outer clear pocket on mine!
Modern Yardage no longer prints tips and fun stuff in margins
I hadn’t heard! That’s too bad…
I love bags and also sewing i am not a pro but will enjoy trying this project thanks
yay! I’d love to see pictures of the finished project!
Thank you for a brilliant tutorial
Oooh, I’m so excited for this tutorial. I’m going to try and pull this off using either a cat food or kitty litter bag for the outside, with a cloth liner inside, for a trash fashion show. Bonus points for actually using it as a tote bag after the show. 🙂
Okay, I am a skeptic and had to try to see if I could complete this in one hour. Not only did I finish in less than an hour, I added a zipper in that time. You could also add very easy to install magnetic snaps, available at any Joann Fabrics or Fabricland, to keep the bag closed. I used the new NY skyscene and am so pleased with the results. Now I have to decide whether to keep it myself or give it as a gift. Maybe I will make another one!
Can you share the step for the zipper, how you added it please?
This looks like something I can make after pulling my machine out of storage for a couple of years!
Hi, i just found this project through the AllFreeSewing. I loved your tutorial, it is easy to follow and goes very fast. I wanted ask you if I can use fat quarters for this bag, or it would be too small? Thanks!
This bag pattern is just right for the remnants I have. I recently bought a bunch of remnant pieces at JoAnn’s Fabric store and was looking for a cute pattern. The material is home décor fabrics so it will be sturdy enough for the pattern. I have some really cute fabric too.
Depending on the length of the handle, this could be used as a cute and simple small messenger like bag. I would make it with the pocket. This would allow me to carry just the essentials when I go to places like the fair or quick trip to the store.
I made this purse in a custom fabric (Chattanooga toile from spoonflower.com) for my best friend’s birthday. Since I wanted it to be more of a purse, rather than a tote bag, I made it a bit smaller (finished size about 11″ X 11 1/2″), added another inside pocket (this one divided into two sections), added a magnetic closure, and made the strap length adjustable using a D-ring. Then, I made matching accessories – a tissue cozy, glasses case, key ring, and wallet. She loved it – and I liked it so much that I made one (different fabric) for myself. I added a padded outside pocket to mine – perfect for an iPad or easy phone access.
Thank you! I’ll make this with a small handle on each side of the bag to hang on to the back of my wheelchair over the handles…I don’t often need the thing, but for long distances it sure comes in handy! I’ll ajust the size to fit shopping purchases and perhaps put two pockets on the outside for water bottles. Love it, thanks!
Thank you so much for this tutorial, it was exactly what I needed to make a carry bag for my eReader while travelling. I used fusible wadding on the outer fabric and quilted the rectangles before shaping and cutting the handle tabs. I boxed the bottom corners, added a button and loop to the top then upcycled some handbag hardware and a matching strap from an old bag.
I’m so glad I was able to help! <3
I made it with my children. Also added outside pocket but skipped the padding. Will make an other little bit smaller, but have learnt heaps from your tutorial. Thank you.
Yay!! So glad you enjoyed it!! <3
Could you please post the finished size of the bag???? I want to make sure it will be big enough before I make it.
Thankyou
Karna
The finished size is about 11×13. But you can adjust the size you cut the pieces to make your bag bigger or smaller.
It was confusing interpreting the following…
“Put the outer pieces and lining pieces right sides together, and stitch all the way around each” It was unclear whether to sew one of each together or lining to lining, outer piece to outer piece. I figured it out but to be clear, it should be worded in two separate sentences. It also should say sew all the way around, leaving the top unsewn. I have not made a lot of bags and this would have made it much clearer. My 9 y.o. niece And I enjoyed sewing one for her with my instructions.
Can this be made with a zipper?
Sure! You could add a zipper if you like!
Looks like a great purse, but I can’t see where to get the pattern. I don’t need a pdf converter and that is the only download that comes up. Wanting to add things to my browser. Did I miss where to get the actual pattern?
There isn’t an actual pattern. There are cutting instructions. 🙂
You don’t tell us how wide the fabric is. I’ve just organize my fabric and I am puzzle as to how wide the larger pieces should be. 1/2 of what width?
Fabric is usually between 40 and 44″ wide.
Guess it’s over my head but looks cute’
I love your crafts!!
Thanks so much! <3
Should bag be placed & cut parallel to selvage or perpendicular? Which direction on fabric should strap pieces be cut.
I am a quilter so I don’t usually care about the grain of the fabric. However, for your straps you’ll want the specified strip width x WOF (width of fabric).
I love cute functional purses I carry alot of stuff I am going to make mine so I can put it over my head like a sling purse
Love it! Sounds perfect!
This will be on my to do list. Love the tutorial it was straight forward.
Lovely little bag, thanks so much. Will check out. Modern Yardage!