


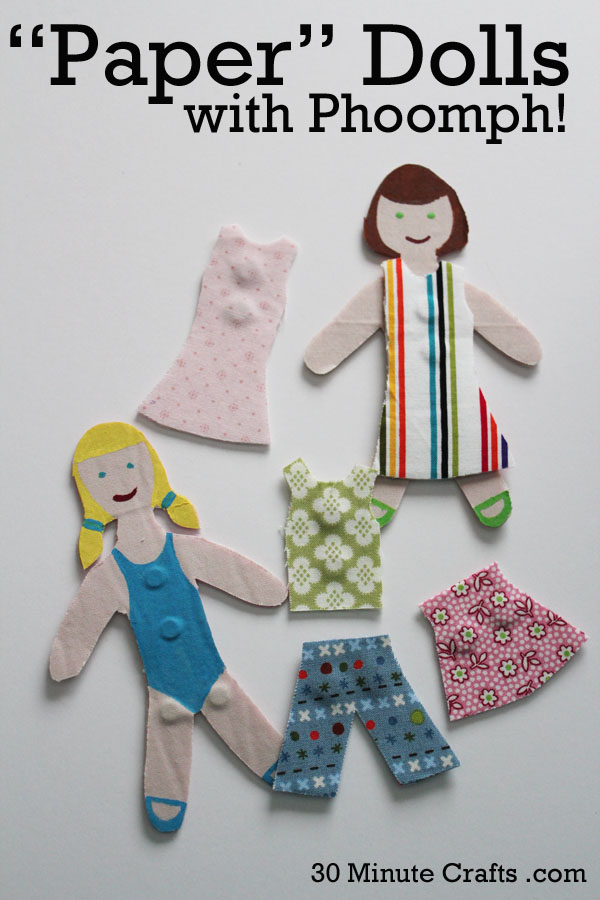
Earlier this week I shared with you a fun Kids craft using Phoomph – my Phoomph building squares – and later this week I’ll share with you another fun Phoomph video… but before I do, I need to share with you how to make these “paper” dolls made with Phoomph and magnets! They are easy to put together, and make a fun gift for any little girl to play with.
To make your Phoomph dolls you need:
Phoomph (the stiff, not the soft)
Small magnets
Assorted Fabric
Hole Punch
Paint
Paintbrushes
Phoomph Doll Printable Template
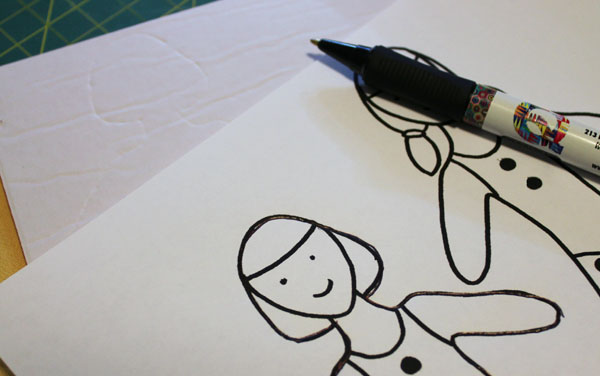
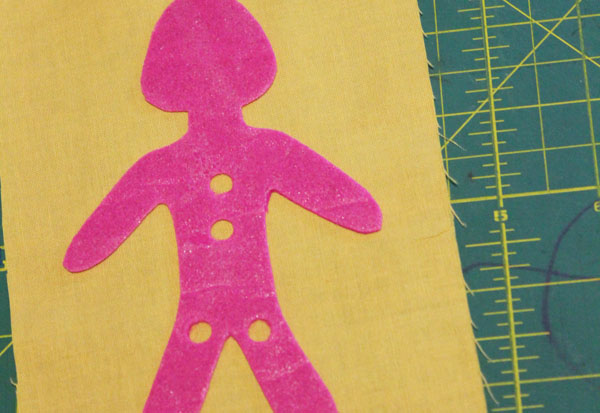
Print out the template, then trace onto the Phoomph. If you press down through the paper, you can use the indentation as a guide.
Cut out the doll shape.
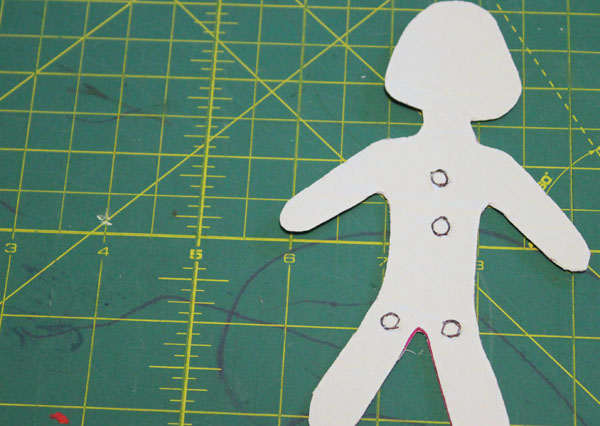
Use a hole punch to cut out the circles for the magnets. Peel off the backing and stick to the fabric.
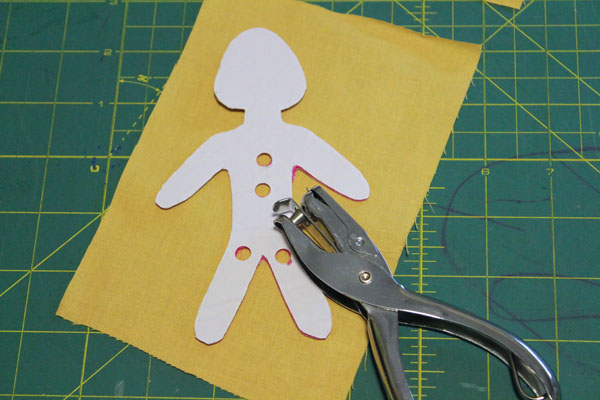
Remove the paper from the front, and carefully put the magnets in the holes.
You might need to put in the magnets one at a time, then cover with fabric. I found if I didn’t, they stuck together.
Once you have the second piece of fabric on top, trim off the excess, and you’re ready to paint on the details.

I painted on hair, and a face. I added a swimsuit so that my dolls could have a little modesty, and added shoes as well.
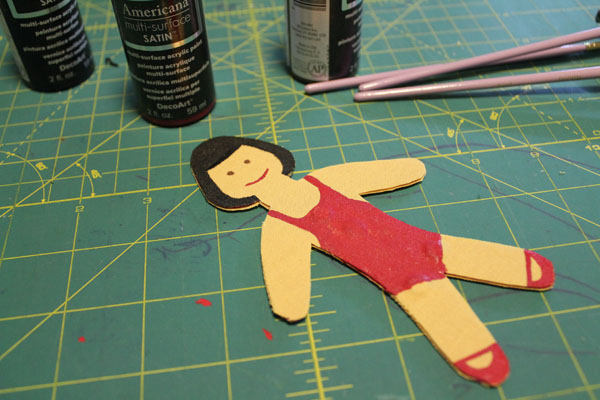
You can use whatever color of fabric you want – these dolls are for my nieces, so I chose colors that are close to their skin tones… but you can pick whatever colors will work best for you. I have two different hair styles for my dolls, but you can always change those up, as well as the hair and eye color. If the little girl in your life has a favorite color, you can make her swimsuit and shoes that color.
On Friday I’ll share with you the templates for the doll clothes, and how it all comes together!


[…] Phoomph “Paper” Dolls […]