


We loved seeing Big Hero 6, and making this fun craft! Since we don’t have a garage filled with high-tech equipment, or a nerd school at our disposal, we made a much simpler version of Baymax – a Baymax Bandage tin.

Big Hero 6 opens in theaters this weekend. We got a sneak peek, and my 6 year old loved the movie. There is a lot of great physical comedy in Big Hero 6, that both kids and adults will love. I enjoyed the movie as well. Lots of great action, and humor. Though I would love to see more Disney movies that include parents (and not a mom that is a bear for most of the movie, or parents that light lanterns each year in memory of their daughter). My son is very sensitive to loss – if you’re taking a child who has a fear of loss, you might want to prepare them.
It is always awesome to see a movie where the hero (or, Hiro), has more brains than brawn. Where hard work pays off. And that emphasizes the value of friendships. There are lots of great themes in this movie that we’ll be talking about.
One more warning – since watching Big Hero 6, fist bumps at our house have never been the same. And we’re loving it!
If you’d like to make your own pocket-sized Baymax, and one that doesn’t require batteries, here is what you’ll need:
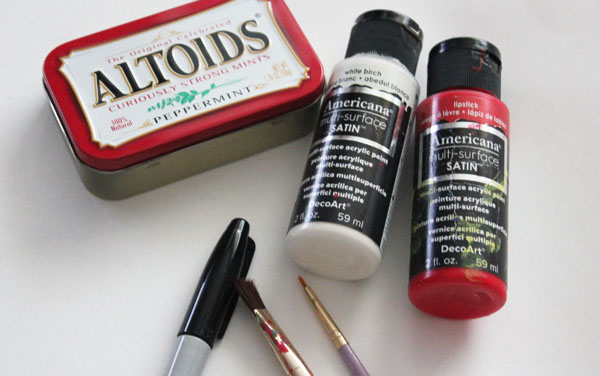 Tin – I used an Altoids tin
Multi-surface paints – these are DecoArt Americana multisurface paints in Lipstick and White Birch
Paintbrushes
Permanent marker
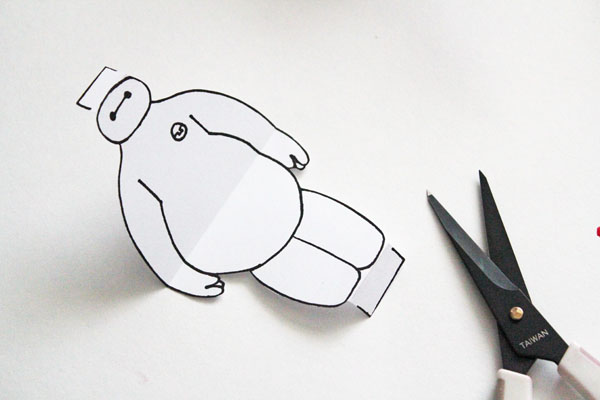
Mini Baymax Printable
Scissors
Double-sided tape
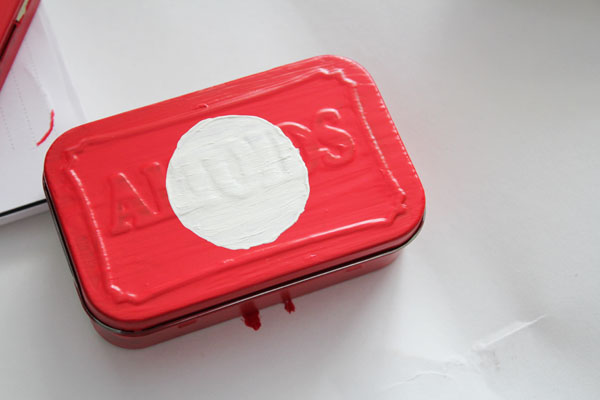
Paint your tin red. This might take more than one coat.

Once the red is dry, paint on a white circle. If you’re not good at free-handing circle shapes, trace a lid with a pencil to make a light line to follow.
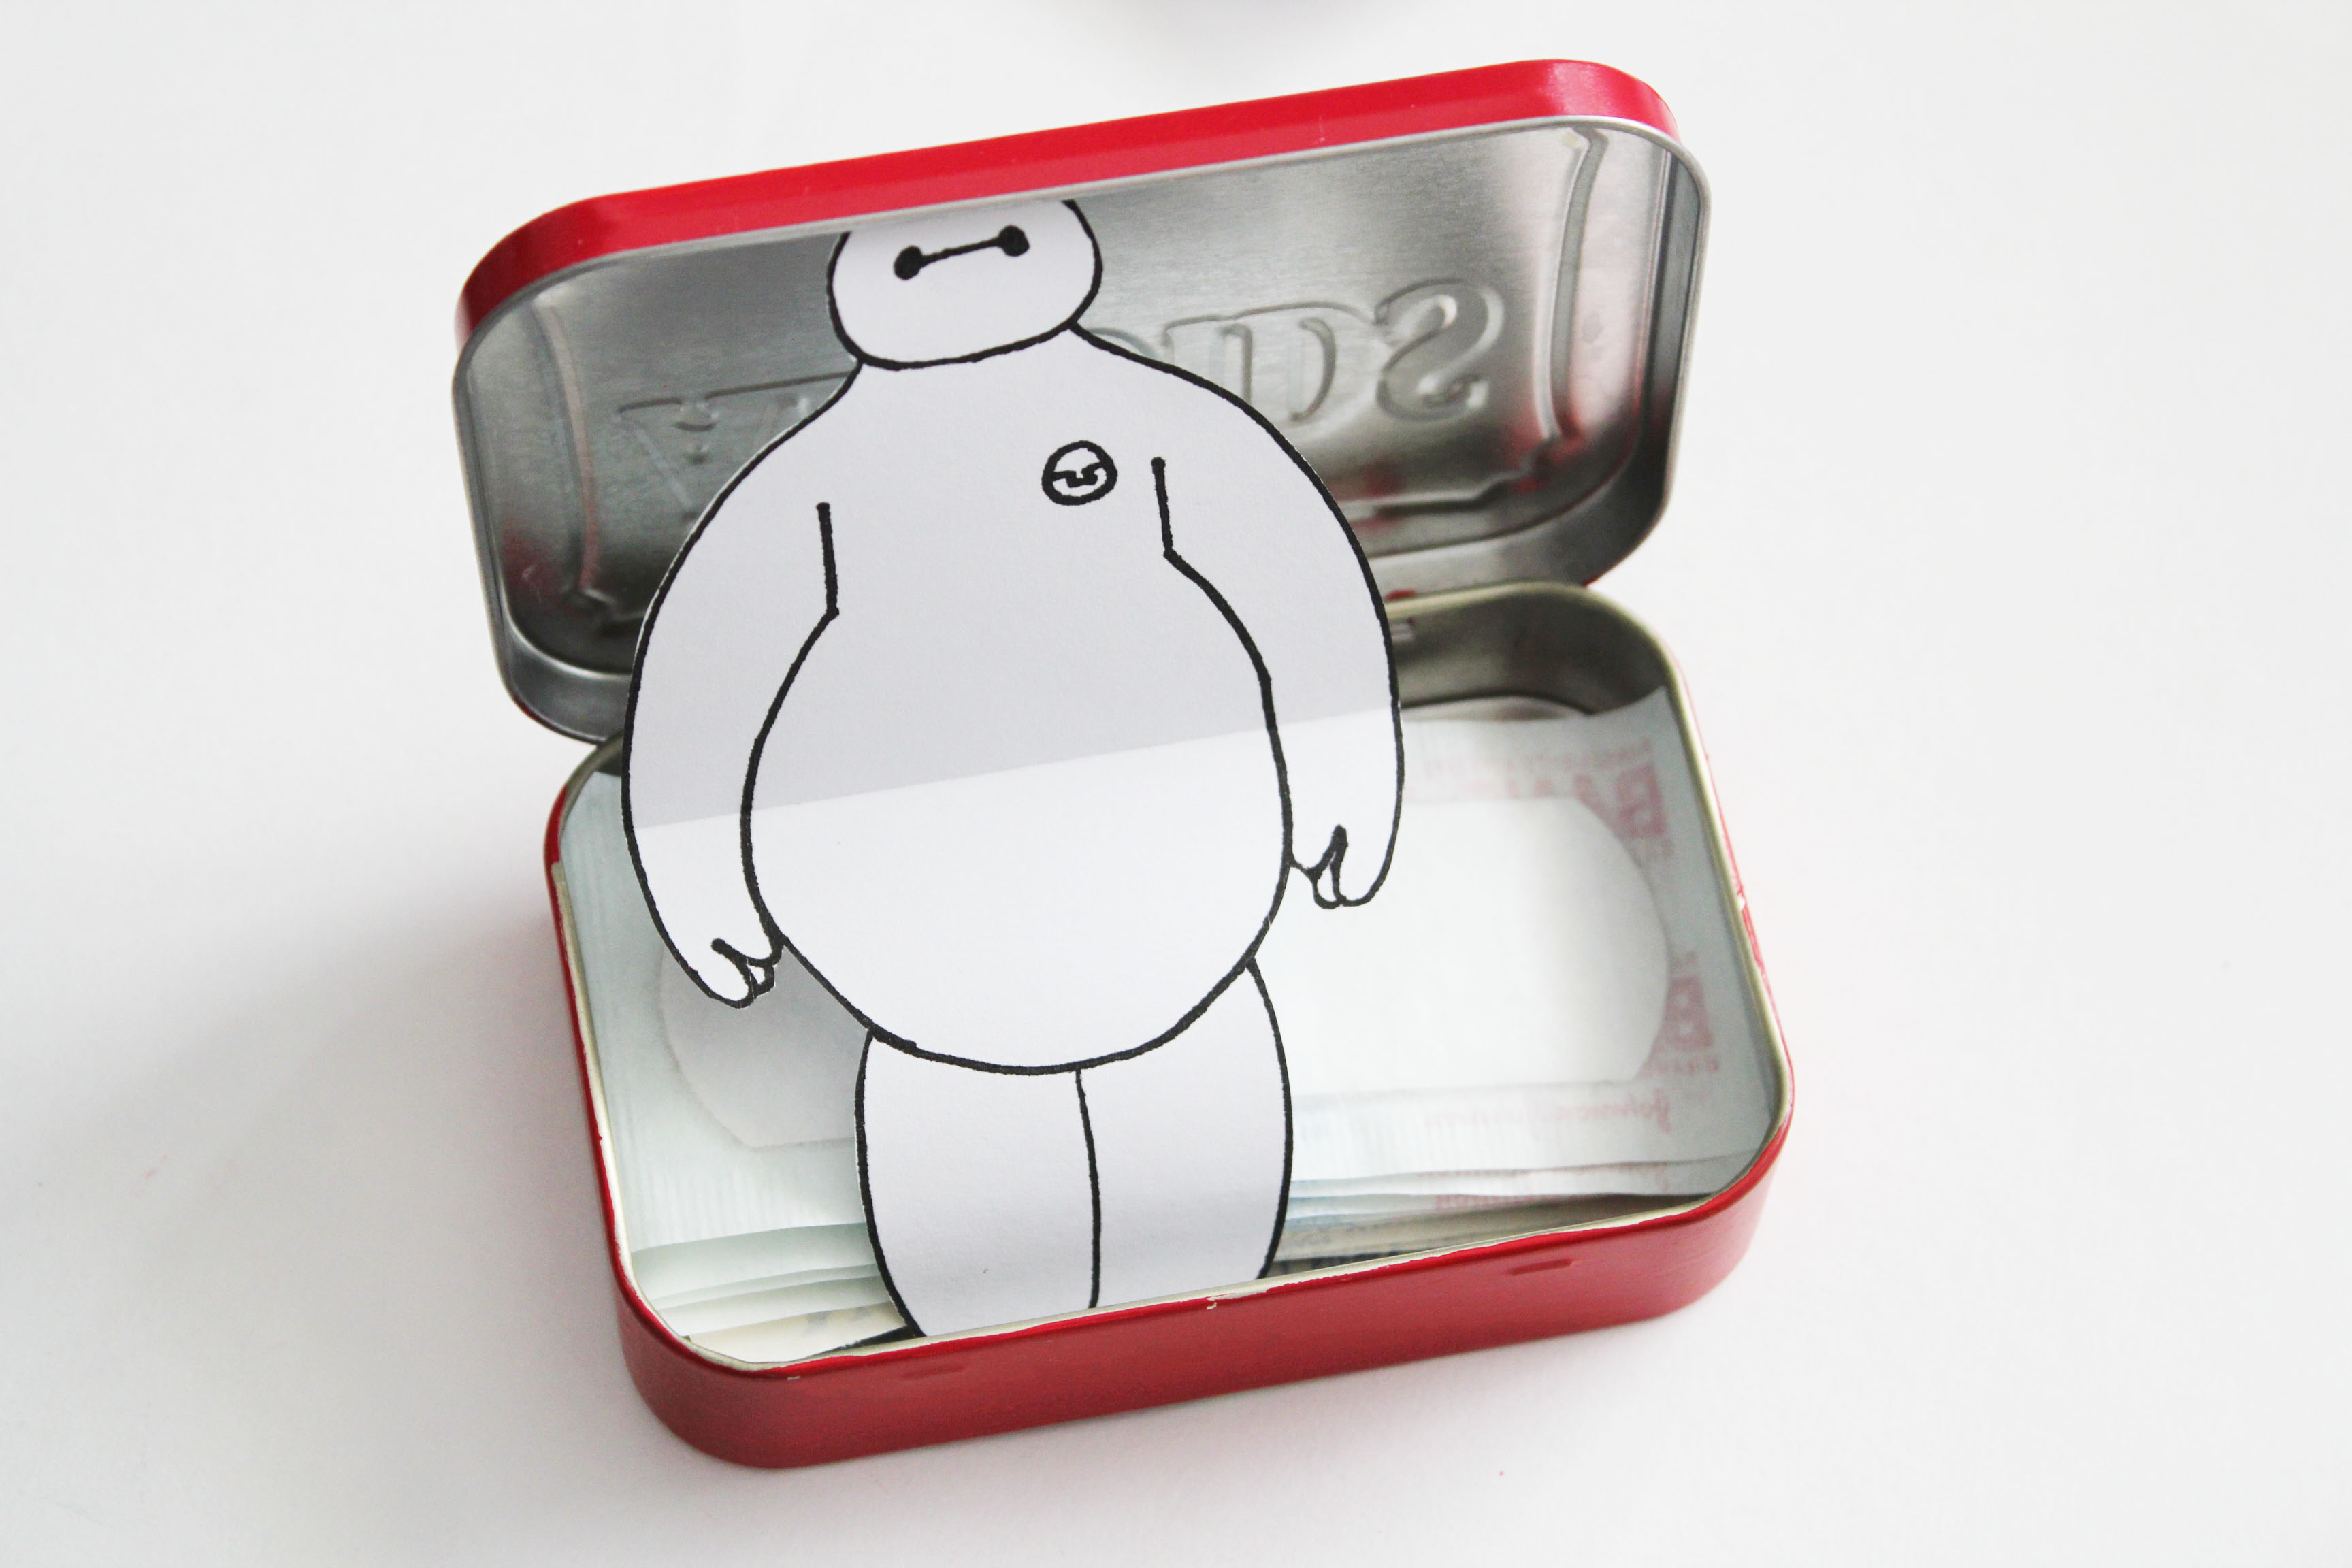
Cut out your mini Baymax. Make sure to keep the tabs on. Fold the tabs in, then fold Baymax in half.
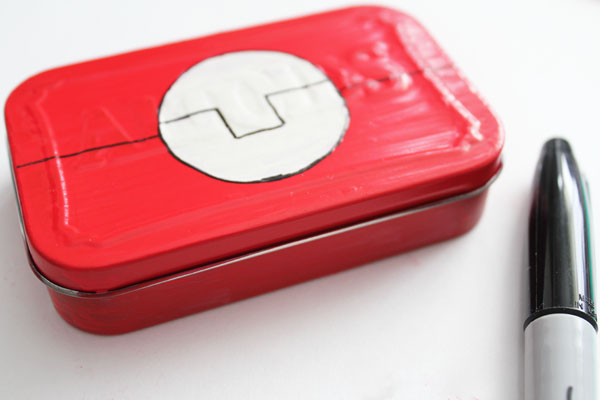
Use the permanent marker to outline the white, and add detail lines to the tin. Make sure the paint is completely dry before doing this – any damp paint will stick to the marker.
Use double-stick tape to attach Baymax to the inside of the tin.
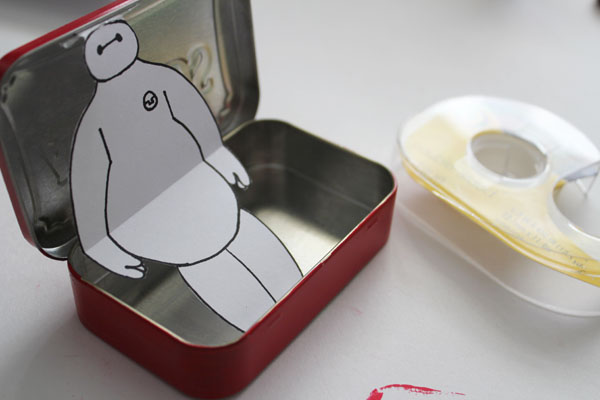
Tuck your bandages inside the tin, under Baymax. Keep in your pocket, purse, car, backpack… so that you have him handy when you need a little TLC!
Make sure to check out Big Hero 6, now in theaters!


So cute! I am going to make this for my little sister.