


My kids love softies. And hiding things in pockets. And presents from Mom. And all those loves came together when I made them these Mouthy Zippered Pillows a couple weeks ago. I was going away for a conference, and left a gift for them to open each day. Day 2 included these fun zippered pillows made out of soft Shannon Cuddle fabric squares. I whipped them up the night before leaving. And inside each zipped-up mouth was a little bonus gift.
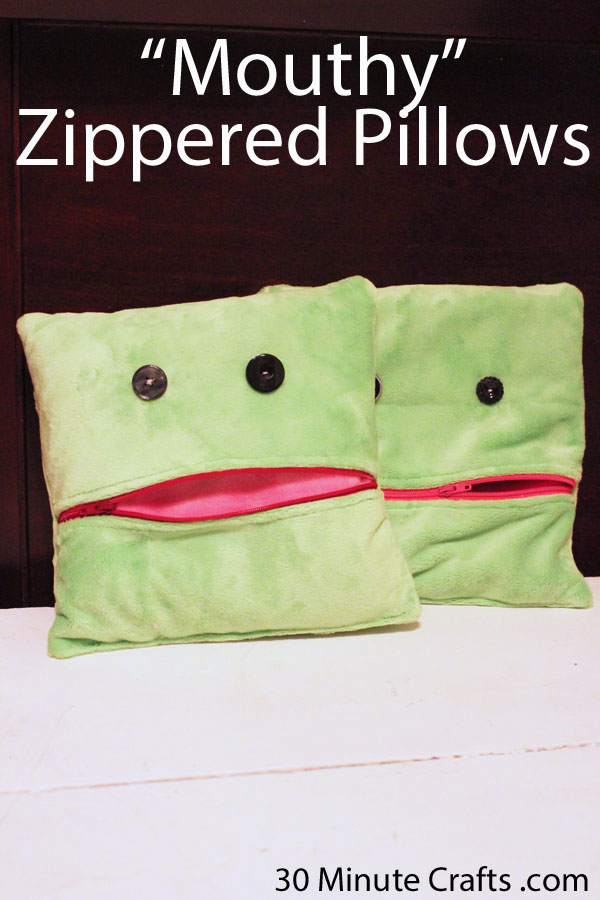
These zippered mouth pillows can hold their treasures, notes from mom, even allowance money! And they are super simple to make.
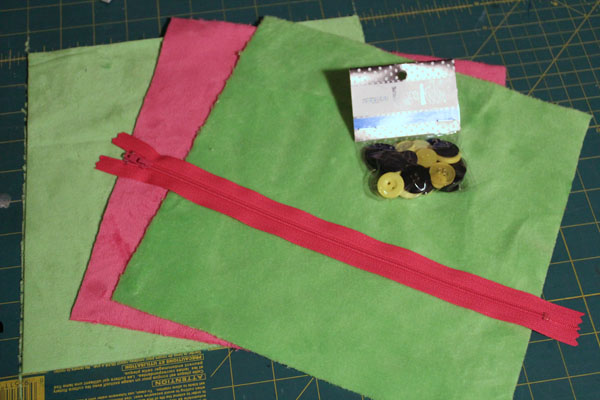
You’ll need:
3 – 10″ Squares of Shannon Cuddle Fabric. I went with two green squares for the outside, and a pink one for the inside “mouth”, but you can choose whatever you like.
2 buttons. These were from a collection of buttons for Buttons Galore by my friend Laura Kelly
12″ zipper (you can use a 10″ zipper, but longer is easier)
Sewing machine
Needle and Thread
Batting Scraps (at least 10″x10″, but larger is fine)
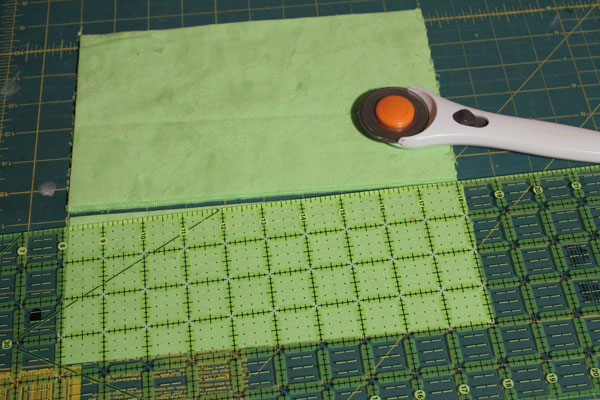
Start by cutting one of the outside squares. I cut a 4″ wide piece off of mine, but you can divide yours however you like. I think 4″ looks better than right down the middle at 5″.
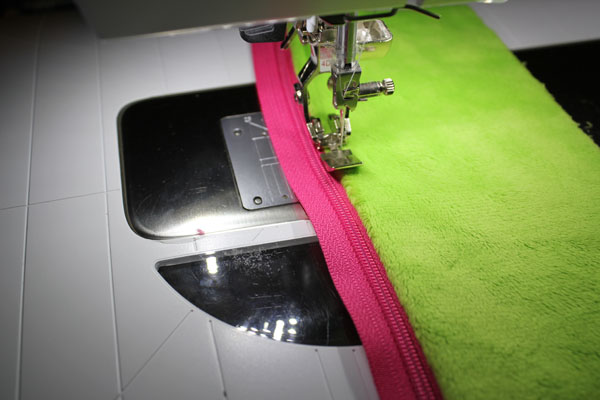
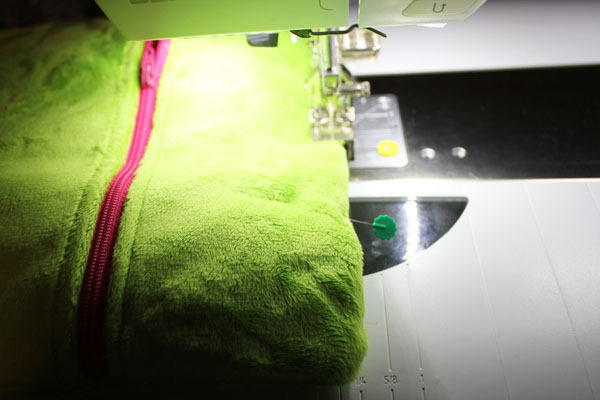
Because Cuddle is a knit, and doesn’t fray, there is no need for a lining fabric (yay!). This makes putting on the zipper easier. Just put the zipper underneath the strip of Cuddle (fuzzy size down – touching the zipper which is right-side up), and stitch down with your zipper foot. Make sure the edge of the zipper lines up with the raw edge of the Cuddle fabric.
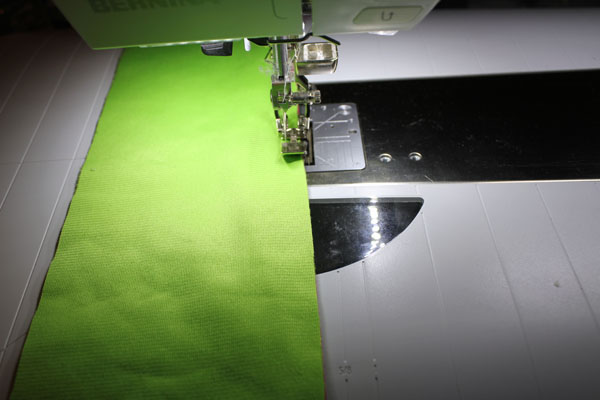
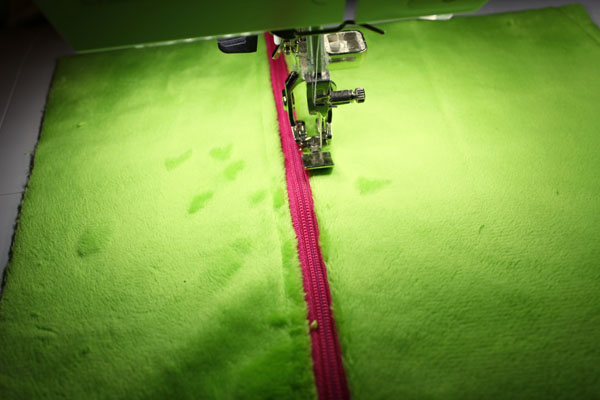
Now flip the fabric over so both the right side of the zipper and the right side of the fabric are exposed, and top-stitch down the fabric.
Repeat with the other piece of fabric, and the other side of the zipper.
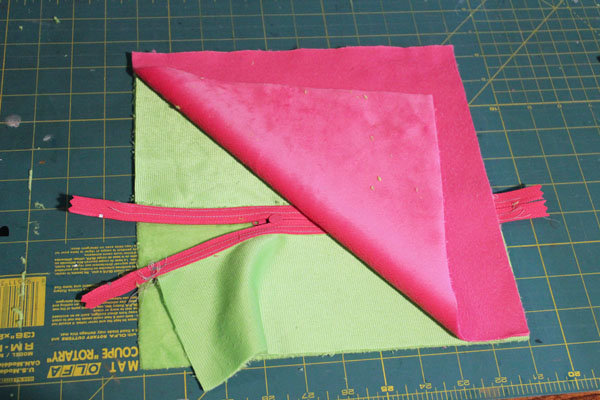
Time to put it all together! Layer your pieces: Back (furry side up), Front (furry side down), Pink (furry side down). IMPORTANT: Make sure that your zipper pull is on the inside, so that it isn’t outside the seam allowances after the next step.
Stitch all the way around, leaving about an 8″ hole at the bottom. I used a 1/2″ seam allowance, but it really doesn’t matter.

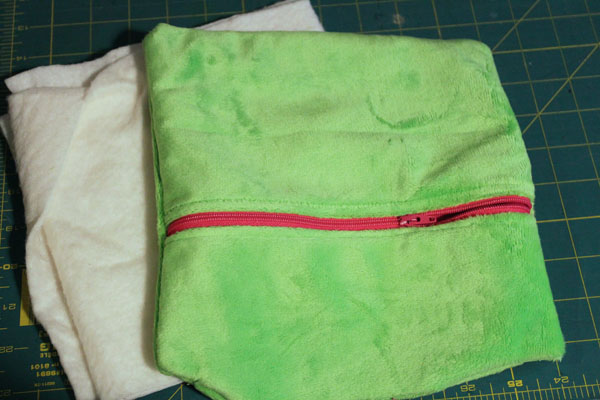
Cut away the extra zipper pieces, clip the corners, and turn right side out. To turn, put your hand between the two green layers, and bring them to the outside (just like you would an inside-out sock).
Fold up your batting scraps to make a layer about an inch or two thick, that is the size of your square, or a little smaller. Tuck inside, using the hole at the bottom.
 Pin all three layers at the bottom, and stitch closed.
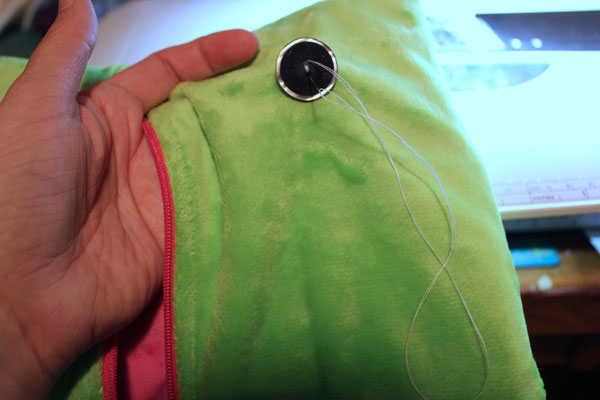
Open the zipper, and using a needle and thread, stitch the buttons to just the top layer, making the eyes. If you plan on giving this to a young child, use fabric paint instead so that you don’t have a choking hazard.
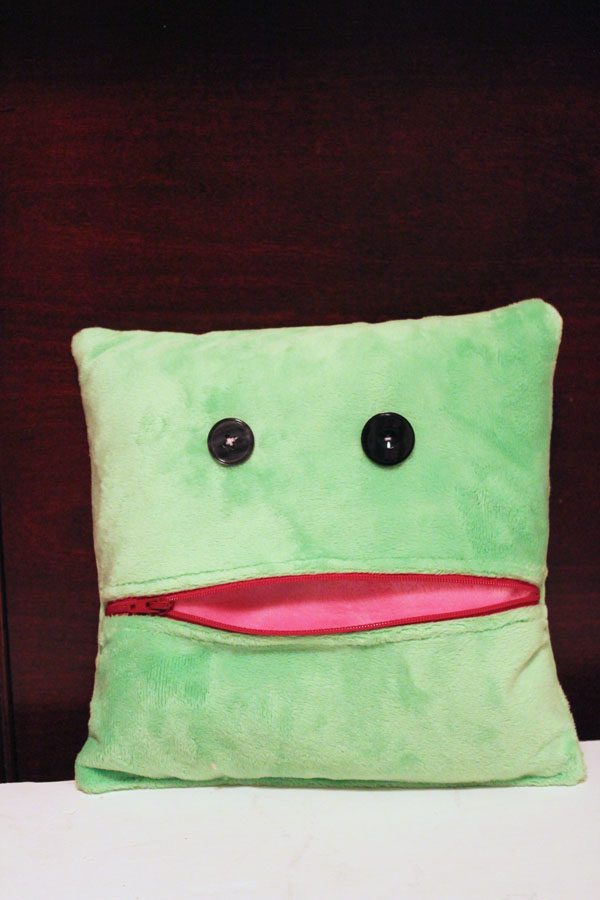
Your mouthy pillow is complete!
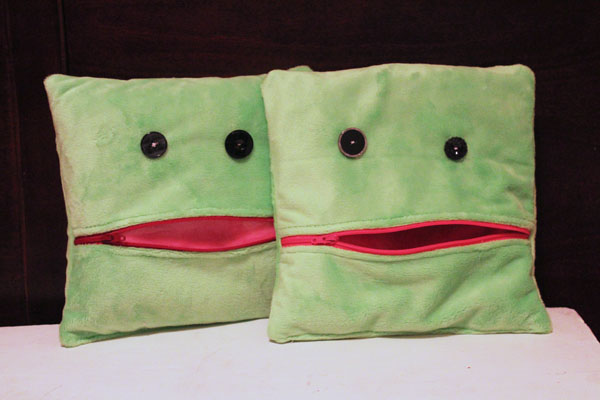
Make a friend for him, if you like…


These are absolutely awesome! I adore how cute the faces are, pinning!
Making this for my kids today!! So cute and fun. I agree with you; it’s impossible to give kids a toy with a pouch and NOT put a surprise inside. 🙂 Thanks for a great tutorial!