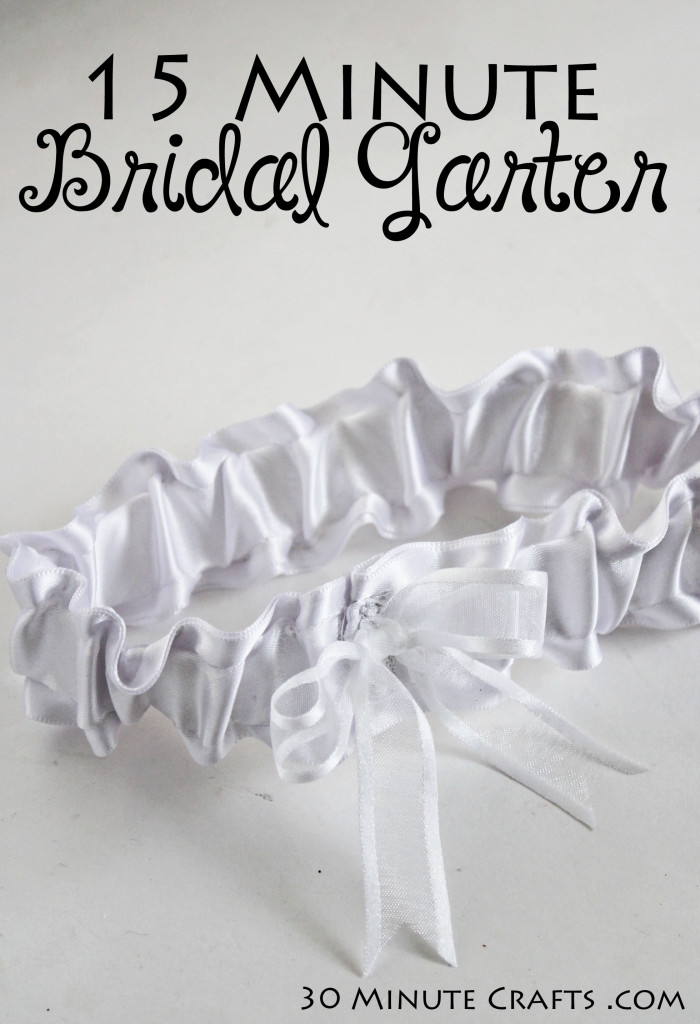
Want to make your own wedding garter or a garter for a friend? Looking for instructions to make a prom garter? This fast and easy garter made from ribbon is fast to make and easy to customize. You can make it blue for a “something blue” at a wedding, or just add a blue bow. If you’d like to have “Something old, something new, something borrowed, and something blue” all in one place, you can do that with your garter – Use old lace, new ribbon, borrow a brooch to pin on the middle, and add a blue bow or some blue beads. But be sure to make a second, more simple tossing garter if you plan on having a garter toss at the wedding!
This project is part of a series of five fast and easy wedding crafts I’ll be posting this week as part of the “Craft Lightning Wedding” series. I’m co-hosting again with Angie from The Country Chic Cottage. And this week we have Katie from Sweet Rose Studio joining us as a guest host. They’ll each be sharing five fast and simple 15-minute-or-less wedding crafts. AND we’ve teamed up with other crafty folks from around the internet to share even more fast wedding projects… so be sure to scroll down to the bottom of this post to check out all their great ideas!
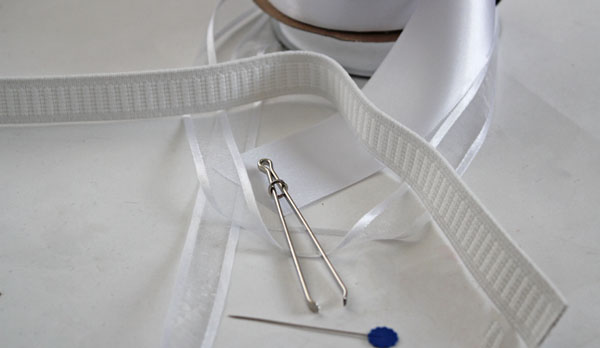
There is NO hand stitching in making this garter! We’re going to use our sewing machine and these supplies:
2″ satin ribbon – cut TWO 25″ pieces
3/4″ sheer ribbon – cut to 15″
1″ elastic – cut to 13″
Bodkin (or a large safety pin)
Pin
Scissors
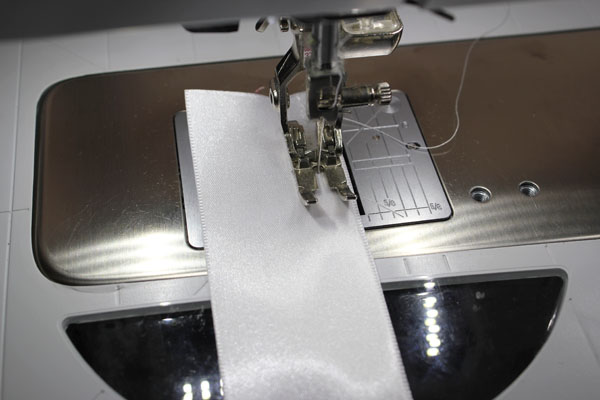
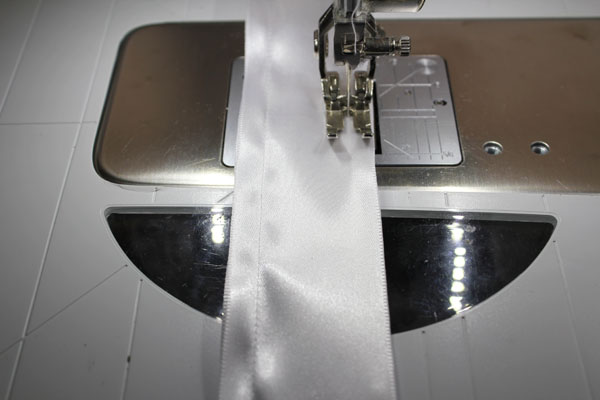
Place your two 25″ pieces of ribbon on top of eachother. If there is a “right side” and a “wrong side”, put them wrong sides together. Stitch down one side, 1/4″ away from the edge.
Repeat with the other side.
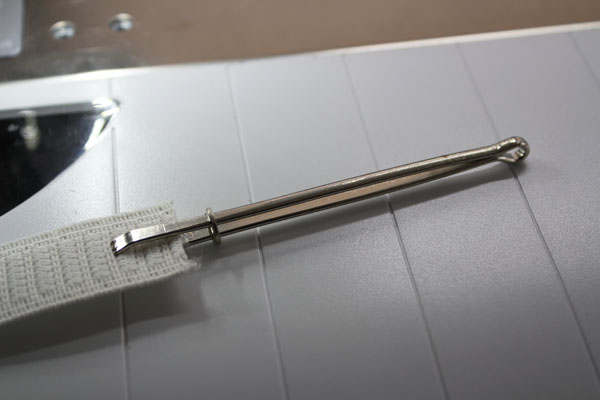
Put the bodkin (or safety pin) on one end of your elastic.
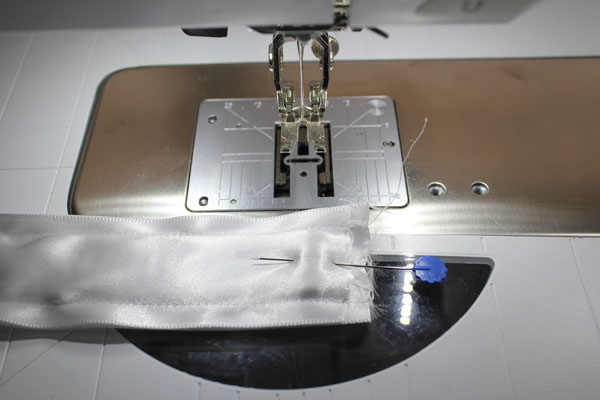
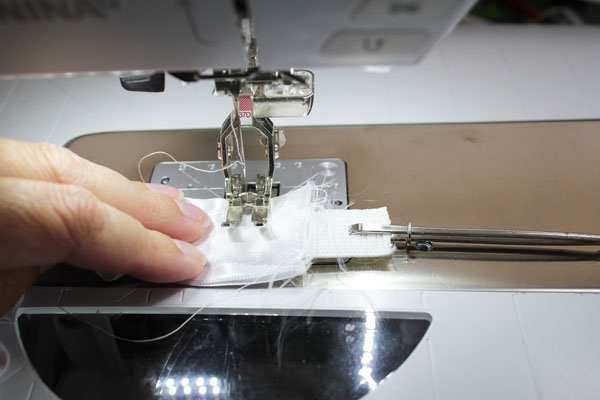
Feed into the casing created by stitching on both sides of the ribbon, until the other end of the elastic *just* peek out. Pin the elastic in place, then stitch down. Nothing fancy, just a line of stitching, then stitch back, then stitch forward again.
Finish feeding the elastic out to the other end, and let it poke out about an inch. Stitch in place, then cut off the excess.
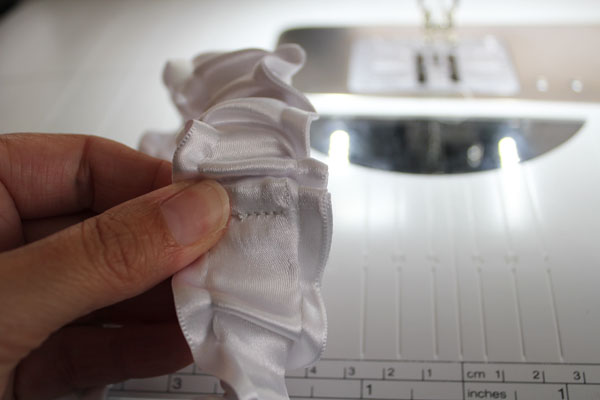
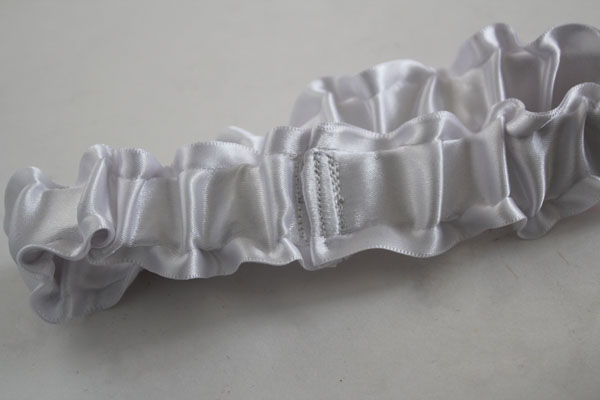
Fold over one end about 1/4″, and place on top of the other end. Put under the sewing machine, and stitch down. Make sure to stitch securely – you don’t want it coming undone!
The garter could be complete like this, but we’re going to add a little embellishment…
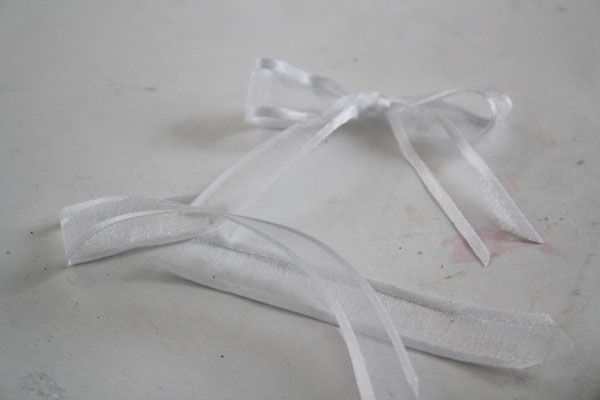
Tie a bow from the sheer ribbon.
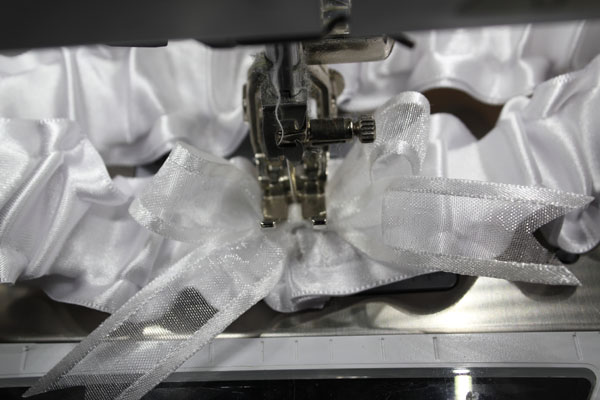
Use a couple stitches to tack it in place.
You could add whatever you like – an old brooch, a locket with family photos (or a photo of a loved one who was unable to attend the wedding). I took some lace pieces off of my mom’s veil that would have looked great on a garter like this! You can personalize this simple garter however you like… but if you’re going to be sentimental, make sure to make a second, simple garter to toss at the reception so you don’t lose your special one!
Want some more fast and easy wedding crafts? Check out these great projects!
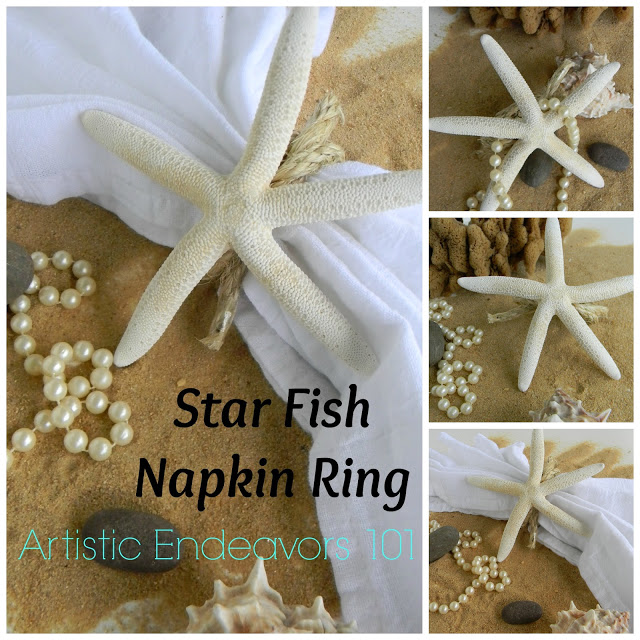
These starfish napkin rings from Artistic Endeavors would be great for a beachy wedding!
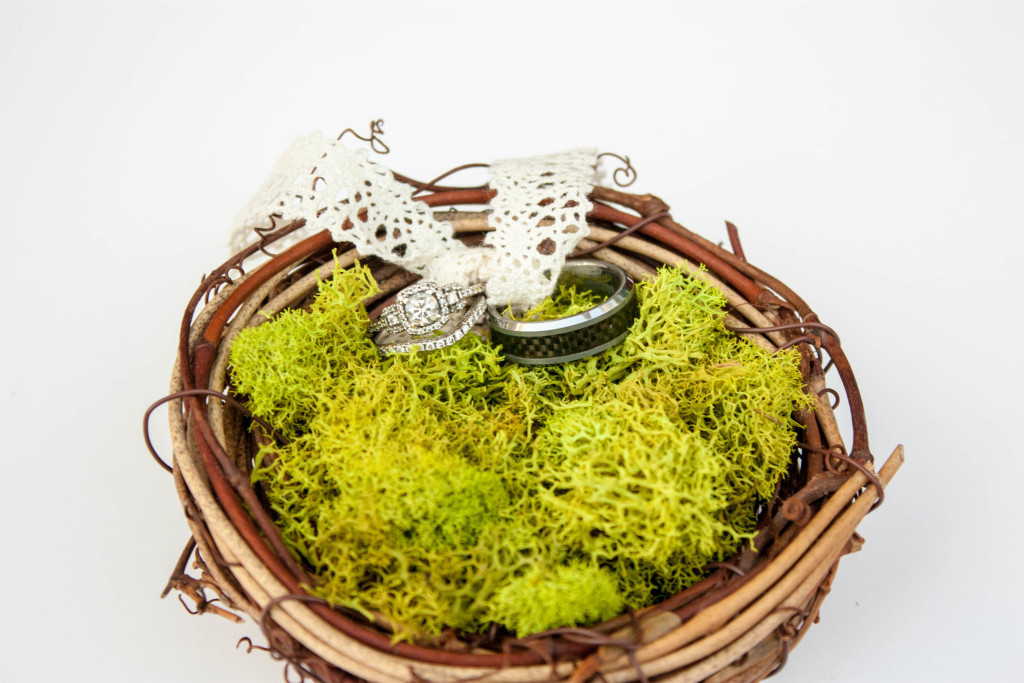
Bunble Bree came up with an adorable alternative to a ring pillow – this ring nest is perfect for the nature-boho wedding she’s attending!
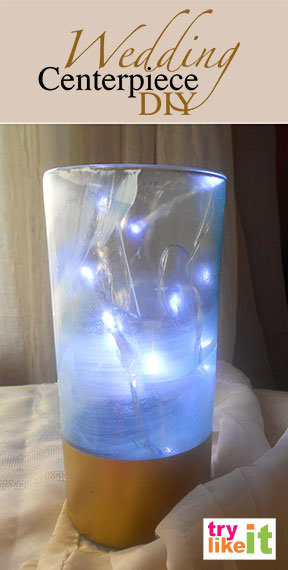
Looking for wedding decor? This DIY Wedding Centerpiece from Try it Like it is perfect for adding some sparkle to the evening.
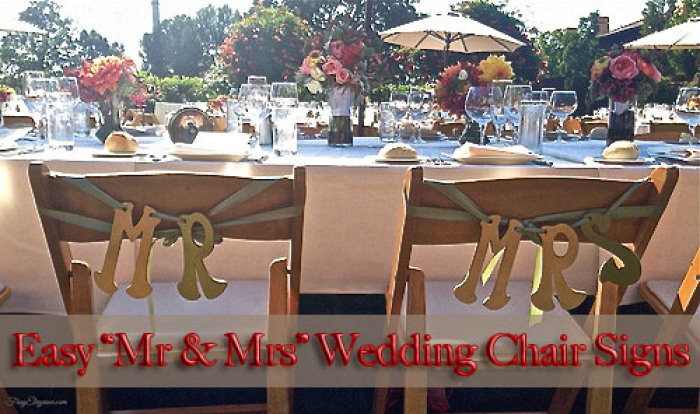
Frugal Elegance made some great wedding decor as well… these fun “Mr and Mrs” chair signs.
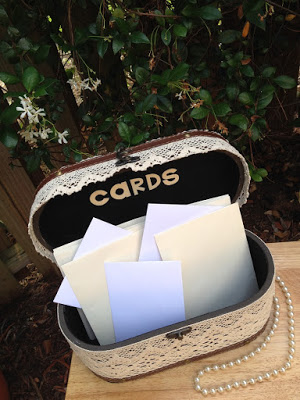
I love this lace suitcase card holder that Beth Watson made – the lace is such a great accent for a wedding!
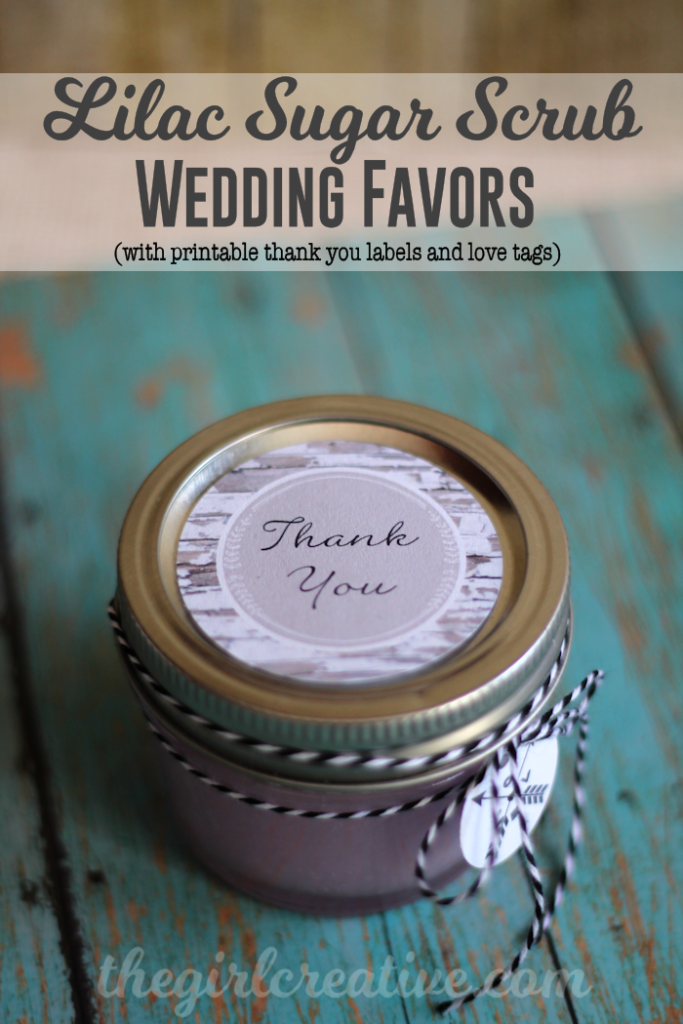
If you’re looking for favors, the lilac sugar scrub that the girl creative made is perfect!
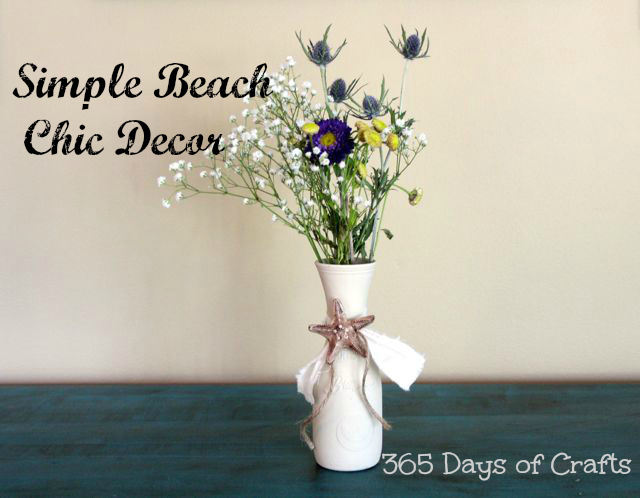
This fun beachy floral arrangement from 365 days of crafts is great for a wedding on the beach… or one with a beach theme.




[…] My other co-host is 30 Minute Crafts and she has a super quick and easy tutorial on how to make your own bridal garter. […]