


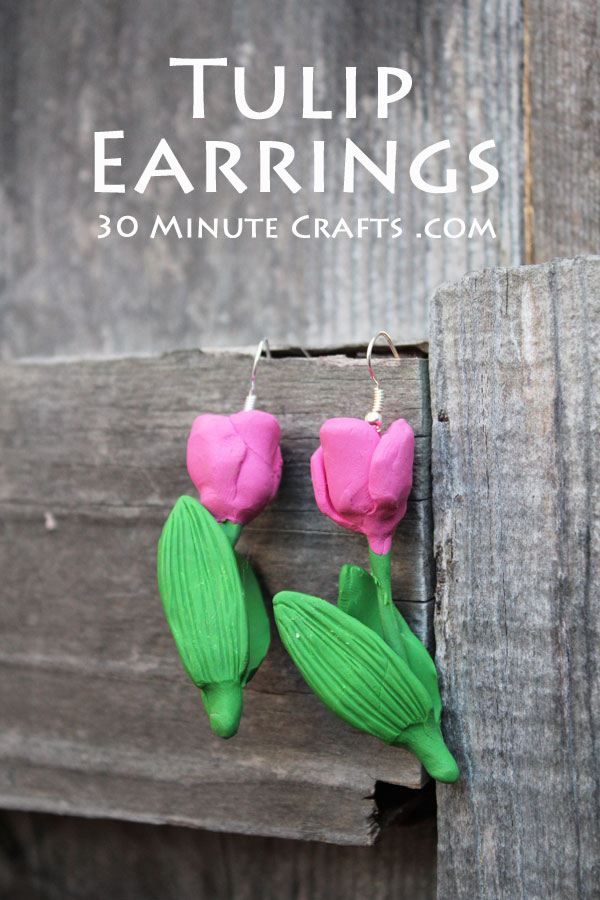
I’m sharing these tulip earrings as part of the Kid’s Crafts from Around the World series over on Made with Happy. If you didn’t guess, these Tulip Earrings are my craft offering to represent The Netherlands, also known as Holland.
When you think of Holland, there are a few different iconic symbols that come to mind. Windmills. Little Dutch Girls. Wooden Shoes. And Tulips. A small country on the NorthWestern European coast, it is barely more than 16 thousand square miles of land. Which makes it a little less than half the size of Maine. But this small country has a rich history and culture. The Netherlands, also known as Holland, is the home of artists such as Vermeer, Rembrandt, Van Gogh, and Mondrian. They regularly win Olympic speed-skating gold, wearing the country’s signature color: orange. And Holland is the backdrop for the story of Anne Frank.
I’ve done crafts celebrating Dutch culture before: Printable Windmill, Paper Wooden Shoe, Embroidered Tulip Shirt, and my Faux Delft Blue Mug. Today, I’m going to share with you how to make these tulip earrings out of oven-bake clay. You don’t need fancy clay skills, we’re using a mold for all the tricky parts!
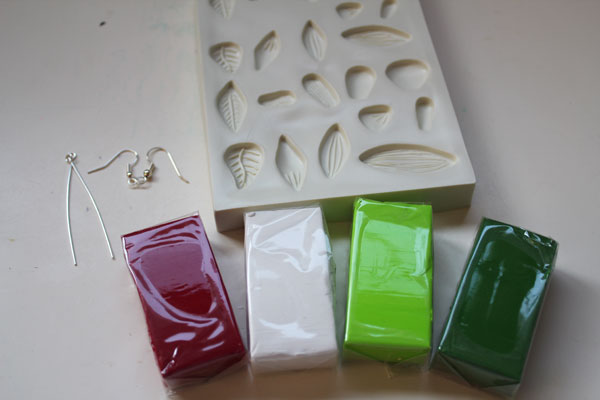
To make the tulip earrings, you’ll need:
Sculpey Flower Mold
clay in your choice of colors – a color for the petals and a color for the stem/leaves
Earring Wires
Head Pins
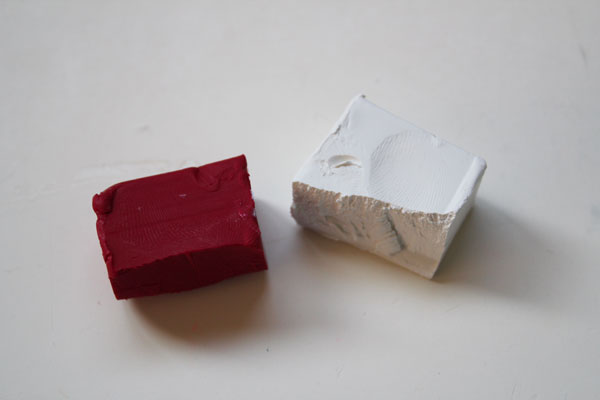
I didn’t have the color pink or the color green I wanted, so I created them by mixing colors that I did have.
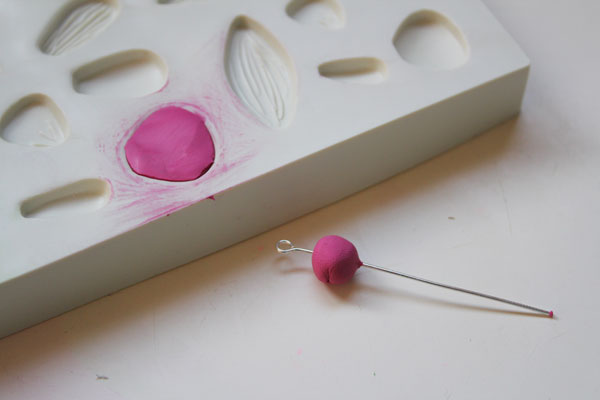
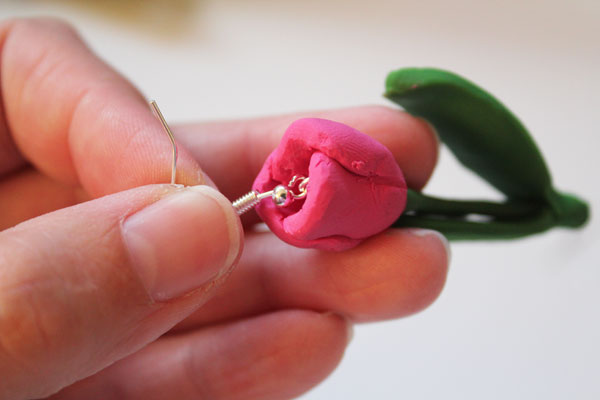
I rolled a small pea-sized ball as the base for my flower, and skewered it onto the headpin. At this point, it would be a good idea to add the earring wires as well. I didn’t, and that made things tricky later. Add the earring wires now to make things easier on yourself.

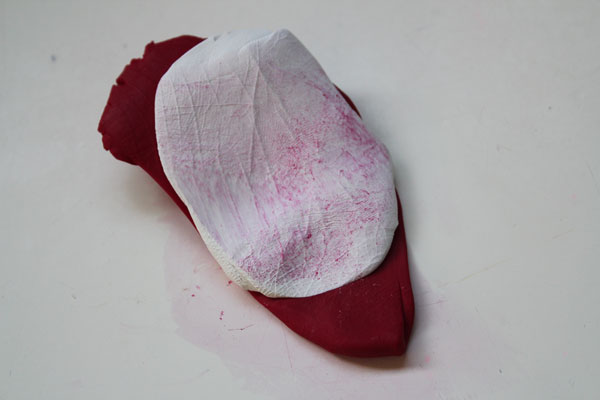
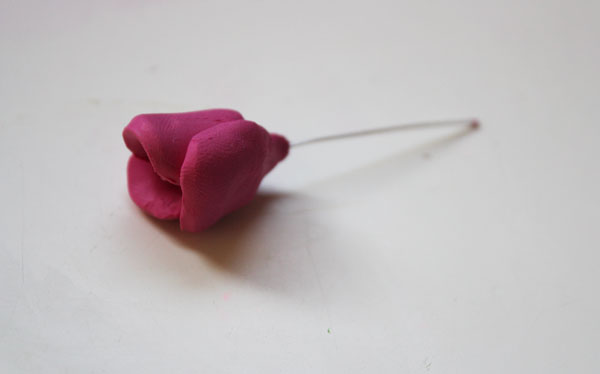
Make the petals by pushing the clay into the flower mold.
Put the petals onto the ball. I felt the petals out of the flower mold weren’t tall enough, so I stretched them a little as I put them on. You’ll need three petals for each flower.
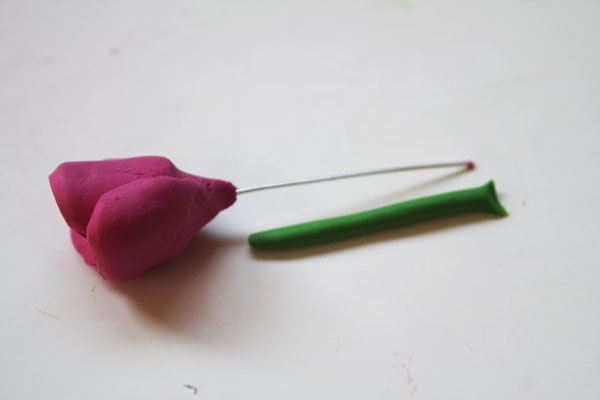
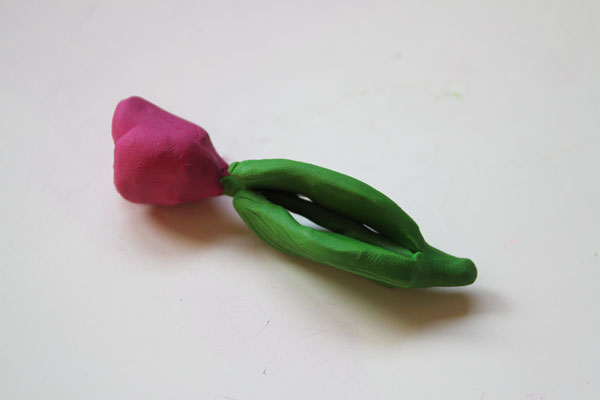
Roll out a “skinny snake” piece of green for the stem. Cut to length. Then push and form around the head pin.
Form the leaves. Tulips have long, tall leaves that come up from the bottom of the stem.
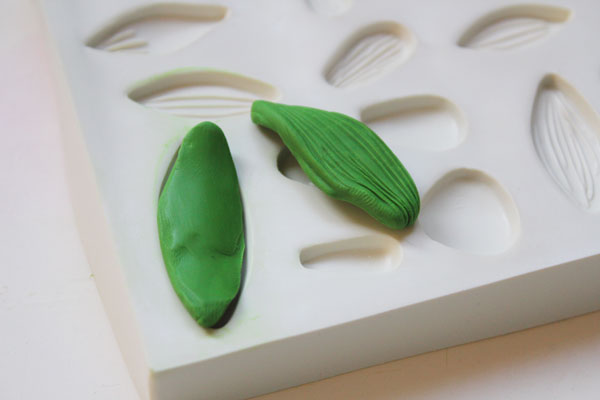
Attach the leaves to the base of the stem.
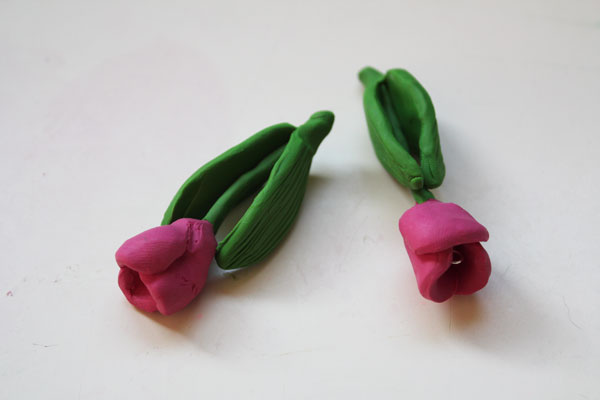
Make the second earring, same as the first.
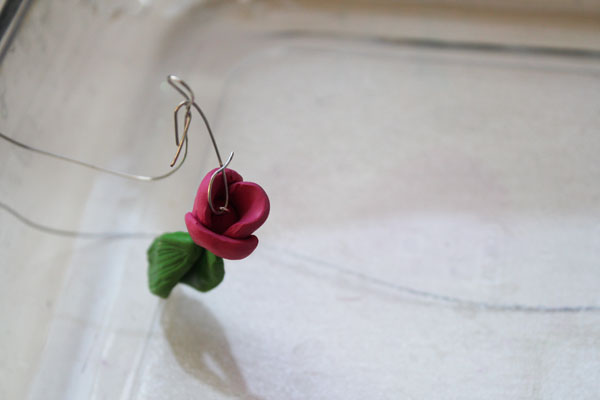
Bake as directed on the clay package. In the past, I’ve found that I get a flat spot on the part of the clay that touches the dish. To prevent this, I used wire and the hoops on the head pins to “hang” the earrings a little.
Once the earrings baked and cooled, I added the earring wires. If you’ve already done this step, you can skip it here… of course.
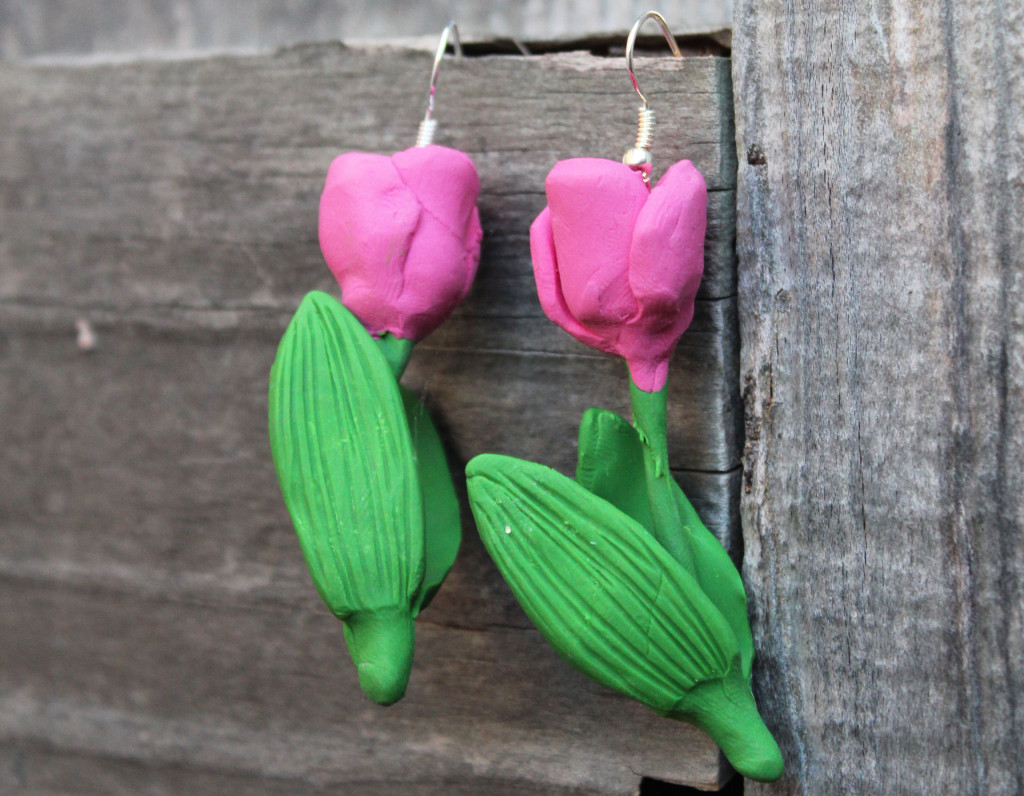
Your tulip earrings are finished!
I hope you’ll make your own tulip earrings, and check out the other awesome crafts from around the world.


[…] Netherlands – Tulip Earrings – 30 Minute […]