


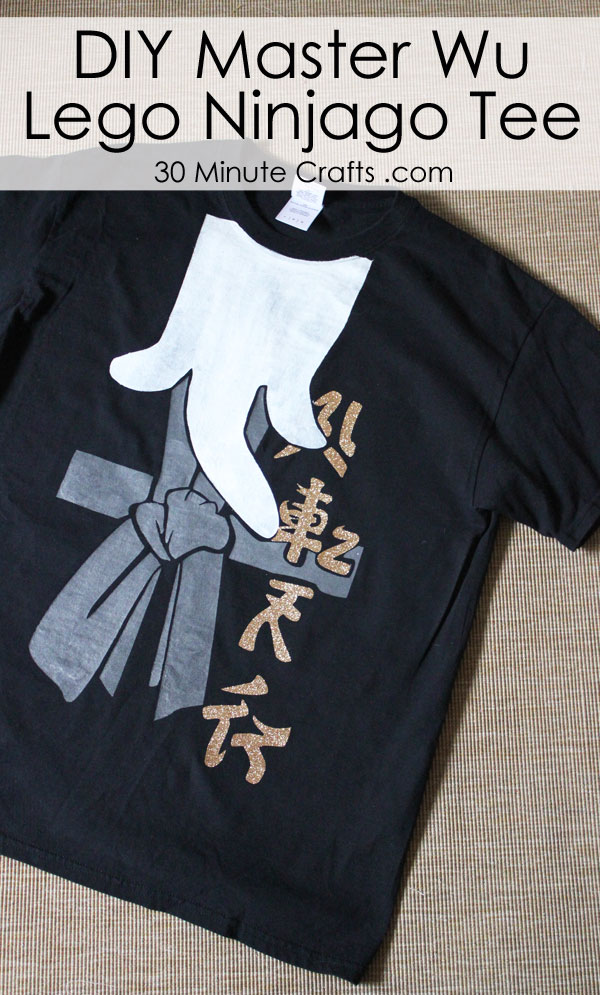
Legoland California recently opened “Ninjago World”. We attended their preview day, and of course needed to make some fun Ninjago shirts! I made shirts for my boys, but didn’t want to be left out… so I made myself a Ninjago shirt as well – this is my Sensei Wu shirt (if you’re a big Ninjago fan, you’ll note that this is Sensei Wu DX).
To make a Sensei Wu Shirt you’ll need:
You’ll need:
Black Shirt
12×24″ Silhouette mat
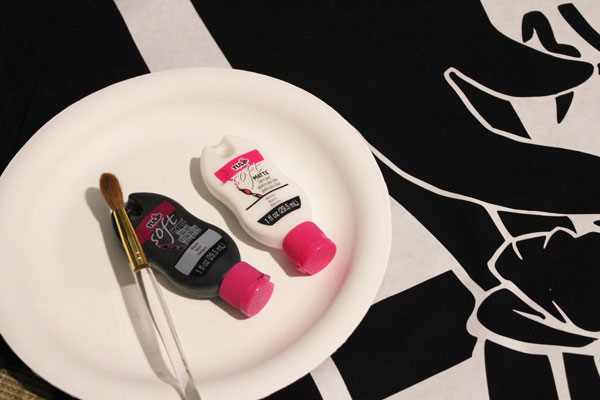
Fabric Paint – Grey and White or Black and White
Freezer Paper
Gold Glitter Heat Transfer Vinyl
Paintbrush
Iron and Ironing Board
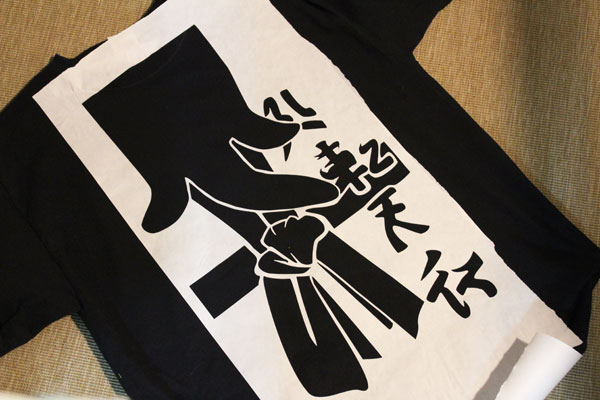
Use the Sensei Wu Silhouette Cut File to cut out the freezer paper and the gold heat-transfer vinyl. Make sure to REVERSE the gold lettering before cutting out the heat transfer vinyl!
Place a sheet of freezer paper inside the shirt to prevent the paint from bleeding through to the back of the shirt.
Iron the freezer paper stencil on to the shirt.
Paint the beard white, and the sash grey. I mixed black and white paint to make my grey.
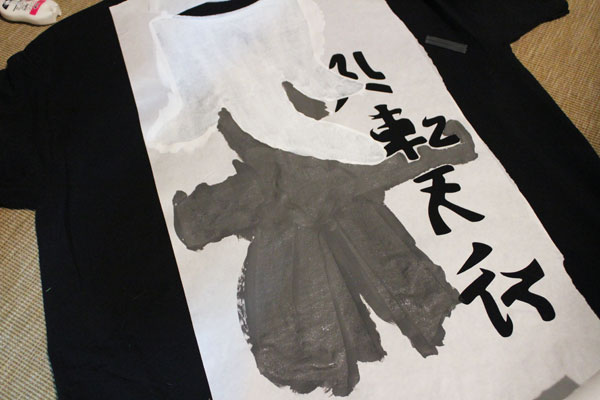
Peel the freezer paper off BEFORE the paint dries. This prevents it from sticking when the paint hardens.
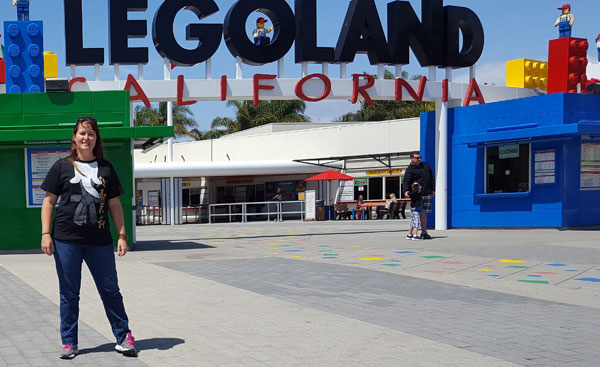
Allow the paint to dry, then fuse the Heat Transfer Vinyl in place. Here I am wearing my finished Sensei Wu shirt at Legoland – I was surprised not to get any comments about the beard I wore all day! HA!


Leave a Comment