


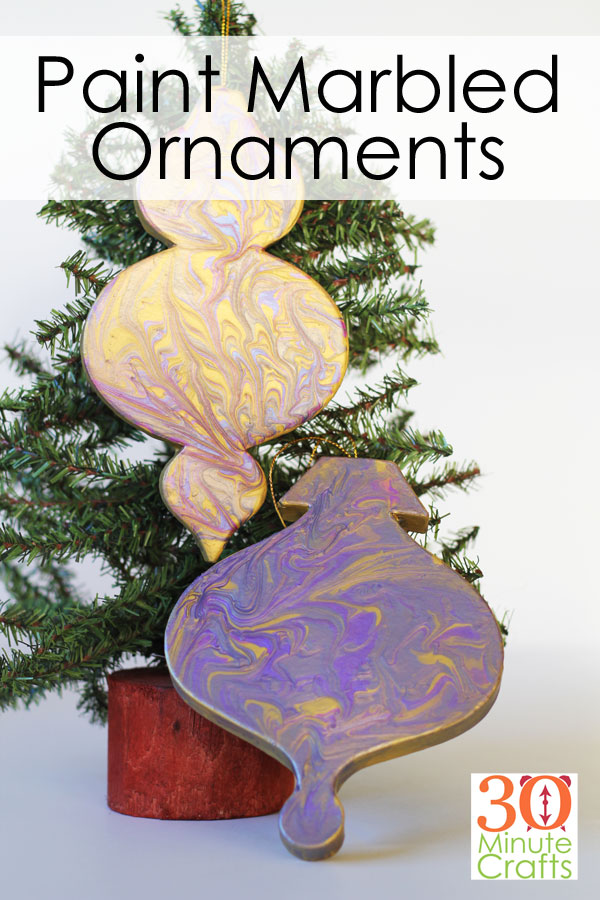
Marbling paint is not a new technique at all, but it has been made even more popular lately. I tried my hand at paint marbling on these DIY Paint Marbled Ornaments, using the paints and marbling medium that Plaid Crafts sent me. It was such a fun and satisfying experience to watch the paints blend together. Even times when I felt that I had over-marbled, gone too far, and completely ruined the project… within seconds the marbled effect was back, and the project was still perfect! Though I hesitate to say that any craft is fool-proof, this project certainly felt like any crafting skill level could make a marbled ornament that they would feel proud to hang on their tree!
This project is part of Craft Lightning Week. All week long my friends Angie from The Country Chic Cottage, Jessica from Mad in Crafts, and I are sharing a new Holiday project each day. And each of our Holiday crafts can be made in 15 minutes or less. And we’ve invited some of our craftiest friends on the internet to join us on our journey this week. Be sure to check out all their fun Holiday crafting ideas at the bottom of the page.
To make your own DIY Paint Marbled Ornaments, you’ll need:
Martha Stewart Marbling Medium
Craft Paints – I used Folk Art Color Shift and Folk Art Metalic
Cardboard Ornaments
Cups
Stirring Sticks (I used popsicle Sticks)
Pin for popping air bubbles
You can watch this video to get all the details on how to marble your ornaments, or you can follow the steps outlined below.
- Mix your paint and marbling medium according to the instructions on the back of the marbling medium package. You don’t have to be perfect, estimate 1 part paint to 2 parts marbling medium.
- Stir well. Try not to get air bubbles into the paint.
- Allow to sit for 10 minutes.
- Pour a base color onto the ornament. Move around by tilting the ornament or spread it using the stir stick.
- Add drips of your other colors.
- Use the head of the pin to draw horizontal and vertical lines through the paint and/or tilt the ornament in all directions to move the paint around.Keep moving it until the surface is covered, and you are happy with how swirly your design is.
- Set aside to dry, in a place that excess paint can drip off.
- After drying, paint the sides and back of the ornament with a solid color.
- Enjoy your Holiday decor!
If you enjoyed making these DIY Paint Marbled Ornaments, you’ll love checking out these other fast and fun Holiday craft ideas!
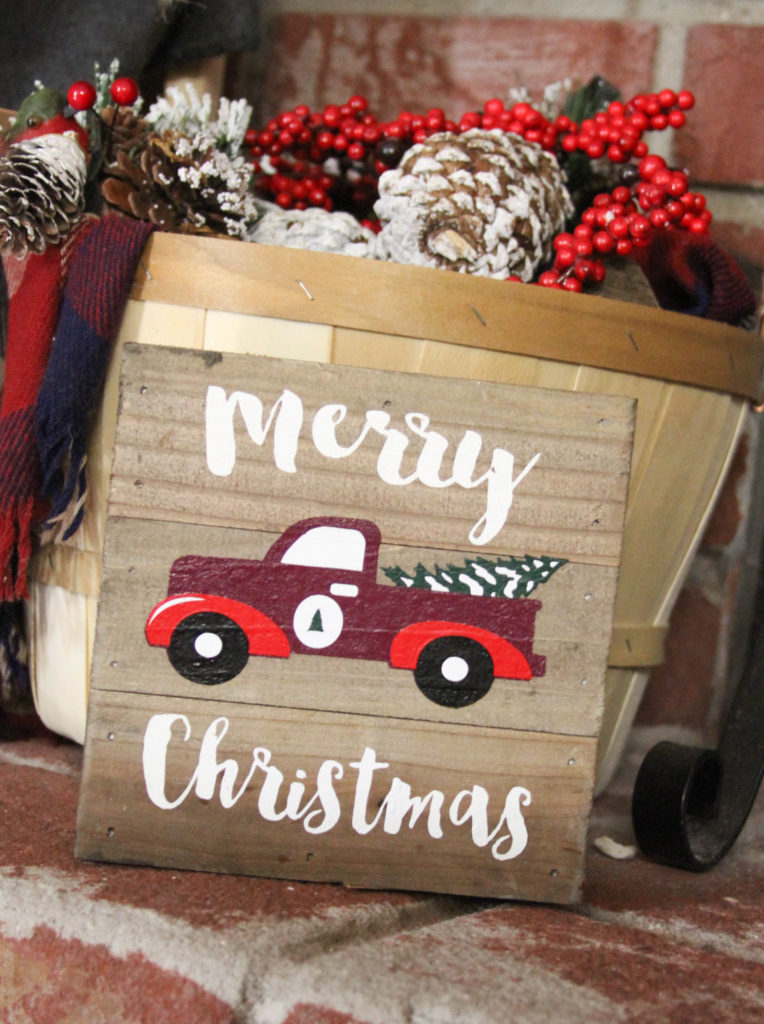
Everyday Party Magazine made this cute Holiday Sign.
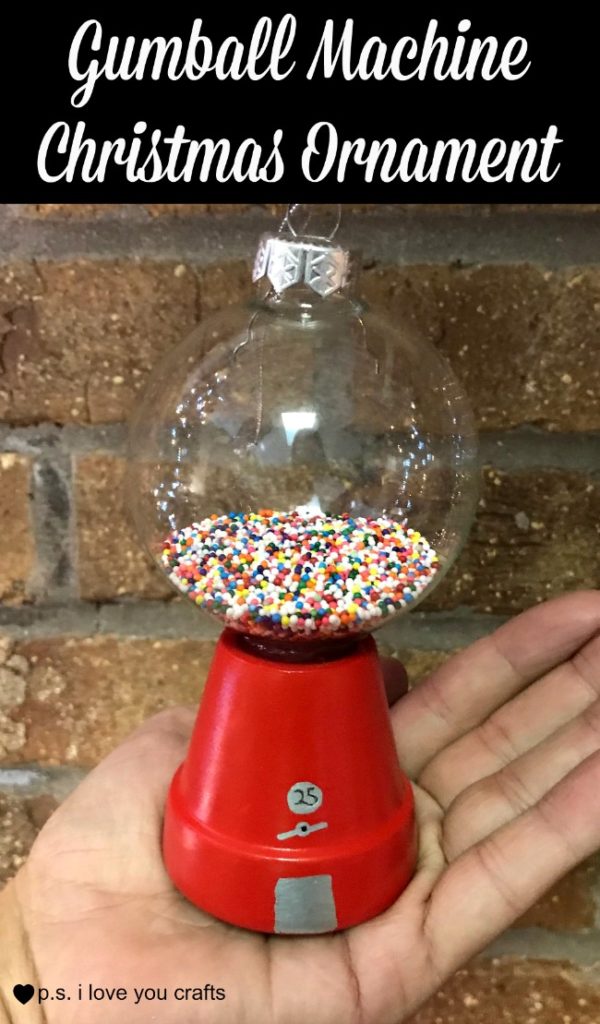
I’m mad for this DIY Gumball Machine Ornament that PS I Love You Crafts made!
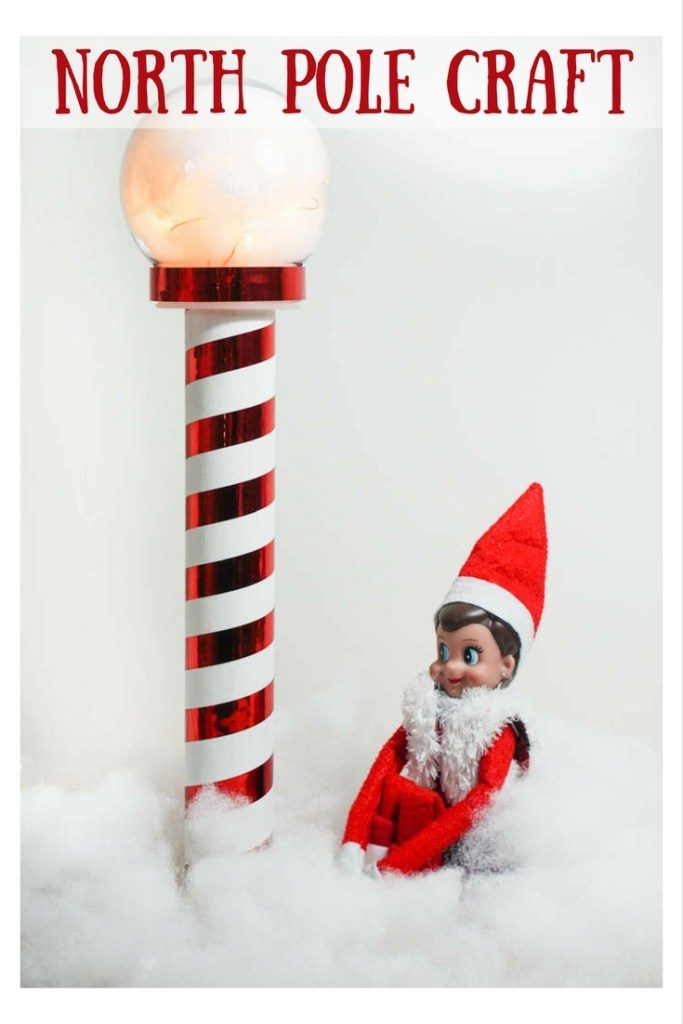
How fun is the North Pole Craft that Albion Gould made?
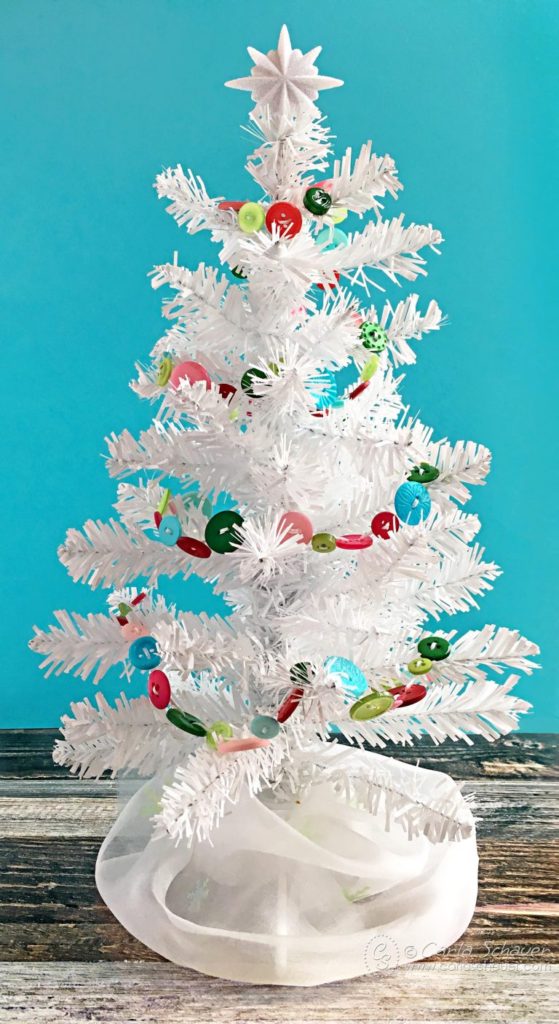
Carla Schauer shows you how to whip up a button garland for your tree.
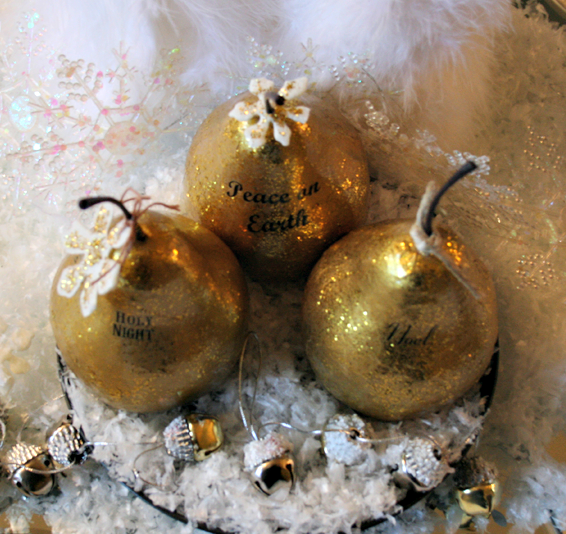
Over at Cupcakes and Crinoline you can learn how to DIY your own Gilded Pears.
Jessica, my Guest Co-Host for the week, came up with these fun and simple wire squiggle ornaments.
![]()
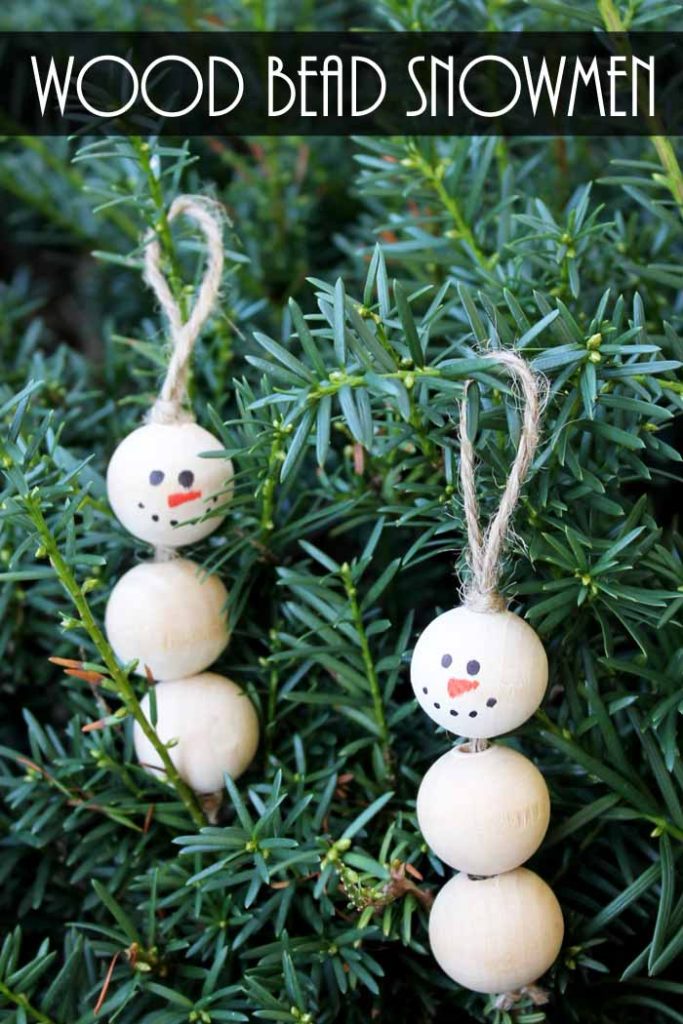
And Angie from The Country Chic Cottage, my long-time friend and Co-Host created these adorable snowman ornaments in just 5 minutes!
Come back tomorrow for more fast and fun Holiday Craft ideas!


You know I love a paint pour ornament!