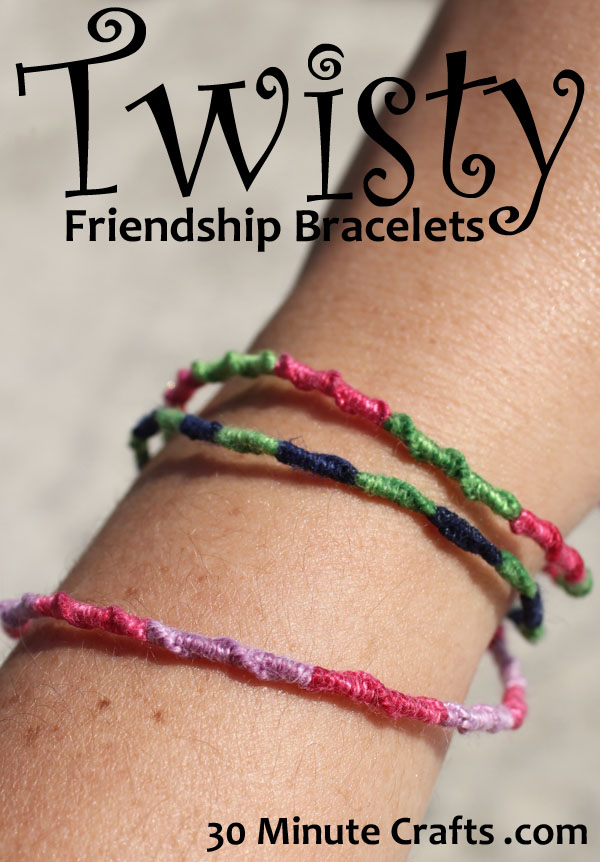
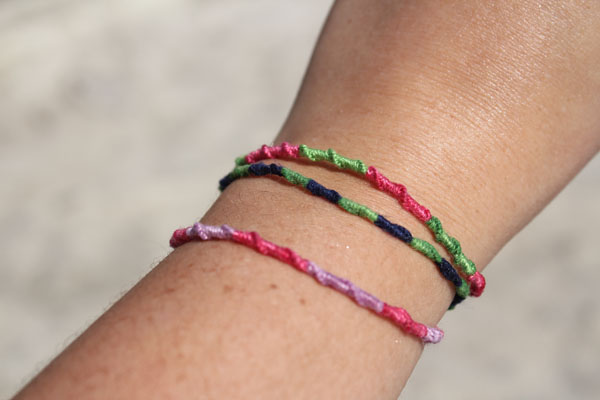
I’m excited to share this friendship bracelet tutorial with you! These are the friendship bracelets I made as a kid. They require very few supplies, are easy to make (even for little hands), and are a great portable craft! My elementary school friends and I swapped these friendship bracelets with each other, and wore them until they fell off… or until they started looking gross and our moms made us take them off… ha!
To make your Twisty Friendship Bracelet you need (Amazon Affiliate links added to help you find supplies):
String – I used Pearl Cotton because that is what I had on hand, but as a kid I used Embroidery Floss
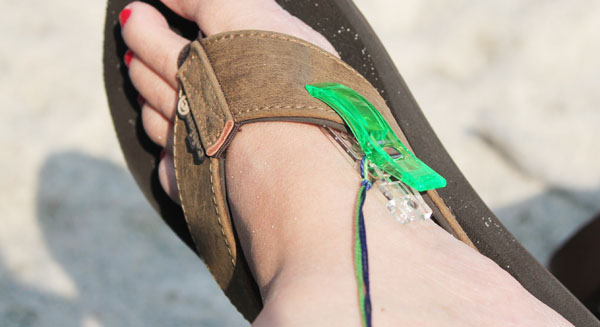
Clip or Safety Pin. I love the Clover Jumbo Wonder Clips because they clip securely to pants, my shoe, whatever, and doesn’t leave holes or damage fabric the way a safety pin can. Plus, these wonder clips are surprisingly strong!
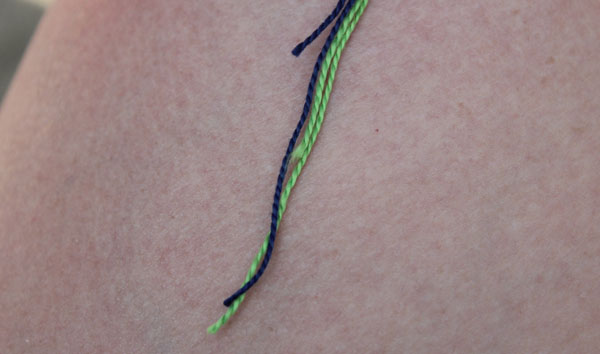
Start by cutting the string you’ve chosen – You’ll want one piece of each color, each piece 2 yards long.
Fold the string in half, and tie an overhand knot at the folded end. You can secure this end with the wonder clip or safety pin to your clothes or shoe. This will help keep it tight while you tie.
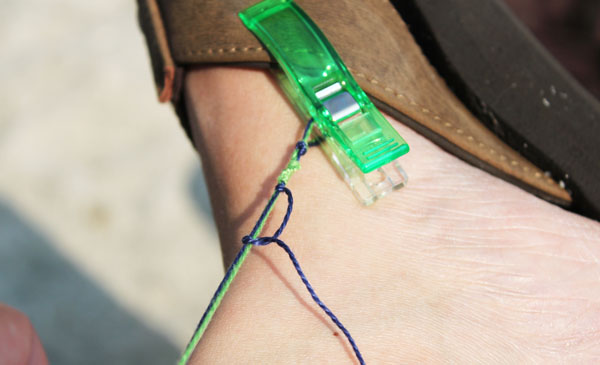
Pick up one of the strings. Use it to tie a knot around the other 3. Hold the 3 tight in one hand as you pull the knot up to the top. The two strings should be at a 90-degree angle as you pull the single string up the group of strings.
Keep tying knots. I like tying 10 or 20 of a single color before switching colors.
To switch colors, grab the longest string of the other color, and begin tying knots in the new color around the three strings.
Keep tying knots and switching colors until you only have a few inches of string left. Tie an overhand knot at the end, and then tie to the wrist of the closest friend!




Leave a Comment