


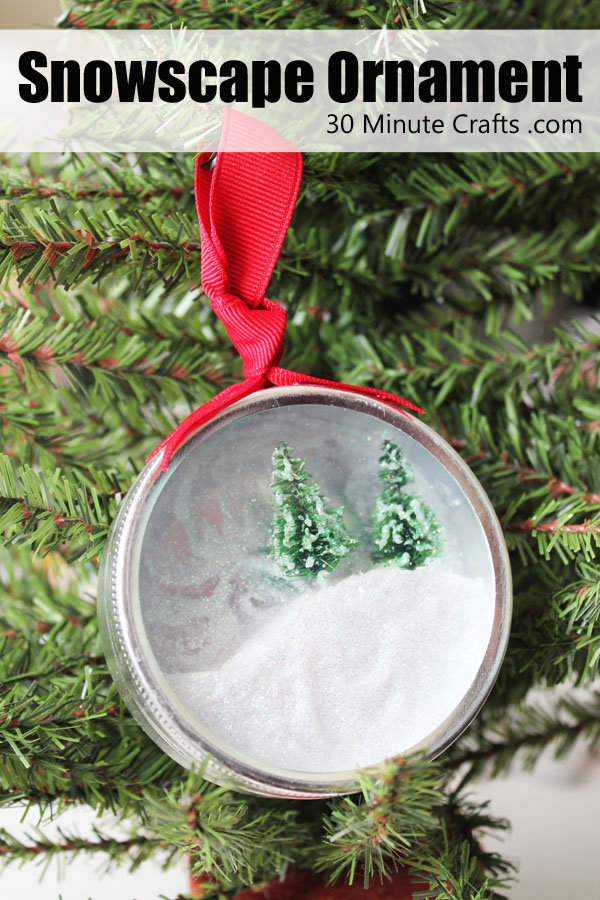
I finally have my Christmas Tree up! While most of my crafty friends have had their trees up for weeks, I’ve finally pulled out all my holiday decor, and started decorating the house. Hopefully all in time for our annual party this weekend. While I’m in the Christmas spirit, I made this little snowscape ornament. Super simple to make, and you don’t need any special crafty skills. If an adult helps with the cutting, and hot glue, a child could help with the rest – it is that simple to make!
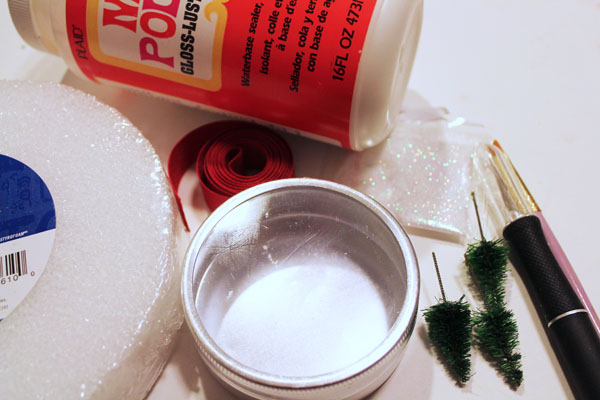
To make the Snowscape Ornament, you’ll need:
Small tin
Styrofoam Sheet
Mod Podge
White Glitter
Paintbrush
Small bottle-brush trees
Ribbon
Hot Glue
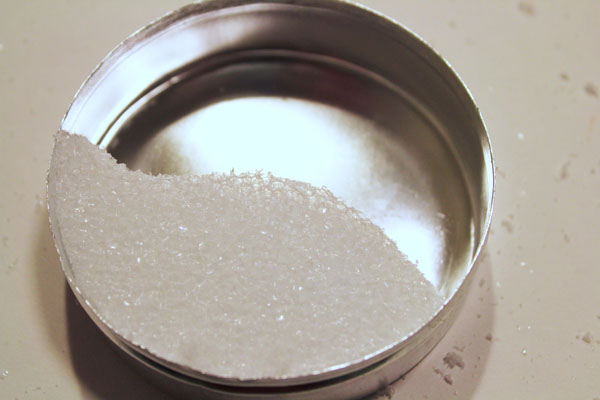
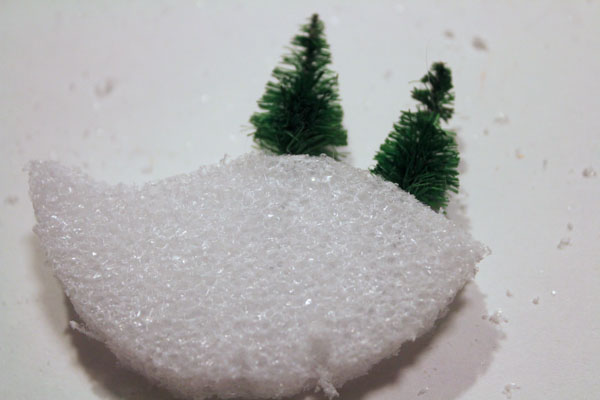
Take the lid off the ornament, and press the ornament into the styrofoam sheet.

Lift it out, cut around the indentations, then cut a curve through the middle to make a hilly shape. Check the fit.
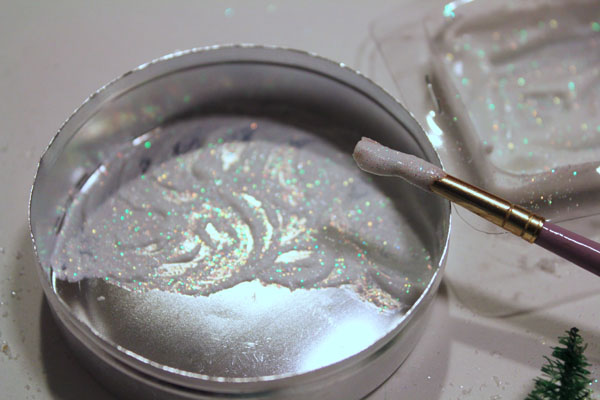
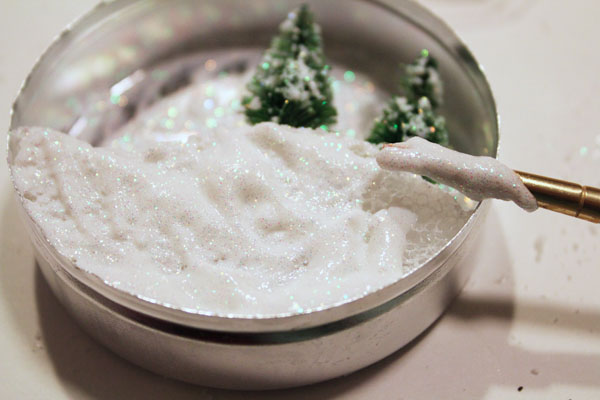
Mix an equal part of Mod Podge and glitter. Paint into the back of the ornament. Make swirls with your brush strokes.
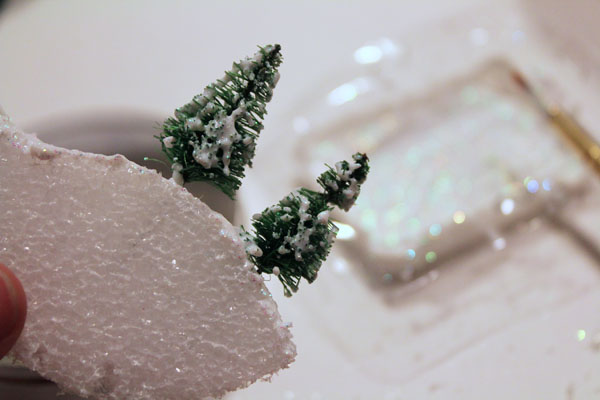
Press the trees into the hilly shape.
Add some of the glitter and Mod Podge mixture to the trees to make them look snow-covered.
Hot glue the styrofoam hill in place, then cover the front with the glitter mixture.
Cut the ribbon. Tie an overhand knot to make a loop.

Glue the ribbon ends to the lid with hot glue.

Allow the Mod Podge to dry.

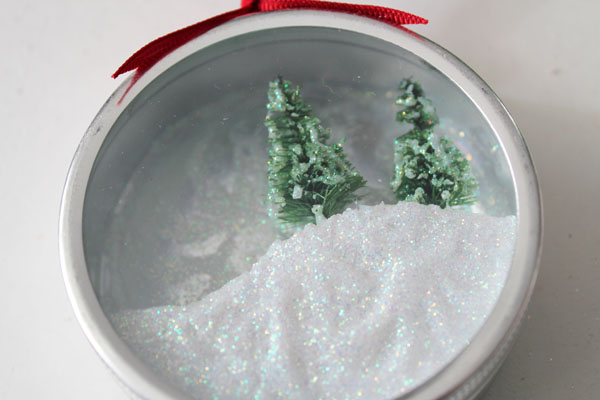
Once the Mod Podge is dry, put the lid back on. Your snowscape ornament is complete!


LOVE it! So creative! Yippee! I was the lucky recipient at that holiday party to receive this in the gift exchange and it’s now hanging on my tree!