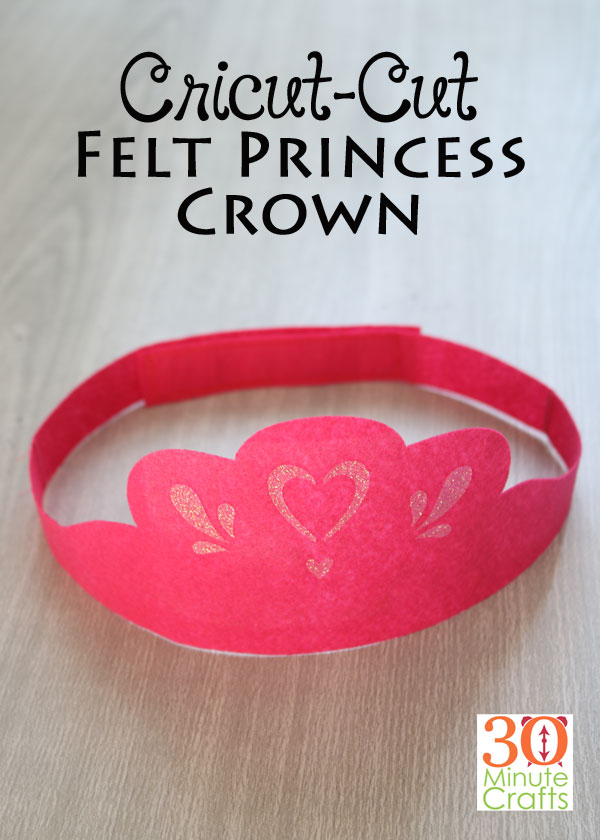
Last month I was heading to a little princess’s birthday party. Of course I wanted to make her something special, and what is more special than her own crown! This felt princess crown comes together quickly and easily with the Cricut – I’ll show you how!
This site contains affiliate links which help support this site at no additional cost to you.
What you’ll need:
Felt in your color of choice (I went with Pink)
Glitter Iron-on (I again went pink)
Cricut Maker (only the Maker will cut felt)
Iron or Easy Press
Velcro (optional)
Sewing machine or needle and thread
Start by using this Cricut Cut File to cut out the princess crown and the glitter iron-on details.
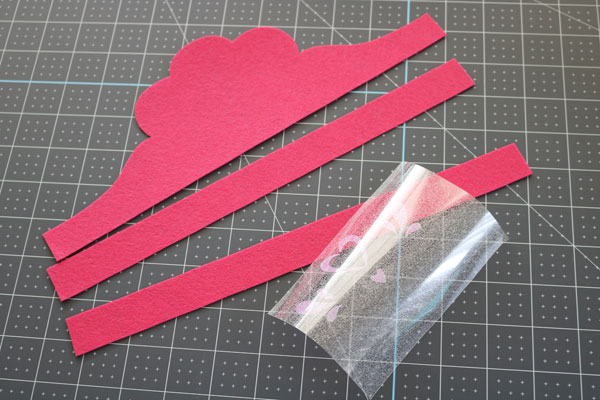
Fuse the glitter iron-on to the crown using an easy press or an iron.
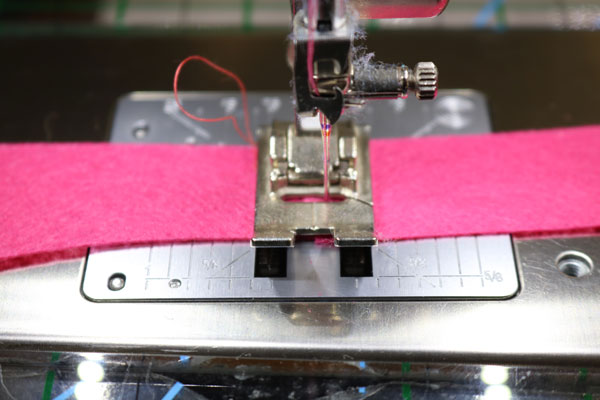
Take the pieces to your sewing machine. Using the zig-zag stitch, attach the extended straps to the end of the crown.
Measure the crown around the head of the princess. If the princess is not available, find the next closest head in size, and estimate. Overlap the ends by about 4″ before trimming.
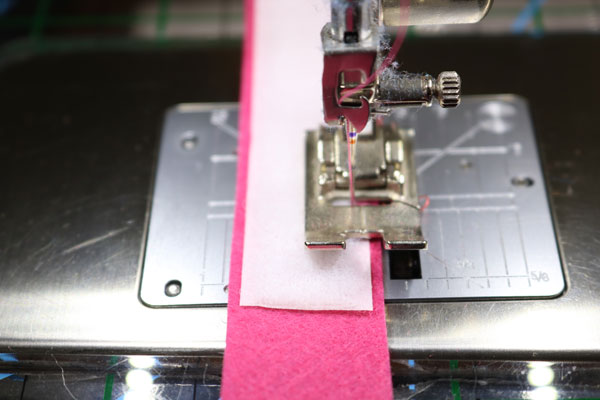
Again with the zig-zag stitch, add the velcro pieces.
If you have the princess handy, you can cut the crown exactly to size, and then stitch the two ends together. This prevents the need to add velcro. But, your princess might outgrow the crown. Good thing that a new felt princess crown in so simple to make!
I combined the felt crown with two fun zippered pouches that I stitched up. I added more glitter vinyl using this Cricut Cut File. And I added some fun costume jewelry to round out the gift!
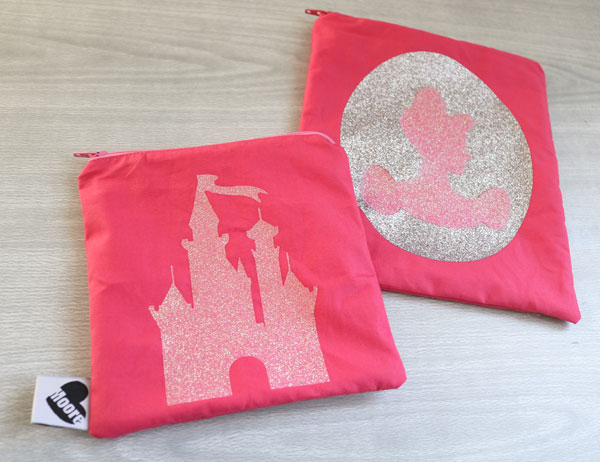


Where are the castle and Cinderella head SVGs from?
They are within Cricut Design Space. Files that Cricut offers.