When Young House Love last week challenged readers to create something they pinned as part of the Winter Pinterest Challenge I started thinking. The goal is to stop just pinning and actually create one of my “must make” items. I love a good challenge, and I love checking something off my “do it someday” list! (ps – this challenge was also hosted by Decor and the Dog, The Remodeled Life, and BowerPower)
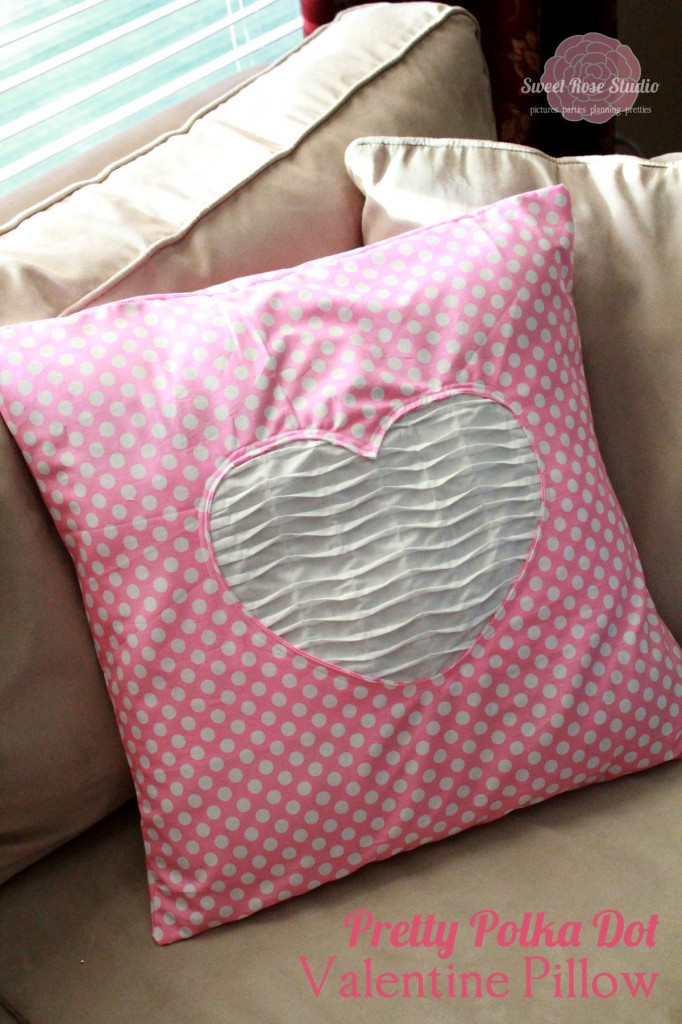
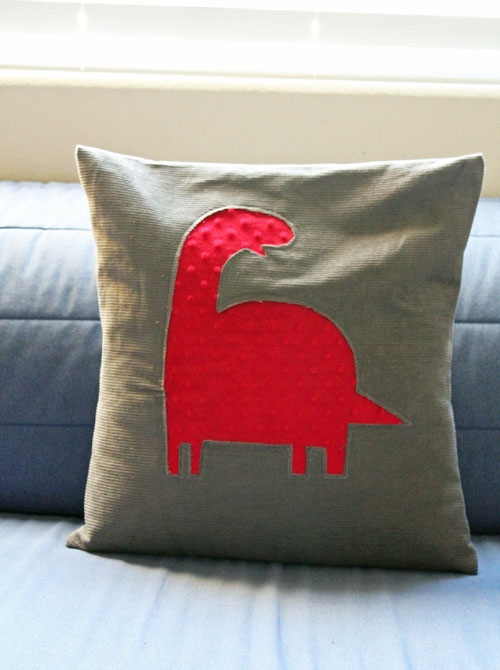
I LOVE this Pretty Polkadot Valentine Pillow by Katie over at Sweet Rose Studio. But since I have little boys, I decided to go with a dinosaur instead. And since I love quick crafting, I decided on a raw-edge reverse applique pillow, and still try to add some of the texture she created.
I loved the texture in her pillow, as well as the stripes/spots combination. I went to the fabric store with the intention of buying chenille fabric for the center, and a grey and white spot fabric for the border, but fell in love with the minkee/corduroy combination. If you want to make a similar pillow, here is what you need:
1/2 yard red dot minkee
3/4 yard grey corduroy
18″ Pillow Form
Freezer Paper
Marker
Pins
Sewing Machine
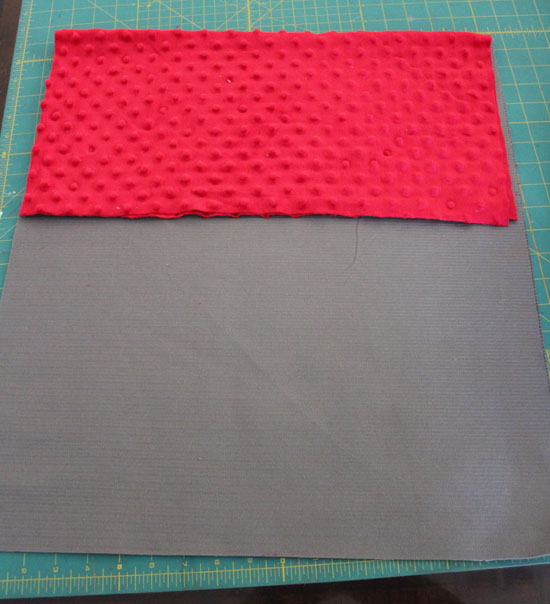
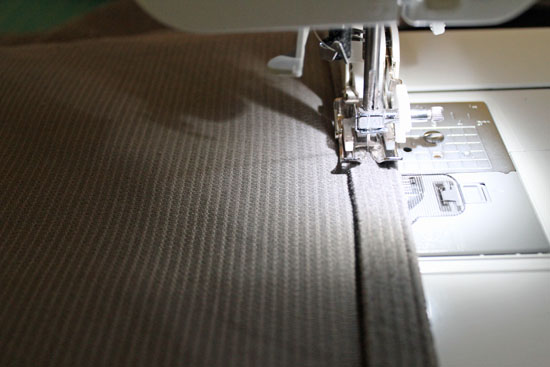
Cut the corduroy into a strip 19″ x 42″. Cut the minkee into a square 18″ x 18″. Fold The corduroy in half right sides together, and the minkee in half wrong sides together. Lay on top of each other with the folded edges lined up.
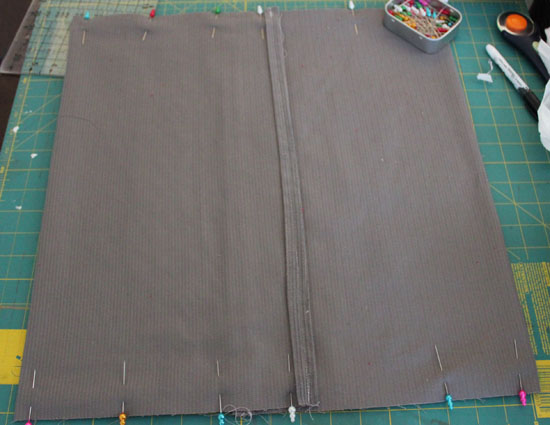
Unfold the minkee, and pin the bottom half to the TOP layer of the corduroy.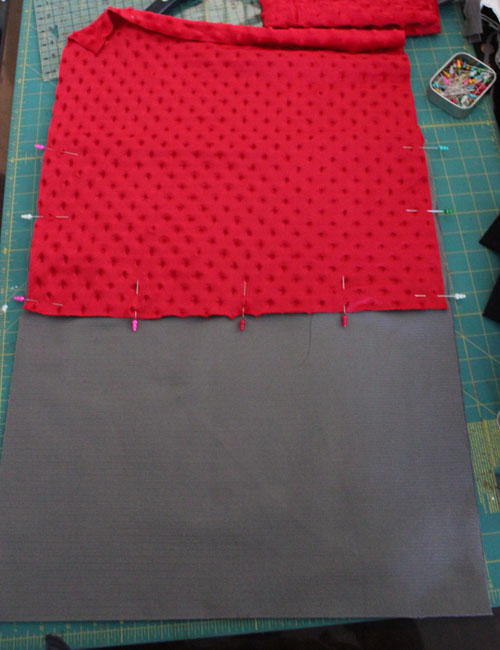
Unfold the corduroy, then pin down the rest of the minkee.
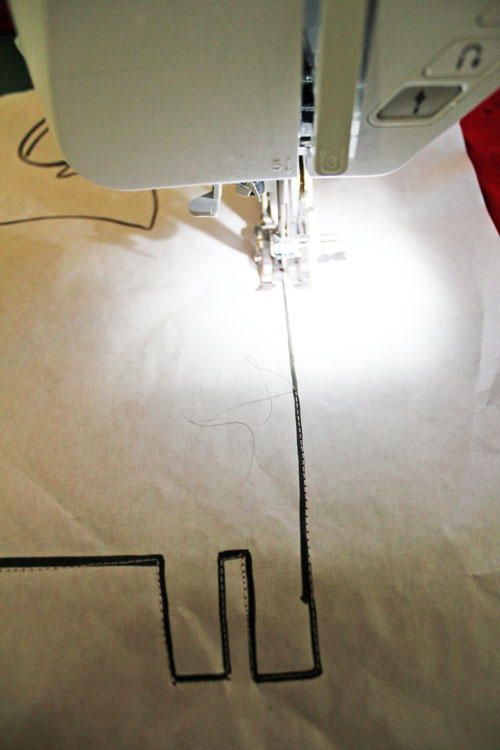
On a 15″ x 15″ piece of freezer paper, free-hand a dinosaur. I referenced the fabric from my son’s Dinosaur Nursery. Remember that this is a reverse of the finished image.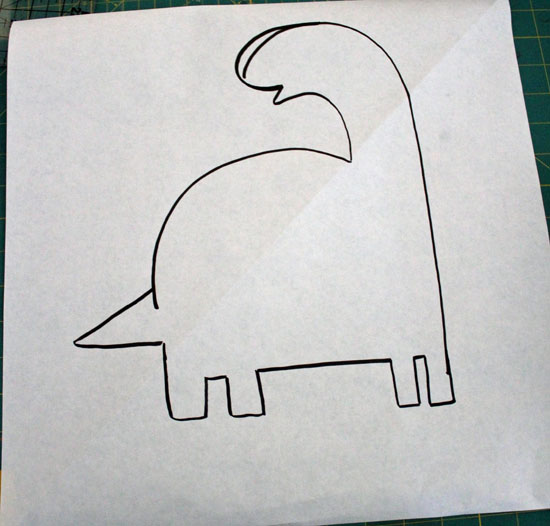
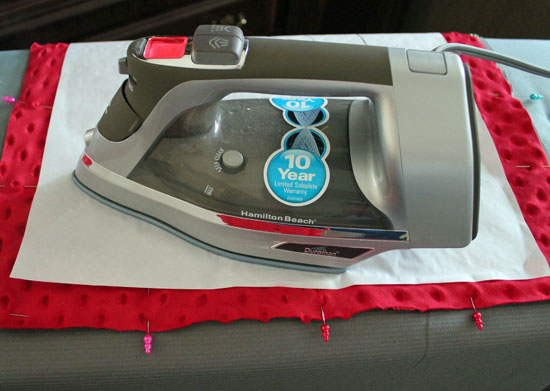
Iron the freezer paper to the back of the minkee. Make sure to center the drawing.
Lower the stitch length on your sewing machine and stitch around the dinosaur.
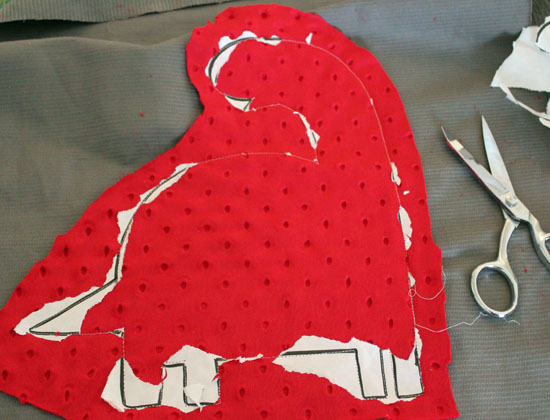
Tear away the freezer paper and trim around the dinosaur.
Finish each short end of the corduroy by folding over 1/2 inch, folding over a second time, then stitching down.
Right sides together, fold one end in 10″. Fold the other end in about 10″, more-or-less to make the pillow 18″ tall. Pin sides.
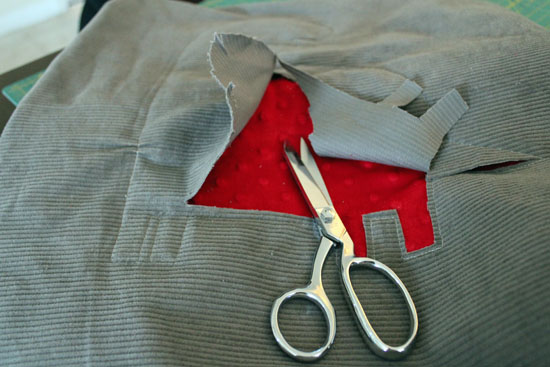
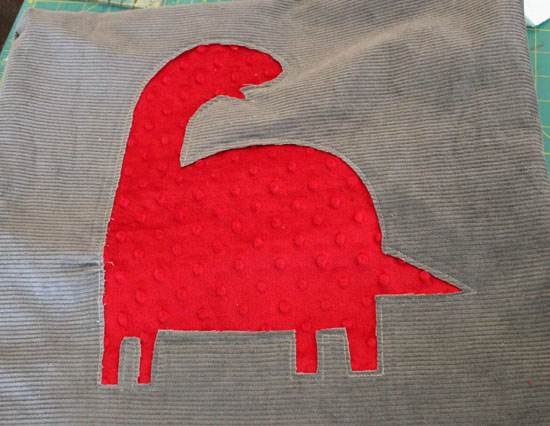
Stitch down sides, then turn the pillow right side out. Carefully snip into the corduroy dinosaur, being super careful not to cut the minkee. Trim the center away, about 1/4″ish from the stitching.
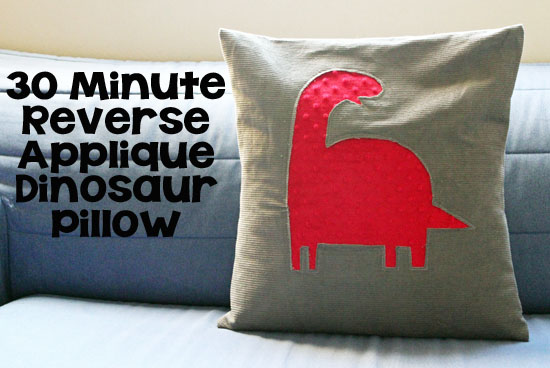
That’s it!
Now all that’s left is to add a pillow…
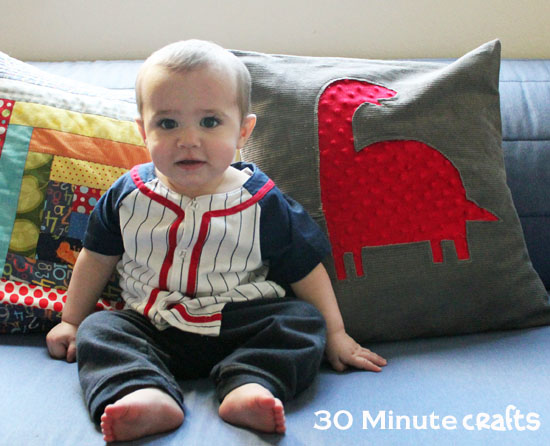
And a baby… since it is going in his nursery!




I didn’t even know this was possible! I absolutely LOVE this!! 🙂 You did an amazing job, and the dinosaur is the cutest!
I also participated in the challenge and built an herb planter box! 🙂
Thanks for sharing!
Shannon
Fabulously Vintage
LOVE this! The colors are so fun & it’s perfect for a little boy’s nursery.
Sarah
Just found this through the Pinterest Challenge! It’s incredible!
I LOVE this! I pinned it so I could make a red heart one for our living room. Thanks for the inspiration!
very cute! just finished up a tee for my little boy with a reverse applique dino on a few months ago!!
That is adorable! Now to develop sewing machine skills so I can try it for myself…
How cute are these?! My dino-loving daughter would love the first one. 🙂
Well that does it. A sewing machine is officially going to be my next investment!
This is so cute and creative, you did an amazing job!
oh! Very nice! I am just relishing the textures in my mind!
Well, that’s just adorable.
This is so awesome! I love that cute little dinosaur and the pop of color!!
Adorable! I’ve always wanted to try this, and you made it seem like I may actually be able to do it.
Stopping over from Young House Love…
What a cute pillow. If I ever learn to sew I’d love to make something like this for my little man.
pinning this! I can’t wait to try this. Thanks for sharing.