I don’t do a whole lot of home decor tutorials on this blog because let’s face it – most decor projects are massive. It would be pretty impressive if I could overhaul a china hutch or reupholster a couch in half an hour. Even not counting drying time, furniture just needs so much hands-on work that there is no way that I can do that… and have it look presentable, that is.
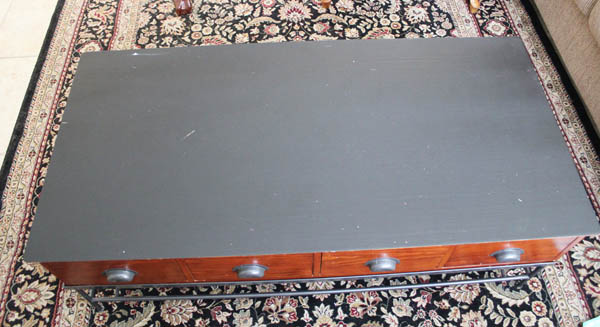
When Lullaby Paints contacted me about trying their chalkboard paints, which come in many colors, the timing was perfect. I have a coffee table in my front room that is a hand-me-down from before my husband and I got married. Neighbors of ours were moving (to hike the Appalachian Trail!) and couldn’t put all their things in storage. They gave us this great coffee table. I’m not sure what the whole story behind the coffee table is, but for some reason they painted the top black. I really like the top black, and if you see a black background in any of my photos, chances are high that I’m taking the photo on that coffee table.
We’ve now had the table 7 years, and it is starting to get some wear. And, I had been thinking about coating the top in chalkboard paint for some time. Fun to be able to write messages on the top welcoming guests, or to label things when I take photos.
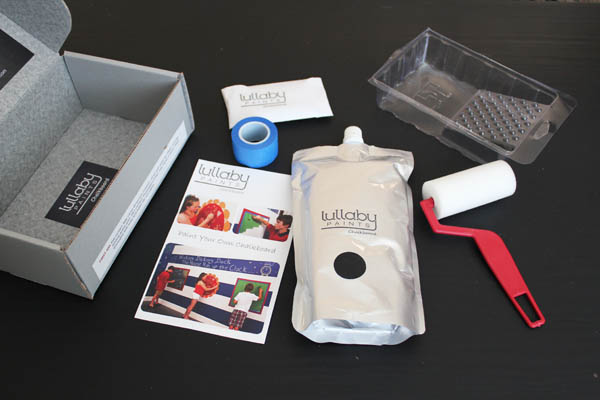
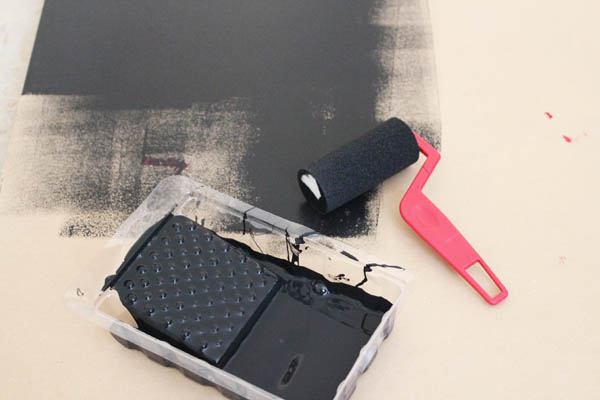
Lullaby Paints has chalkboard paints in all kinds of colors, but I really liked my black tabletop, so I stuck with basic black. The kit is awesome – it had everything I needed. No digging around in my craft room for a foam roller brush or tray to pour the paint out on. It was all included. And I love the squeeze bag the paint is stored in. I was able to put the cap back on when I was done, and with no excess air in there, I’m confident it will store well until I want to play with it again. They even included painter’s tape and chalk!
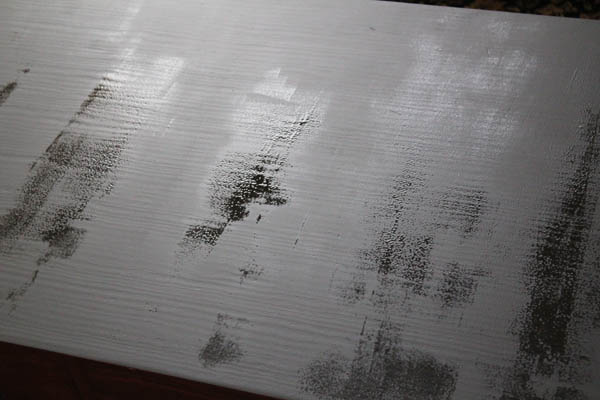
Painting the table top was simple. I cleaned and wiped down the table so that I had a clean surface to start. Then I painted one coat of Lullaby Paints chalkboard paint in one direction, walked away to let it dry, then another coat at 90 degrees from the first, then let that dry.
Waiting for the paint to dry was probably the hardest part. Luckily the paint dries fast!
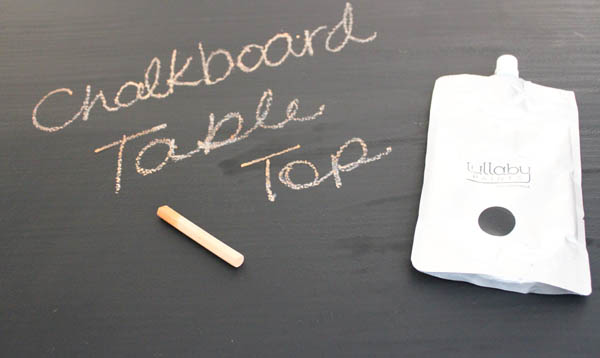
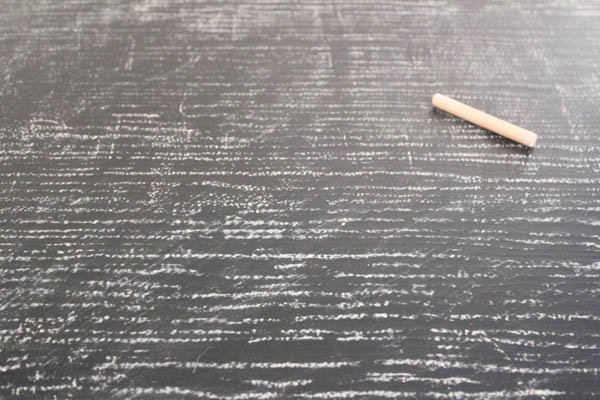
After everything has dried, you cure the paint by rubbing the side of a piece of chalk all over the painted area. Wipe it away, and you are ready to play on your new Chalkboard top table!
Lullaby Paints sent me enough paint that I probably could have done two tables this size, and still have had paint leftover. I had some wood leftover from a past project, so I painted one side of it with the chalkboard paint so that I’ll have a more mobile chalkboard backdrop to use in future photo shoots.
I was a little worried at how the Lullaby Paints would be on the un-primed wood, but it was perfect! Just as easy as painting on my coffee table.
I love my newly painted coffee table, and have already taken photos on the table top. My son loves it as well, and has drawn all over it with chalk!
If you want to learn more about Lullaby Paints you can find them on Facebook, Twitter, and Pinterest.
Disclosure: This review reflects my true experience with Lullaby Paints. I was provided this product free of charge and agreed to review the product. This site is not associated with or sponsored by Lullaby Paints.




Coming over from FB group! LOVE this idea. I just pinned, tweeted and liked on FB..
Thank you so much for sharing this with us!
xoxo
Wow I love how it turned out. I especially love how the Lullaby paints are packaged! So convenient and less messy! I’ll definitely have to check them out. Thanks for sharing.
Looks fun…I’ve always wanted to paint something with chalkboard paint! thanks for the tutorial. 🙂 Pinning for later.
That’s so cool I had never heard of this brand before… thanks for sharing!
Very cool! I’m not familiar with this brand. Thanks for sharing!