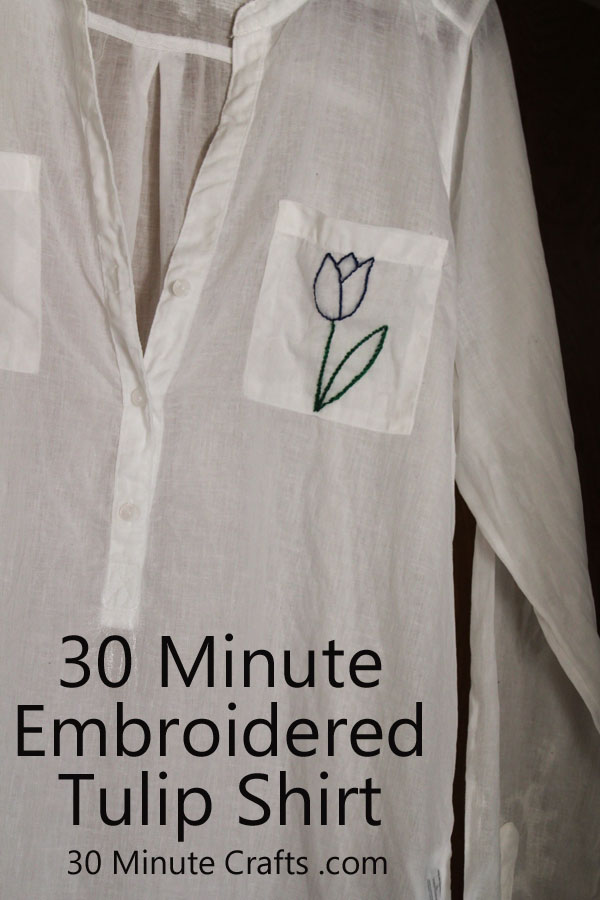
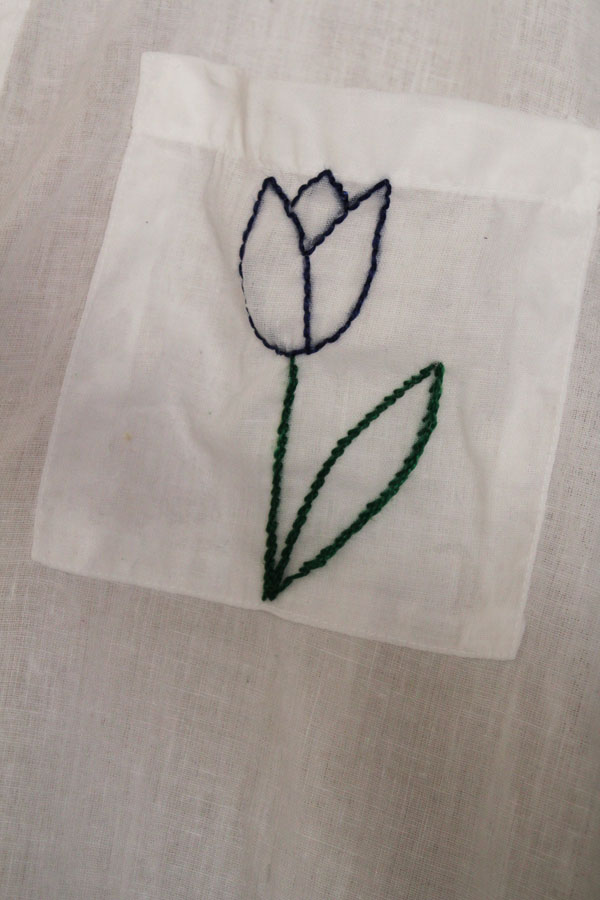
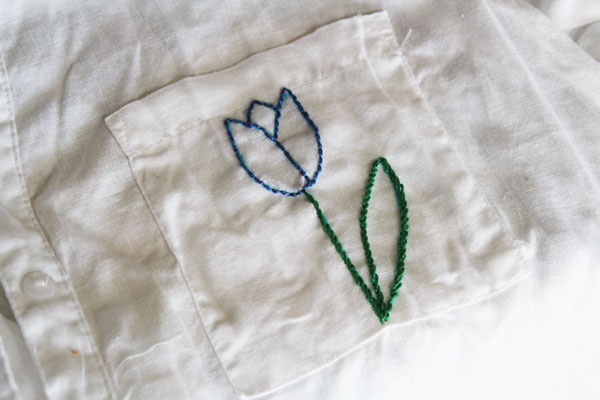
I love stitching. I don’t share a lot of stitching projects on this site because many take more than 30 minutes to complete. But this tulip project wanted to be stitched, not painted – and it only took about 30 minutes to stitch up!
The tulip is strongly linked to The Netherlands. The Dutch have beautiful tulip fields, and have even used tulip bulbs as currency! There is even a National Tulip Day in The Netherlands each January. Two thirds of the world’s tulip bulbs come from The Netherlands. I thought that it would be fun to make this very Dutch embroidered tulip shirt.
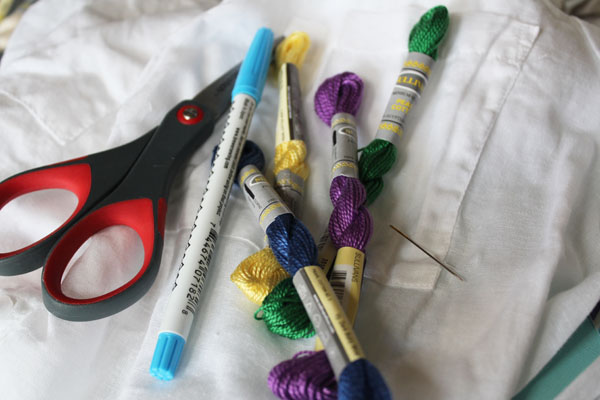
This is simple enough for a child to stitch, but stitching on plain fabric rather than a shirt pocket would be easier. To make this embroidered tulip you need:
Shirt or other fabric
Blue wet-erase marker
Blue and Green Perle Cotton
Embroidery Needle
Scissors
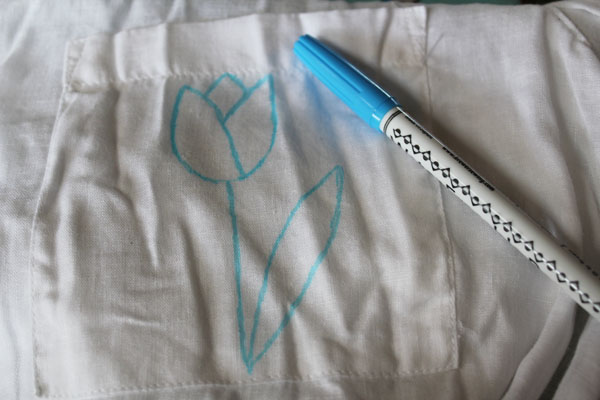
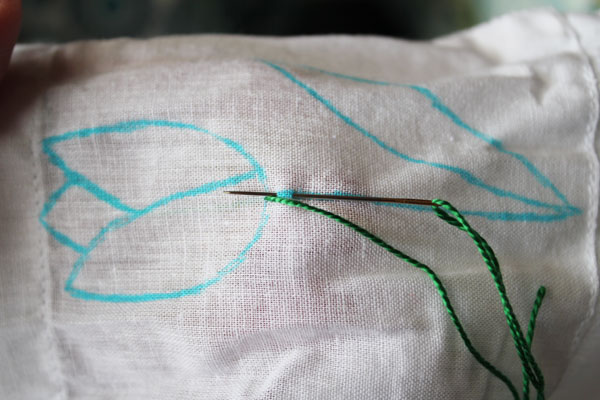
Start by drawing your design with the blue wet-erase marker on the pocket.
Thread your needle with the green perle cotton. I use a length of perle cotton that is about as long as the distance from my fingertips to my nose. Sometimes a little longer, but not much. Perle cotton is unlike embroidery floss – no need to split threads. Just use the whole thing. Start stitching at the top of the stem.
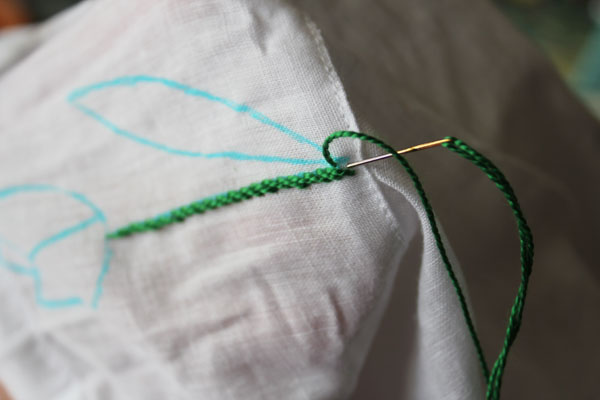
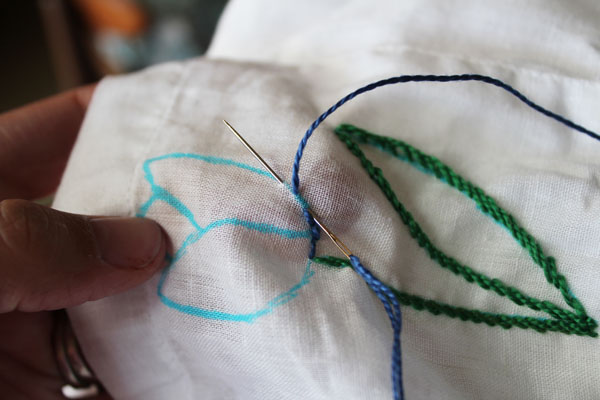
You can use whatever stitch you like – I used a stem stitch.
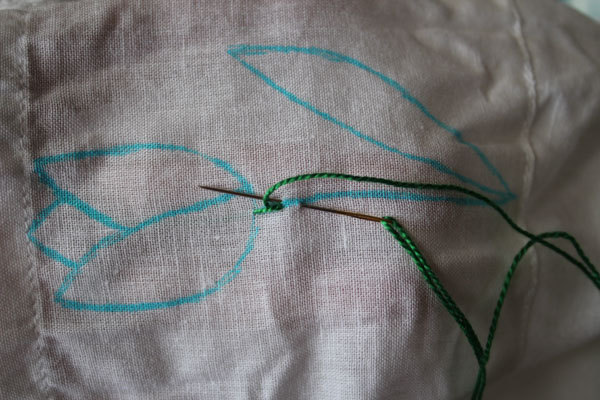
Keep going all the way down.
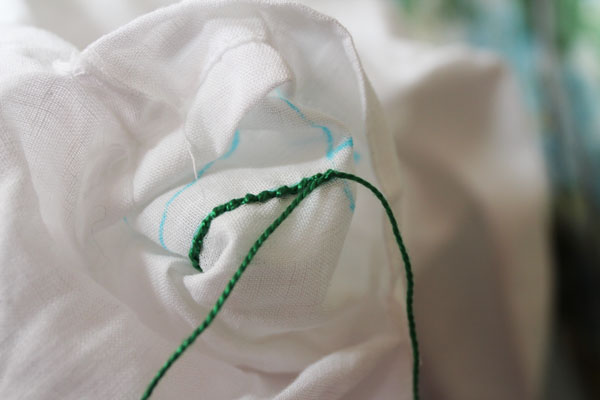
When you get to the bottom, pull the needle to the inside of the pocket, then run the thread up the back, to the top. Tie the two ends in a double knot, then trim the ends, and tuck the ends in the back as well.
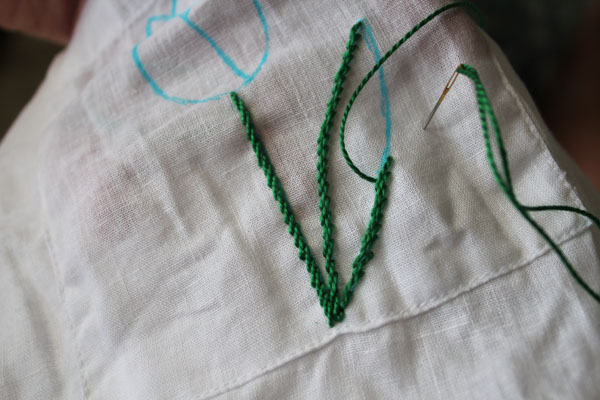
Do the same for the leaf.
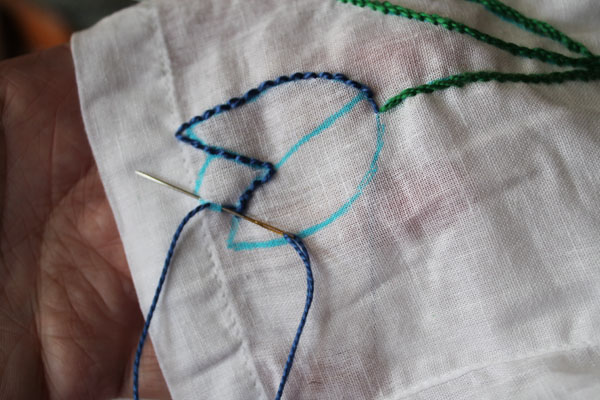
For the top of the tulip, I did a running stitch.
I followed my sketch lines to create the outline of the tulip.
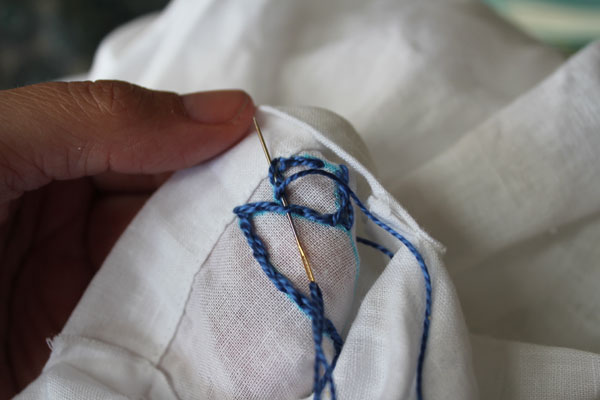
I pulled the needle through the threads on the back, then tied off the blue the same way I tied the green.
I then rinsed out the blue lines.
Fast, easy, and adds some color and fun to an otherwise plain shirt!
Make sure to check out all the other awesome bloggers sharing their countries for the World Cup Series!




Leave a Comment