Pillows are a fun and simple way to decorate a space – the great thing about pillows is that you don’t have to store the whole pillow during the off-season – just store the cover! You can rotate covers throughout the year on the same pillow!
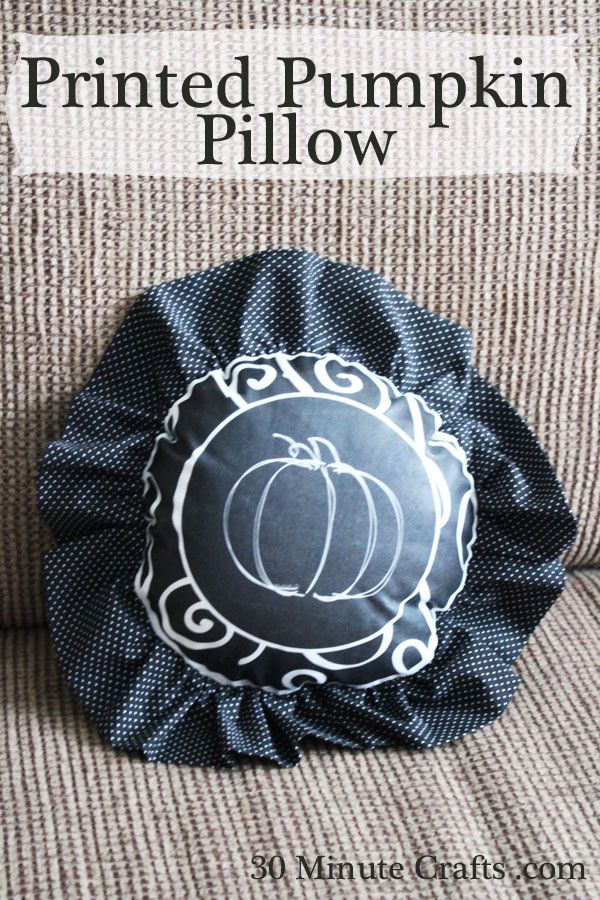
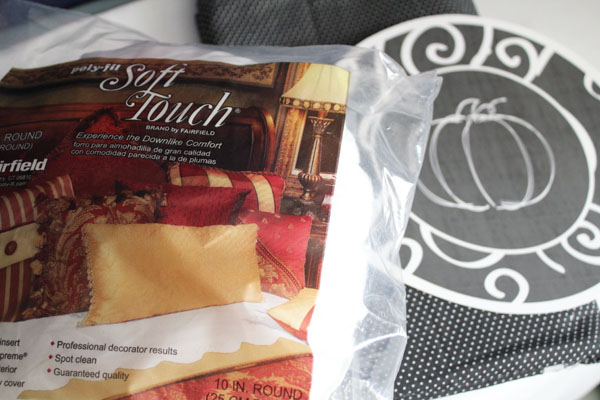
This cute little round pillow was sent to me by Fairfield. I thought it would make a cute Spider or Pumpkin pillow – and when I saw that Jen Goode had a great (and stylish) printable pumpkin – and I knew it would make a great pillow cover! To make your own, you need (I’ve added affiliate links to help where needed):
1/2 yard white fabric
1/4 yard black fabric with white polka dots
Pumpkin printable printed on fusible transfer – enlarge to fill page
8″ zipper
Rotary cutter, ruler, sewing machine
Fairfield 10-Inch Round Pillow
Okay, I know when you read that supply list, and saw the zipper, you thought I was crazy. But really – installing the zipper is super fast and easy, and WAY faster than hand-stitching the pillow form closed. Really. Trust me. I’ll walk you through it.
First, Iron the design onto the fabric. Cut with a 1/2″ margin all the way around. Cut a second piece of fabric the same size. to make it faster – cut through both layers at the same time.
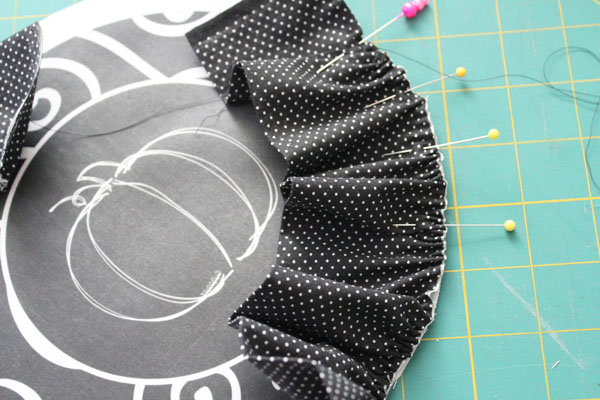
Cut a 6″ wide strip from the 1/4 yard of fabric. Fold in half, wrong sides together, and press. Stitch down the raw-edge side with the biggest stitch your machine will let you. Pull one of the threads (carefully) to create a ruffle. Carefully spread the ruffle along the length of the fabric. Keep ruffling until the strip is just longer (2-3″) than the circumference of your circle. Pin the ruffle all the way around the iron-on (front) piece.
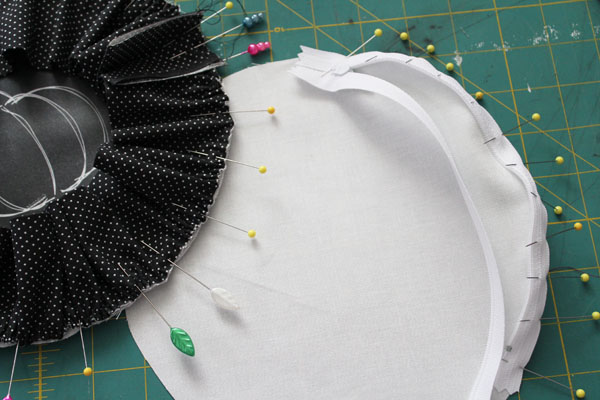
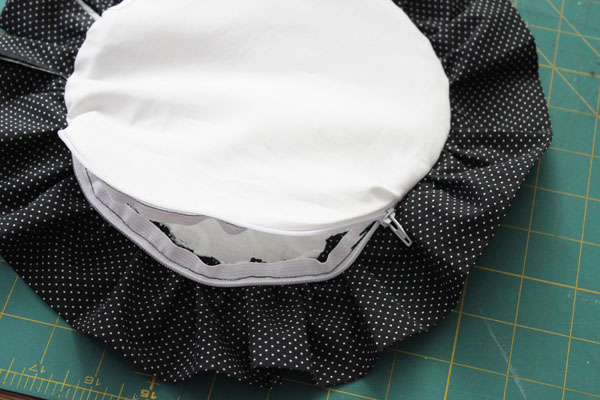
Pin the zipper to the back piece. You’ll want the zipper part on the inside. Just pin along the curve, and sew in place.
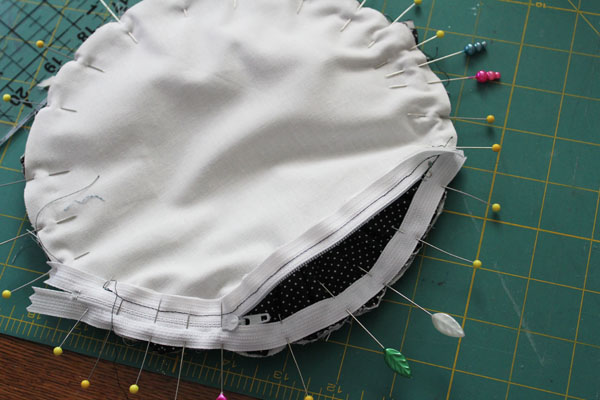
Put the two halves together so that the zipper and the ruffle are on the inside. Pin all the way around – when you get to the zipper, just pin the zipper (the side that isn’t stitched down). Make sure the zipper is at least halfway open. That’s the #1 trick to working with zippers – before stitching the final seam, make sure to open the zipper part way. Otherwise, it is nearly impossible to open after stitched down.
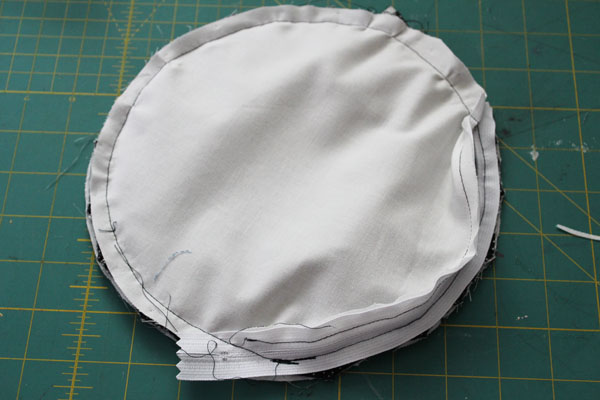
Now just stitch all the way around the pinned part. If the zipper gets in the way, just stitch up to it, move it backwards, and keep stitching.
Now flip it right-side-out through the zipper. No need to clip curves (I promise!).
Pop in the pillow form, and your pillow is done! In just 30 minutes! Really!
Oh, and you should check out these other fun projects you can make using Jen Goode’s printables:
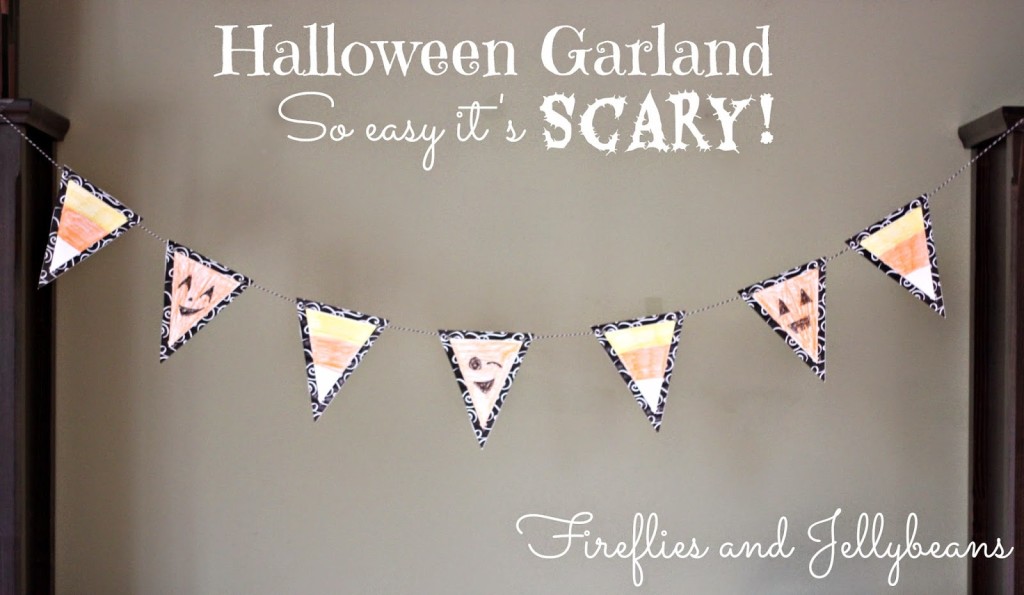
Fireflies and Jellybeans made this cute decorated Halloween banner using the banner printables:
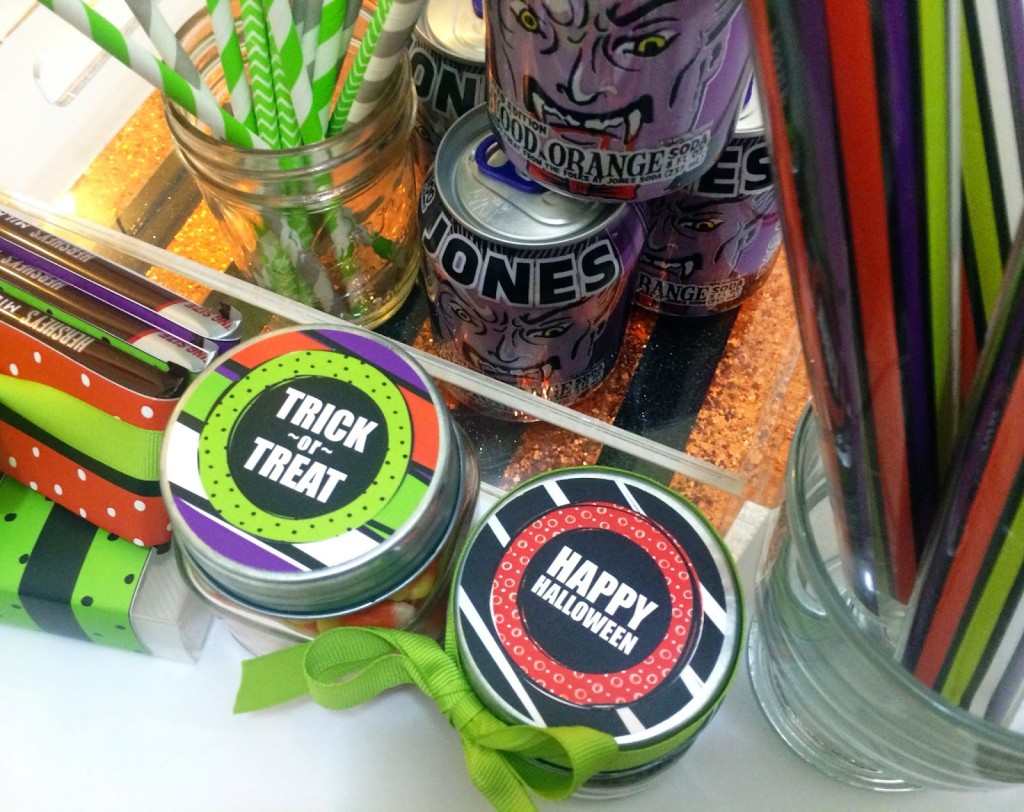
Over at Just My Little Mess, you’ll find the instructions for making these Halloween gift-giving tins.
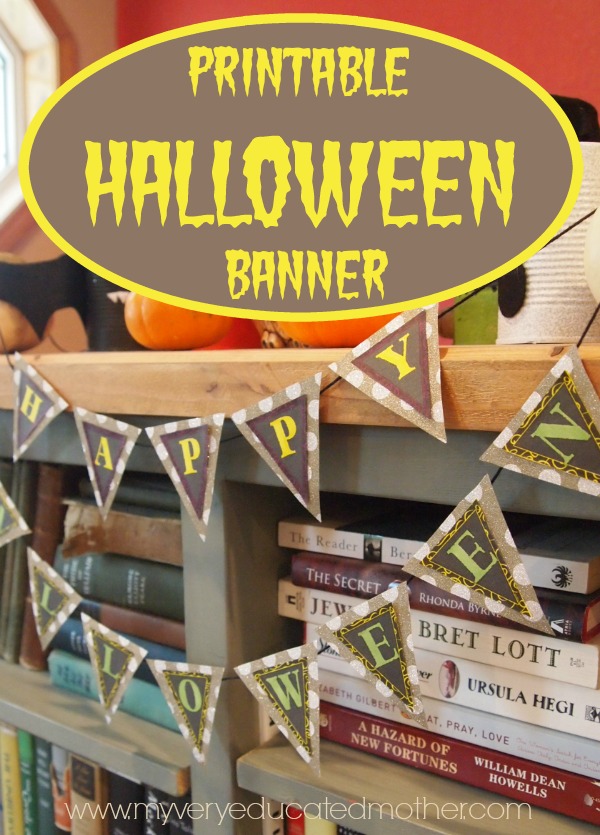
And My Very Educated Mother has another fun take on the printable Halloween banner – I love how versatile it is!




Leave a Comment