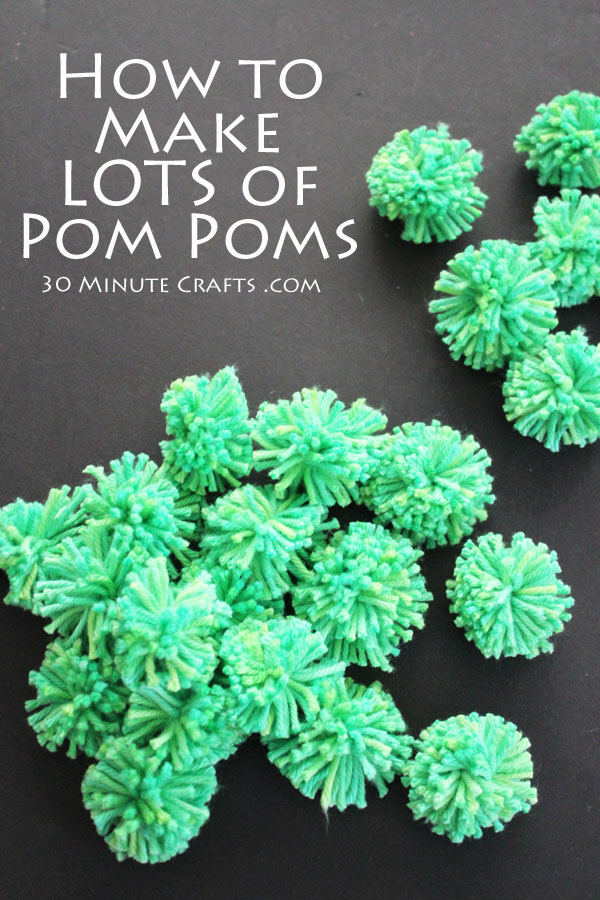
I love making pom poms – they are such a versatile craft supply, and fun to make as well! I have a couple different pom pom makers, that are awesome for whipping out a perfect pom pom. But sometimes, I don’t want just one pom pom. I want oodles of pom poms. Making lots of pom poms is super easy – and you don’t need any special tools at all!
This post contains affiliate links which help support this site at no cost to you.
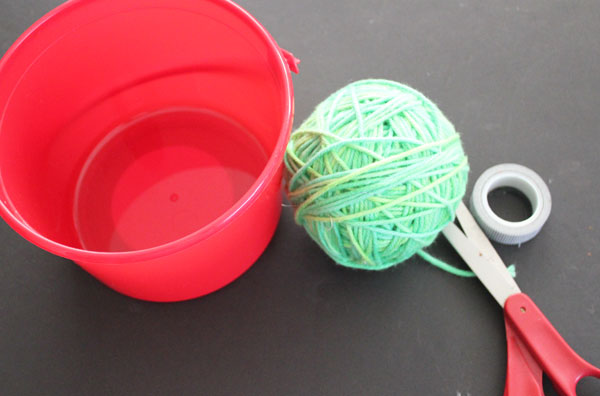
To make these pom poms, you’ll want a skein of yarn. This yarn was dyed using the Tulip Yarn Dye kit. You’ll also need scissors, tape, and a large cylinder of some sort – a big coffee can, a large tin can from a cafeteria, or a bucket all work great.
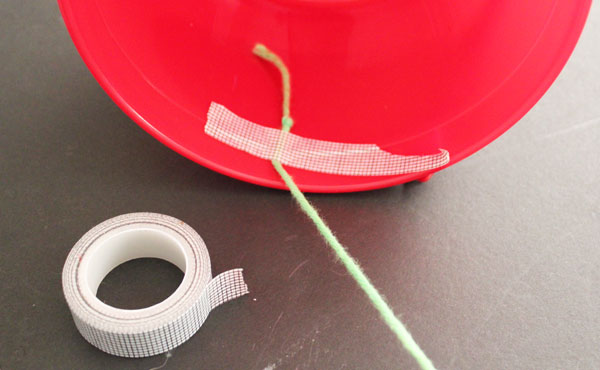
Start by taping one end of the yarn to the side of the can/bucket.
Wind the yarn around, dividing the bucket into sections. From the top and bottom, it should look like pie slices.
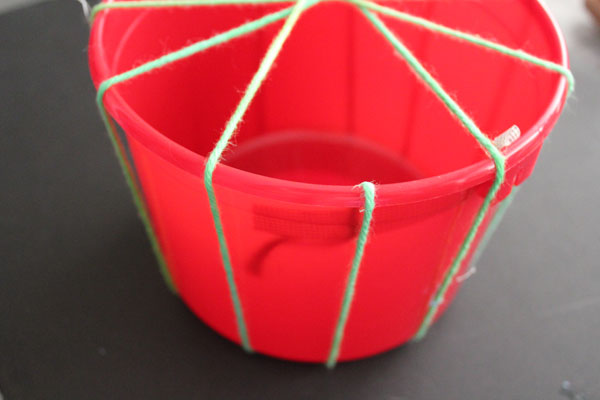
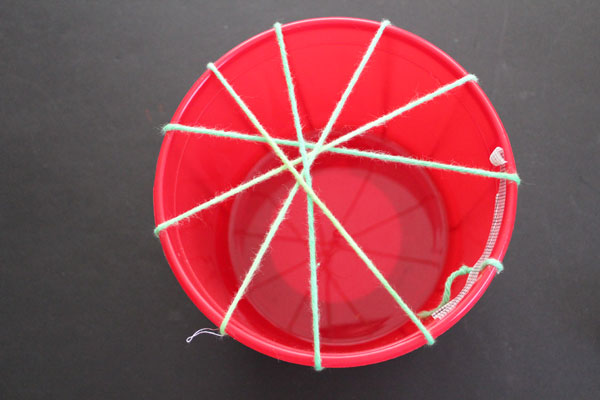
The smaller the segments, the smaller your finished pom poms will be. When you’re done, cut the yarn and tape off the other end.
Start winding the yarn around the circumference of the bucket, round and round and round. The more yarn, the fuller your pom poms will be. You’ll want to go around at least 75 times. More creates nice, full pom poms.
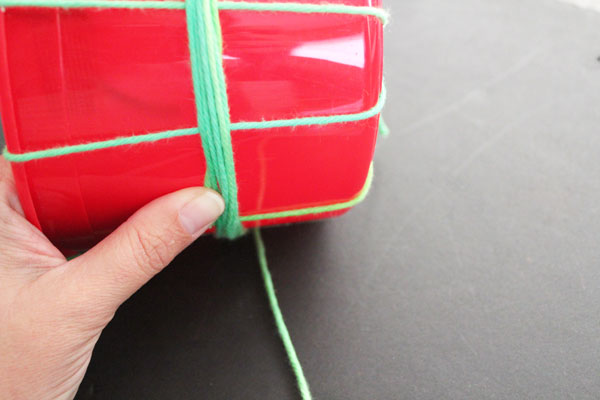
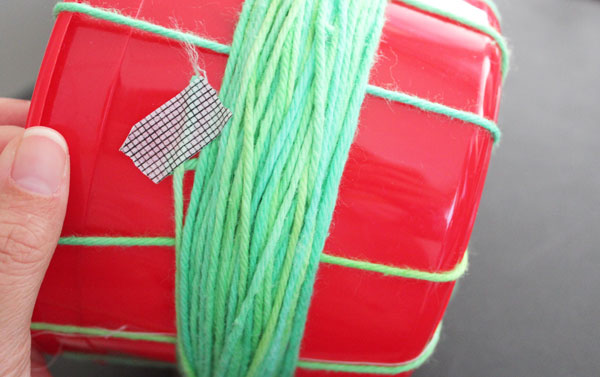
Cut the yarn at the top and bottom of the bucket.
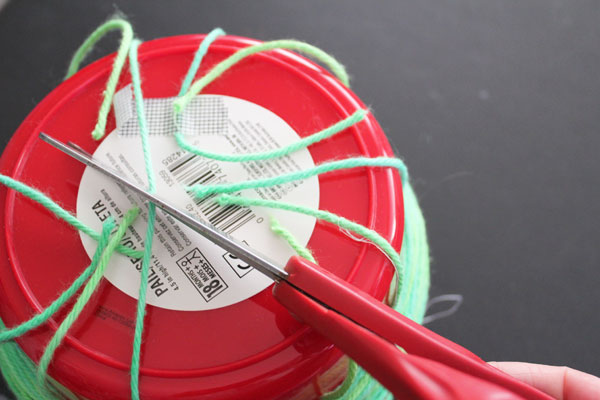
Tie each string. A tight double-knot is perfect. You want to tie these segments as snugly as possible.
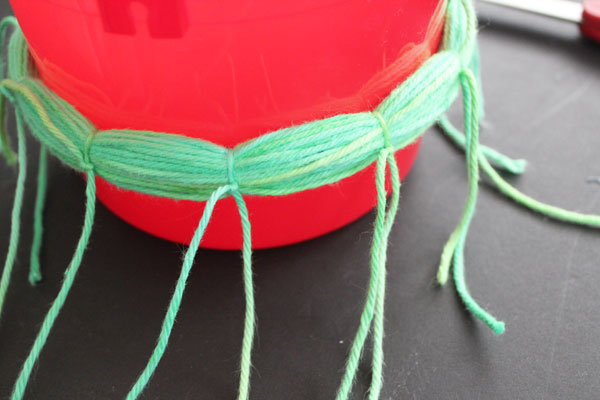
Cut the yarn that was wound, midway between each knot.
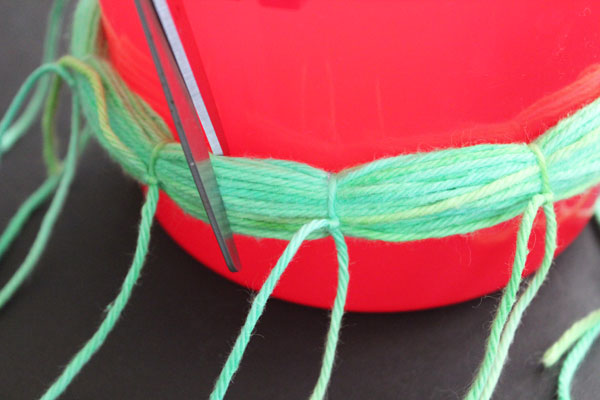
You will have some very sad looking pom poms. Don’t worry! You didn’t do it wrong!
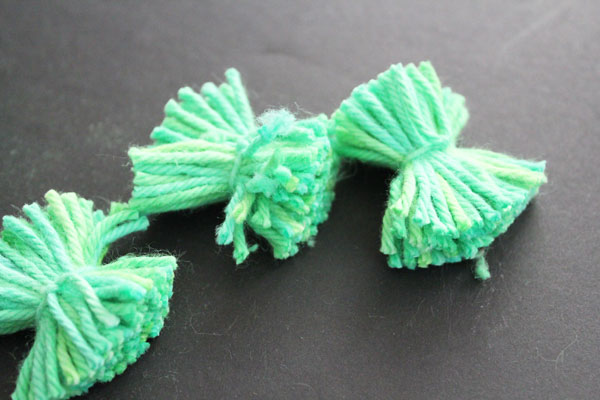
Fluff up your pom poms with your fingers, and trim any strings that are too long.
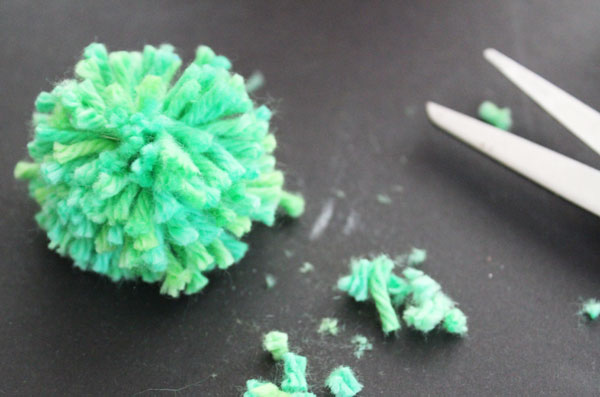
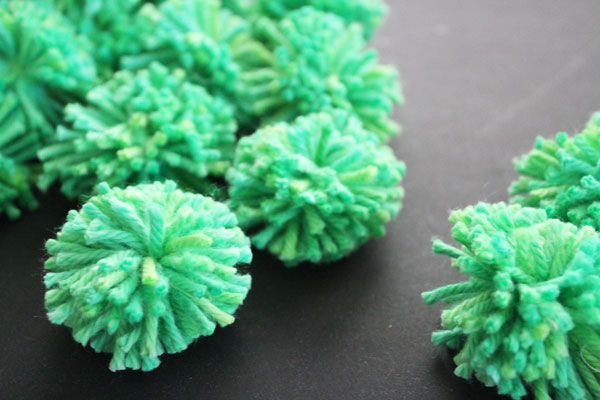
Now you have a whole bunch of pom poms to create with!


Leave a Comment