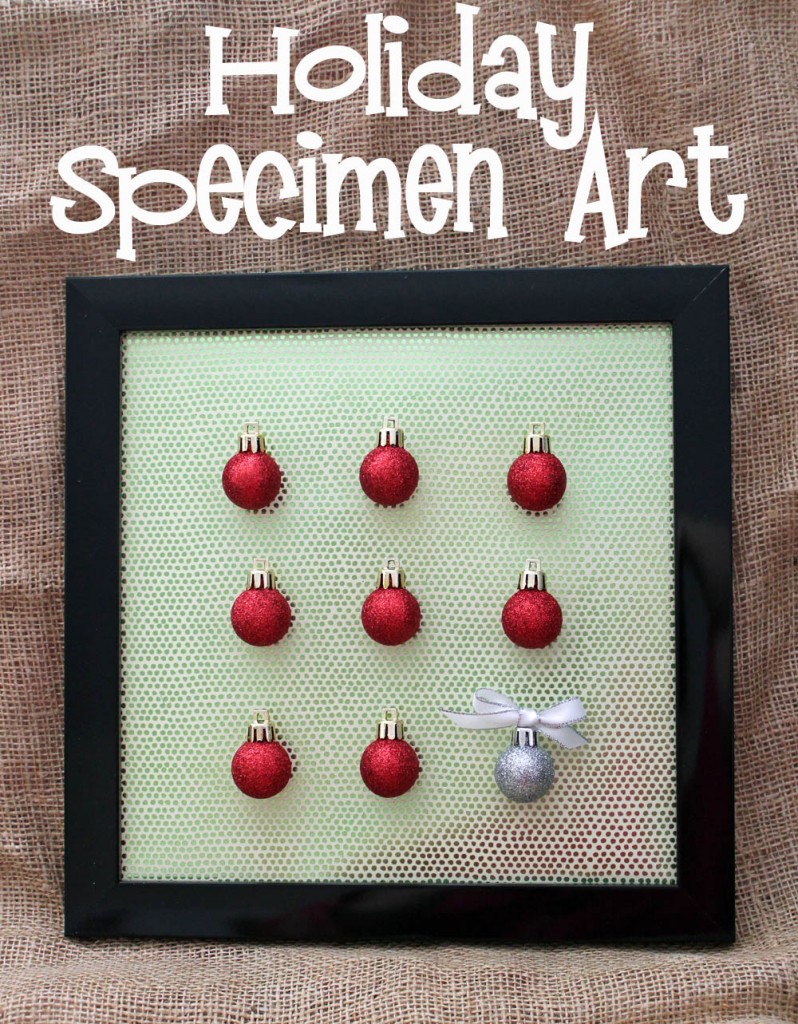
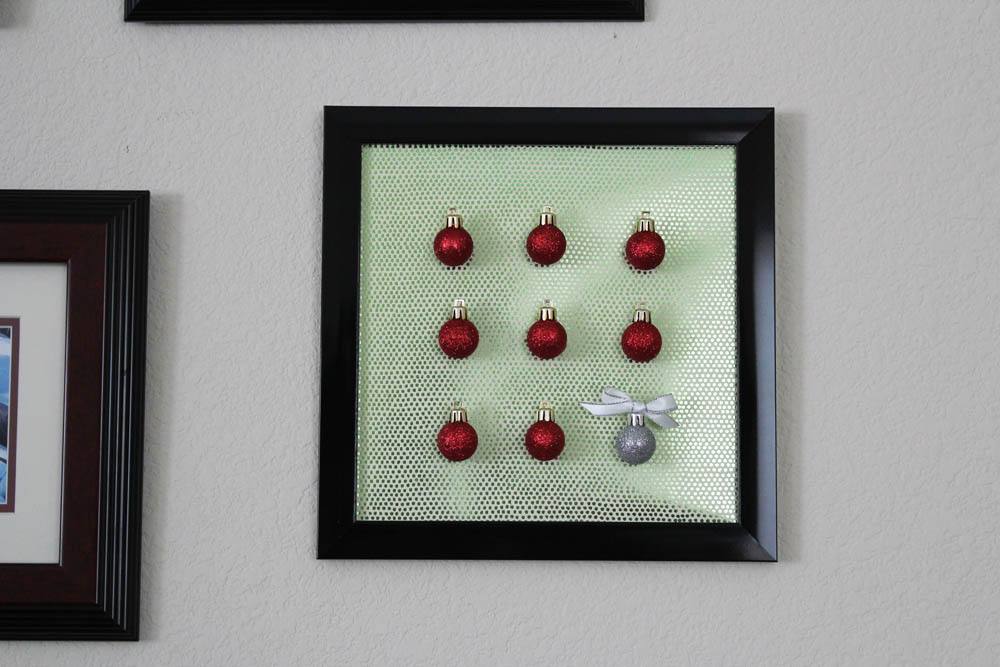
Specimen art has been big this year. Setting up an item on a board like they were botanical or biological items pinned into place. I love making holiday decor that brings in the trends of the year, so I whipped up this super fast and easy Holiday Specimen Art!
Here is how you can make your own Holiday Ornament Specimen Art…
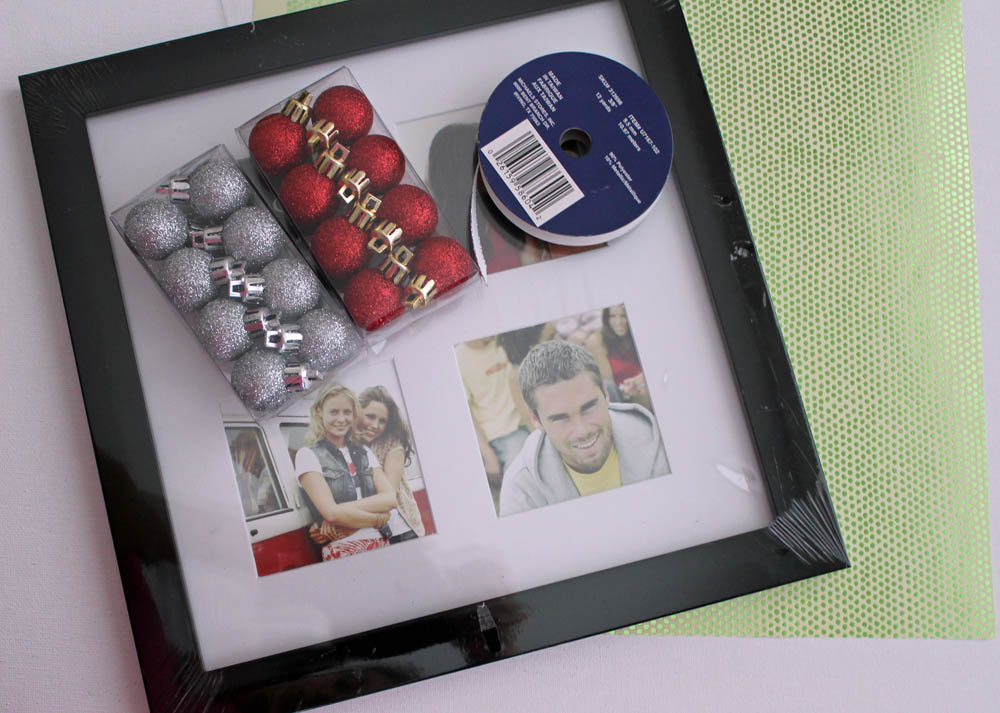
Supplies:
Square picture frame (mine fits a 10″x10″ photo)
Scrapbook paper (or wrapping paper)
Scissors or paper trimmer
Mini ornaments in 2 colors (8 of one color 1 of the other color)
Ribbon
Hot Glue Gun
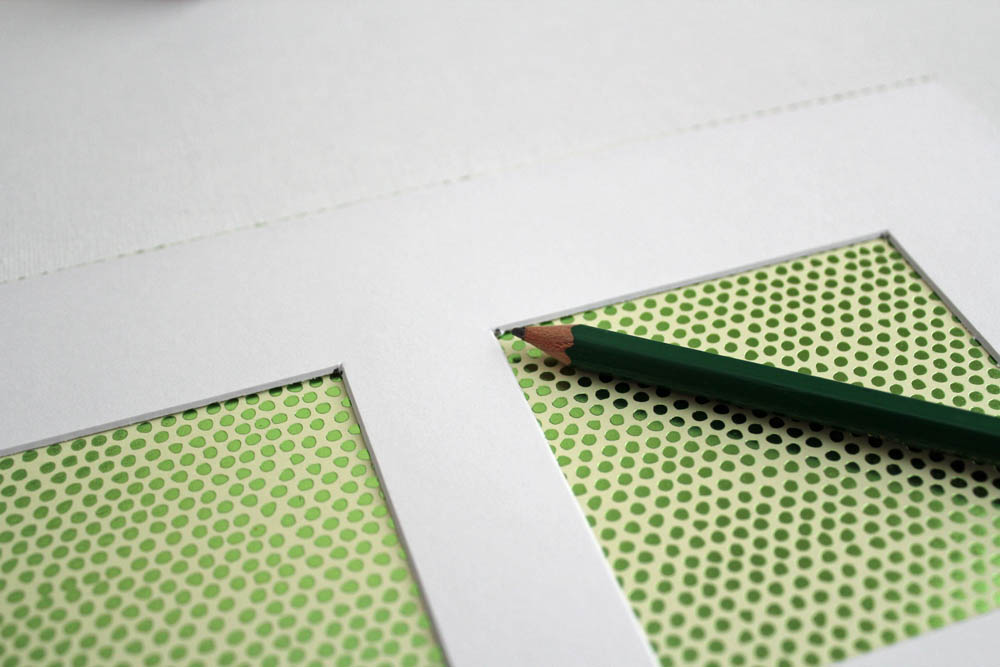
Trim your paper to the photo size. For me that is 10″x10″. If your frame came with a mat, use a pencil to give yourself guidelines for placing your ornaments by putting a small pencil mark in each corner.
Put your paper into the frame so that it is on top, with the glass and mat behind it. This keeps your glass handy if you want to use this frame for a different seasonal project.
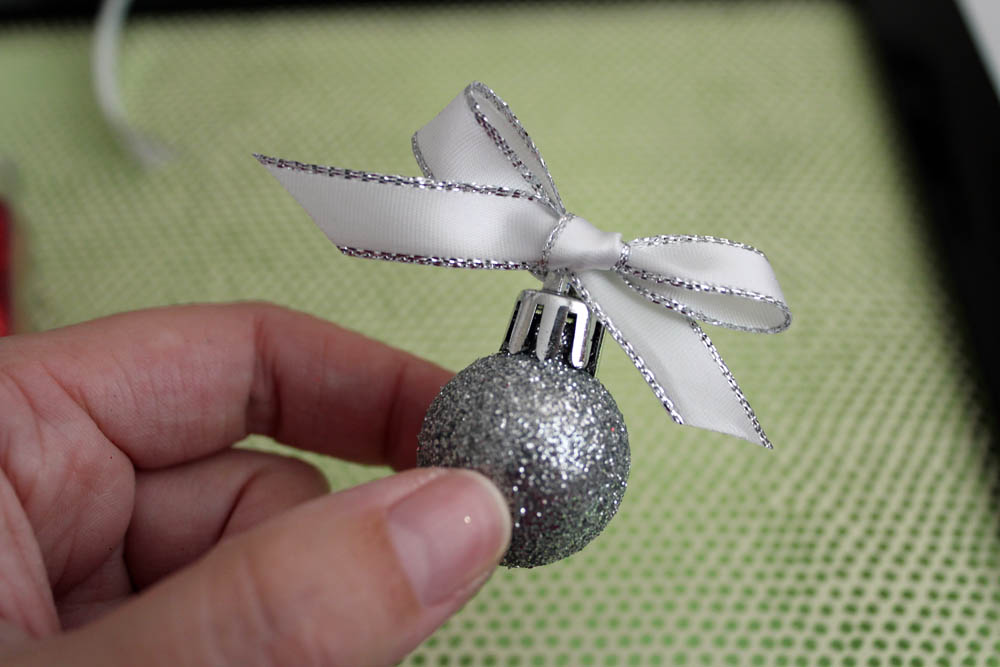
Using the ribbon, tie a bow on your odd-colored ornament. For many of us, getting a pretty bow here is the most time-consuming part of this project!
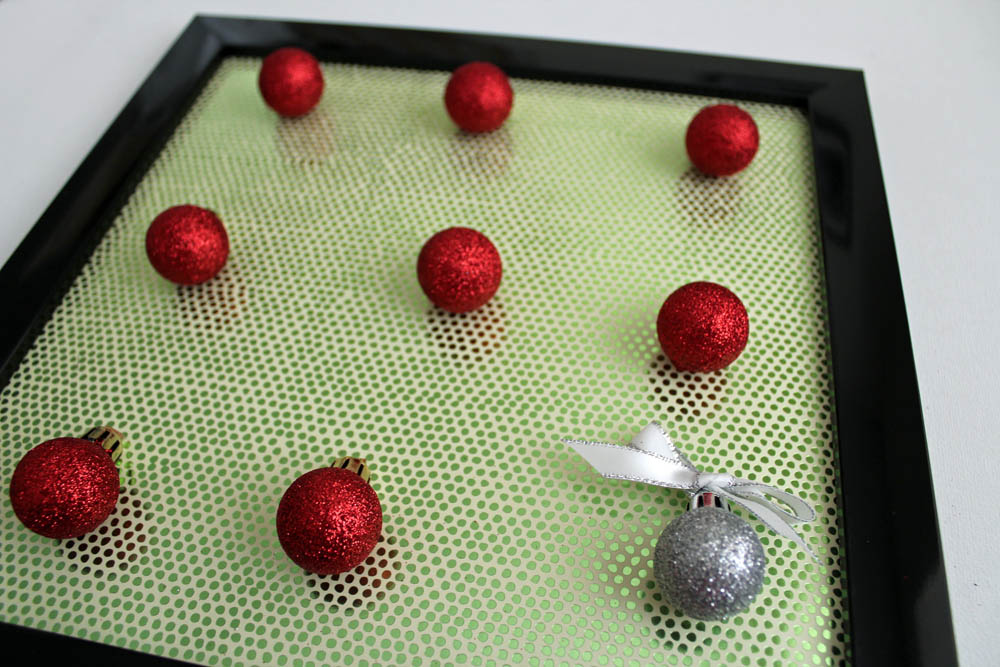
Lay out all your ornaments to figure out the spacing you want.
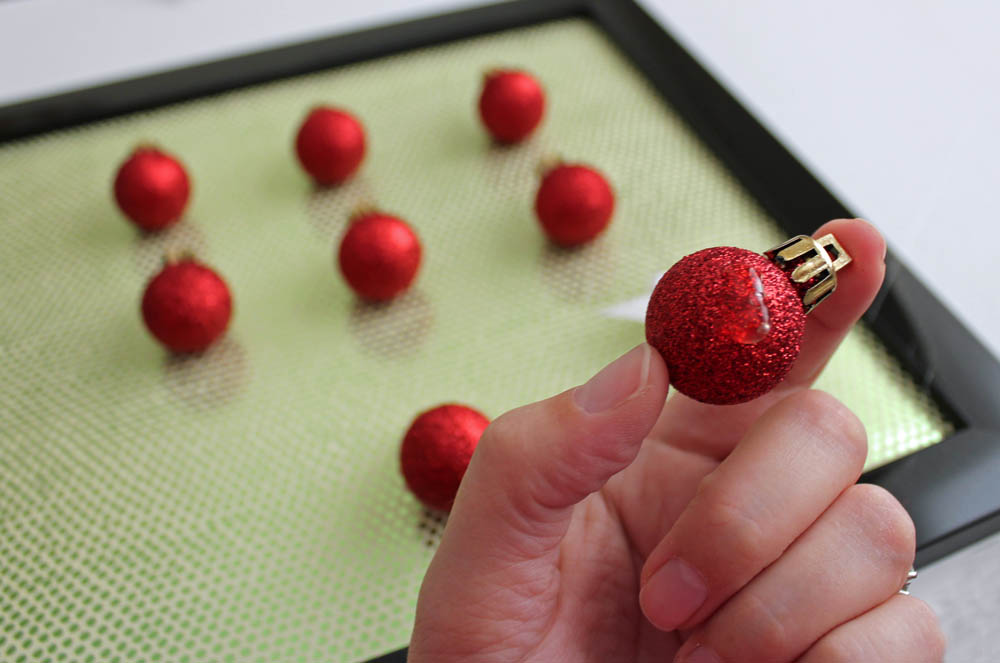
Using the hot glue, glue each ornament into place.
Remove any trailing glue strings, and hang on your wall! Your festive specimen art is all done!
This is my third project as part of Craft Lightning Holiday edition with my friend Angie from The Country Chic Cottage. Come back tonight and I’ll have a round-up of today’s 15 minute projects to share with you!





I love this ornament specimen art, Carolina! This looks like something I could find at a fun gift boutique or a nice gift and decor store, probably for a lot more money! 🙂 Thanks for the inspiration! (The quick inspiration, too!)