I was at the craft store a few weeks ago, browsing the aisles, looking for inspiration. One of my favorite places to be inspired is the bead section. There are always sparkly things looking to become my next fast and easy jewelry project. That’s when I saw these ladybug beads. Oh my goodness! Aren’t these ladybugs the cutest? And I have two nieces who love ladybugs. So, of course, I had to whip up a bracelet (or two)!
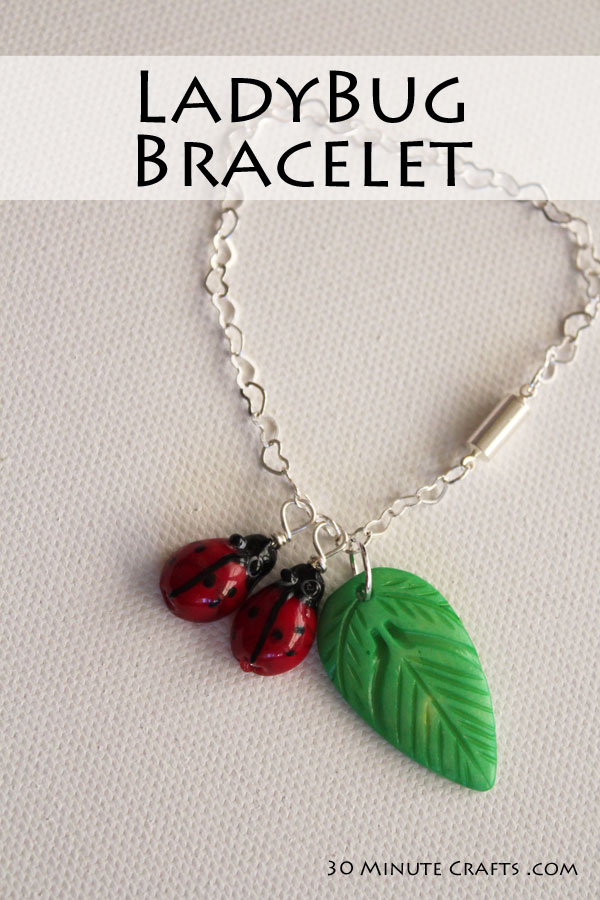
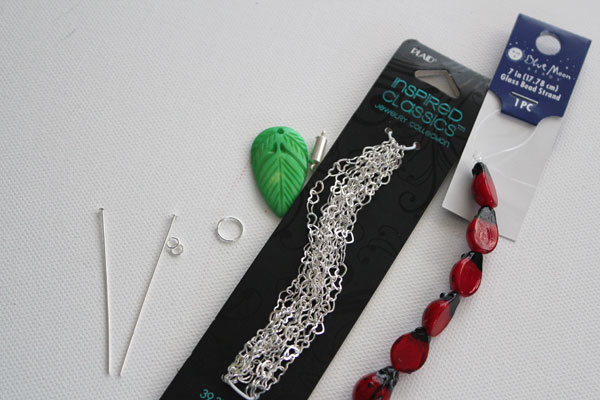
Once I had the ladybug beads home, I had to decide how to put it all together. Here are the supplies I used (I’ve added some affiliate links to help you out – these also help pay for this site at no cost to you).
Ladybug Beads (similar here)
Leaf Beads (similar here)
Heart Chain (you can use regular jewelry chain, but heart chain is cute)
Magnetic clasp (easier for little kids to put on/off)
1.5″ Head Pins
Jump Rings
Jewelry Pliers – round nosed and needle-nosed
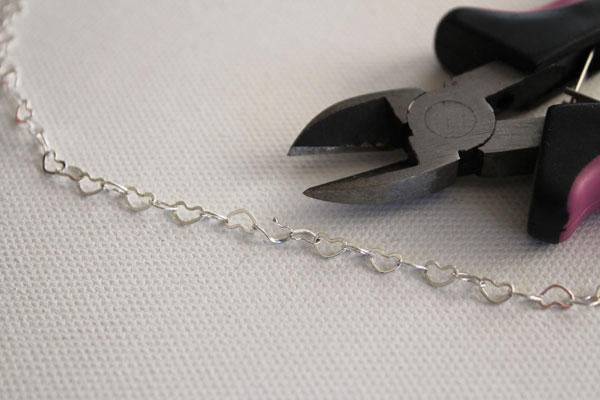
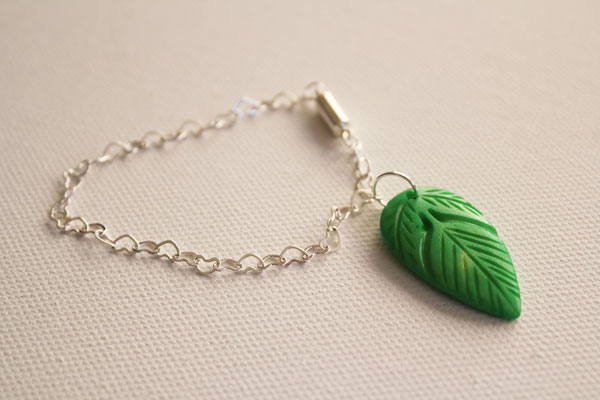
Cut your chain to the length you need for the bracelet. Mine are for young girls, so I went with shorter bracelets.
Use jump rings to attach the magnetic clasp.
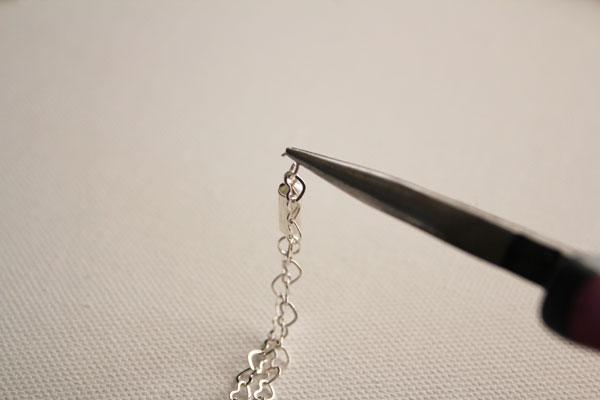
Use another jump ring to attach the leaf bead.
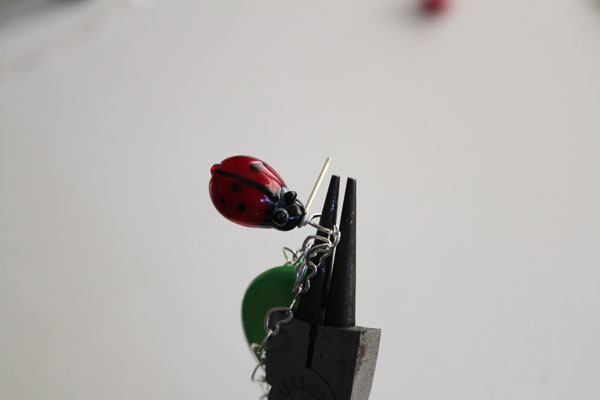
String a bead onto a head pin. Bend over your round-nosed pliers, then pull it off. Slip it onto the chain. Now put it back on the pliers, and wrap the excess around the base. If you have extra, you can snip it off.
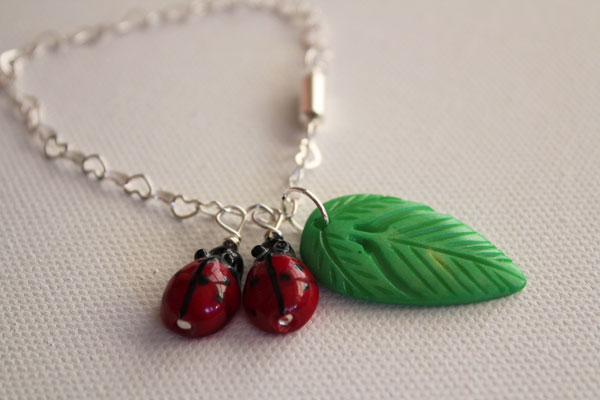
Repeat with the second ladybug bead.
Since I have two ladybug loving nieces, of course I had to make two bracelets!
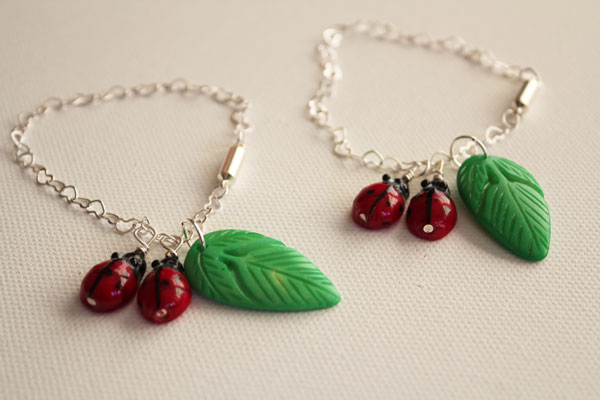
If you’re making more than one for children that live in the same household, it is a good idea to differentiate them somehow – like adding a bead with their initial or initials, or adding a bead with their favorite color, or representing their birthstone. That way there aren’t any “it is MINE” mix-ups.


Leave a Comment