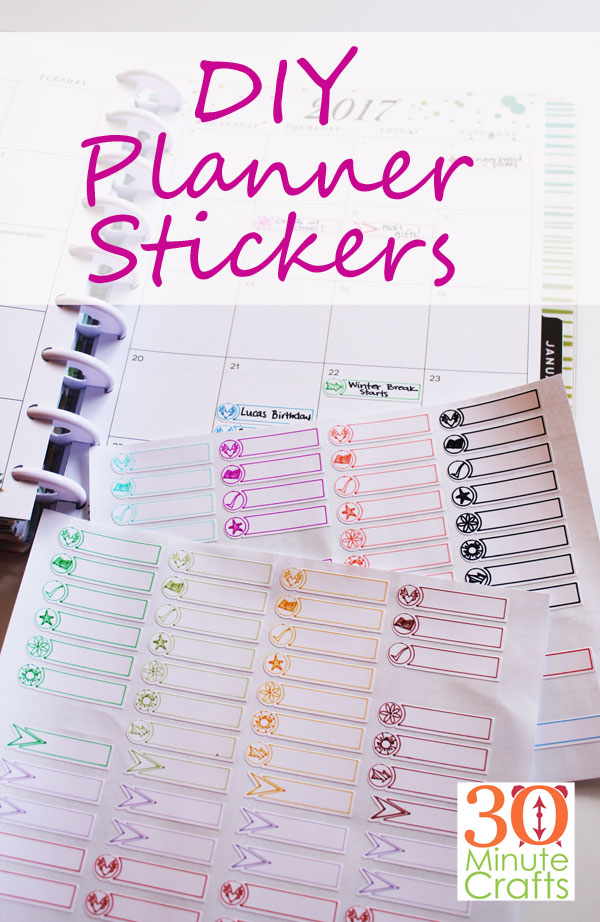
Planners are incredibly functional – keeping dates and appointments all straight – but they can also be pretty! These DIY Planner Stickers are actually drawn – by the Cricut Machine. Your Cricut will draw the stickers, then cut them out, making a perfect sheet of fun and colorful stickers to keep you organized.
This post contains affiliate links. Making purchases through these links supports this site at no extra cost to you.
To make the DIY Planner Stickers, you’ll need:
Printable Vinyl
Cricut Pens
Cricut Machine
Draw then Cut Planner Sticker Files
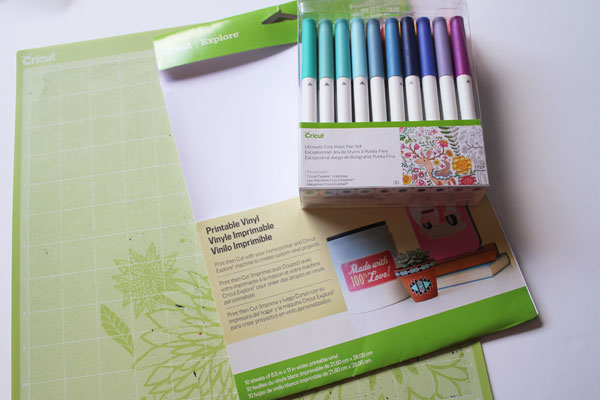
Open the file. Put the printable Vinyl on the mat. You’ll be prompted to add a pen. The file has been set up with specific colors, but you can ignore those if you like.
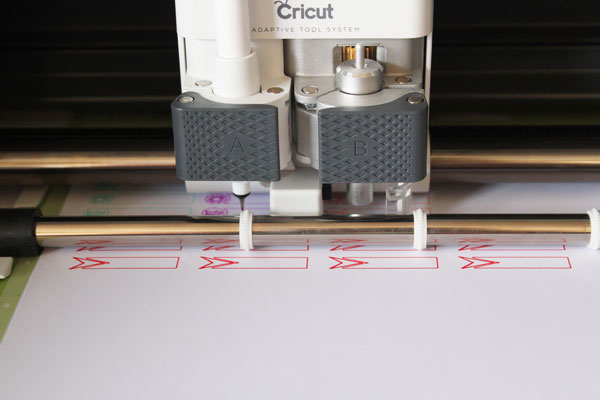
The pen will do the drawing, then prompt you to replace the pen with a new color when it is done. After it has cut all the colors, it will cut out the stickers. You can carefully remove the pen while the machine cuts, to prevent it from drying out.

After you are done, you can turn the paper 180 degrees, and make the same design on the other side. You can use different colors if you want more variety.
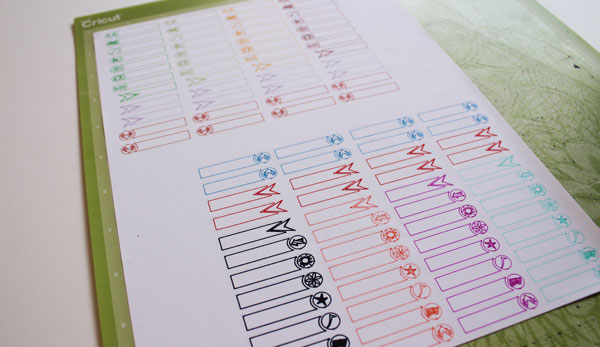
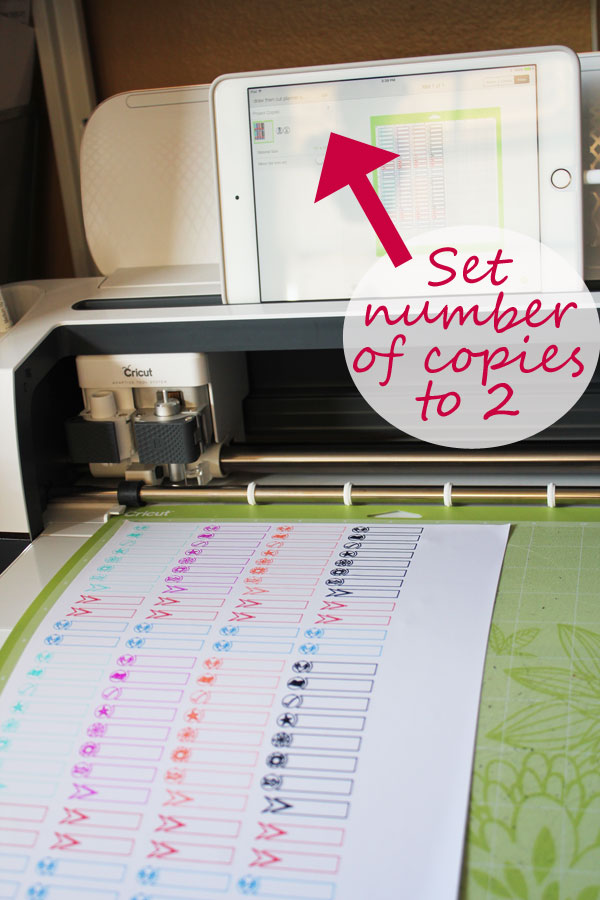
If you’d like to make a double set of stickers with the same colors, you can change the settings to make 2 at once.
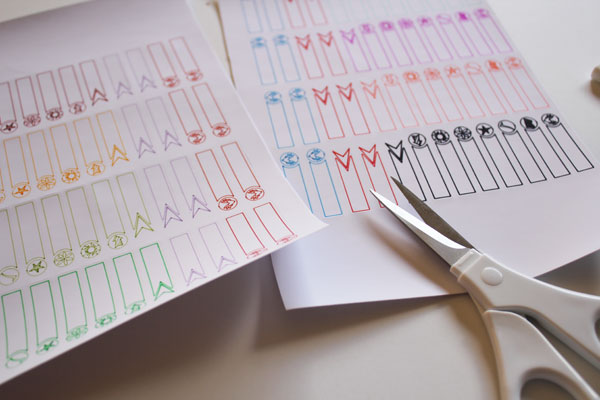
After you have drawn and cut the stickers, you can cut the sheet apart to make two half sheets. These fit easily into your planner. It also makes the next step easier.
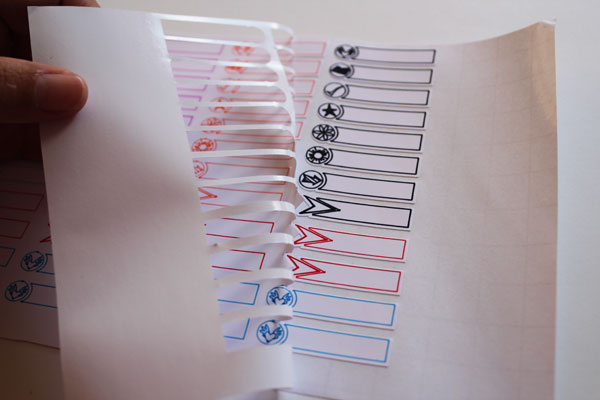
Peel away the background vinyl and throw it away.
Now you have a great set of planner stickers to spruce up your appointment making and Birthday reminders!
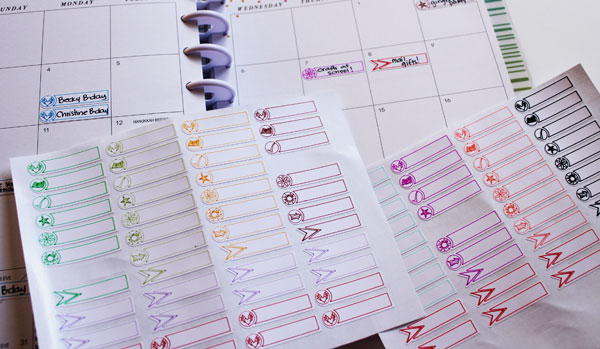


[…] I used Cricut Sticker Paper, but draw-then-cut works great on Cricut Printable Vinyl as well, as you can see in my draw then cut planner stickers. […]