


In this tutorial I’ll explain how to measure your tech device so that you can custom-fit a pouch to whatever size device you’d like to make a cover for.

I made a much more fancy quilted cover for my Kindle over a year ago, and have since misplaced it. I’m sure it is somewhere, but I need to keep my Kindle protected when throwing it in my purse. If you’re thinking about giving someone a piece of technology for Christmas this year, consider stitching up a pouch to keep it safe as well.
Supplies:
2 coordinating or contrasting fabrics
scrap batting
sewing machine
walking foot (optional)
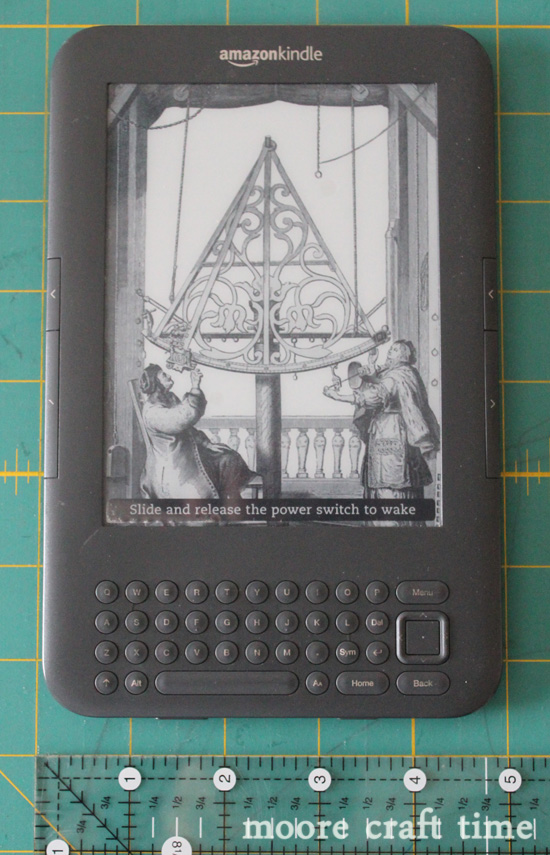
I added a little to the height of the Kindle – going up to 9″. This gives me a half inch for seam allowance, and another inch so that the kindle will be tucked in, and not sticking out.
I doubled the width to 10″, then added an inch. Half an inch is for the seam allowance, and half an inch is for the depth of the device and thickness of the batting.
That means that for the lining, I cut a piece of fabric 9″ by 10″. I also cut 2 pieces of batting this size.
To make the front, with the accent strip, I cut a 10″ by 2.5″ piece of my accent fabric.
For the main fabric on the front, I subtracted 2″ from the 9″ height to calculate that I needed a 7 x 10″ piece of fabric.
The reason I subtracted only 2 inches instead of the full 2.5 inches is because I will be using half an inch of fabric (1/4 inch on each side) in the seam allowance.
This is the only confusing part. I promise.

Okay! Now that the fabric is cut, I placed the main fabric right side UP, lined up with the sides and bottom of a double layer of batting. Then I placed the accent fabric on top, lined up with the top edge of the main fabric. I pinned it in place, through both layers of batting.

After stitching it down, I pressed the seam, and then top stitched 1/8″ away from the edge. You don’t have to top stitch, but I love top stitching – I think it adds a little “something” and makes a project look more finished and professional.


I trimmed the corners, and then turned the whole bag right side out. I stitched across the bottom of the lining to close the hole used for turning. No worries about it being perfect, it is going to be tucked way down on the bottom, and nobody will ever see it.

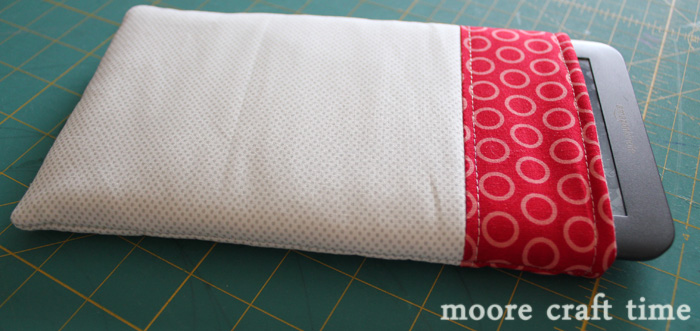
Then I tucked the lining back into the pouch, and top stitched along the top edge. I put the Kindle in, and it was VERY snug. This is the way I want it, because over time it will stretch a little bit, and fit like a glove.
Come back tomorrow as I show you yet another great handmade gift idea! And click on the image below to see links to other great 30 minute gift ideas.

Want more 30 minute crafts? Like 30 Minute Crafts on Facebook, Follow 30 Minute Crafts on Twitter, and check out 30 Minute Crafts on Pinterest.


[…] 30 Minute Crafts} There has been a hugh boom of technology-inspired gifts over the last couple years, and this year […]