


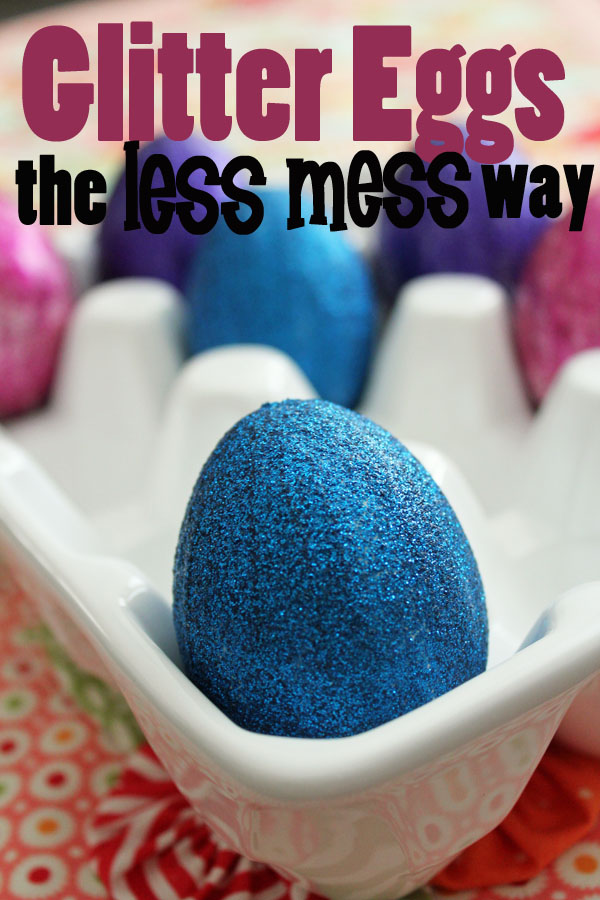
This week is all about fast spring crafts, because I’m doing a week of Craft Lightning projects with my friend Angie from The Country Chic Cottage. Craft Lightning crafts can be done in 15 minutes or less. Which is a challenge. Today I decided to challenge myself even further – by using glitter.
That may not sound like a big challenge if you don’t know me. But those who know me know that I hate glitter. It gets everywhere and there is no getting rid of it. So, I decided to try a less mess way of adding glitter to crafting to see if I could start a tepid relationship with glitter. That’s where these “less mess” glitter eggs come in. You’ll see what I mean…
If you want to make your own less mess eggs, here is what you need:
Eggs (with the middle blown out – we’ll talk about that)
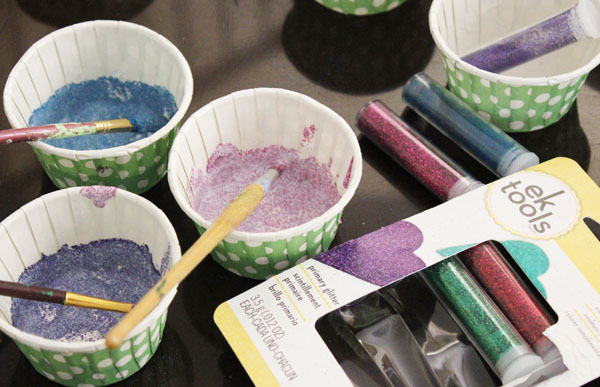
Ultra Fine Glitter (I used EK Success brand)
Small disposable cup
Mod Podge
Paint Brush
Skewers
If you haven’t already blown the center out of your eggs, it is easy to do. When making something that uses eggs (cookies, pancakes, whatever), don’t crack the egg as normal. Instead, using a pin, poke several holes in one end of the egg. Then insert the pin and pry up the shell a little. Keep doing this until you have a small hole, maybe 1/4″ in size.
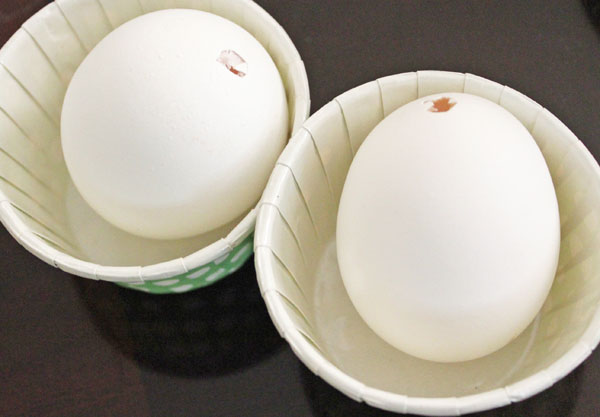
Do the same thing with the other side, but this time make sure the bottom of the egg is over a bowl. Once you have your second hole, put your lips over the egg and blow into the hole at the top… and the egg insides will be pushed out of the bottom hole and into your bowl! Rinse out the inside of your egg with some water, and you’ve got a useable eggshell!
Once you have your shells collected, it is time to decorate them… with glitter! I played around with the perfect “formula” for getting a good glitter paste. Add 1 part Mod Podge to about 1.5 parts glitter, and stir well. You should get something about the consistency of grout, which is perfect for single-coat coverage. And with fast crafting, we want everything to get covered in a single coat.
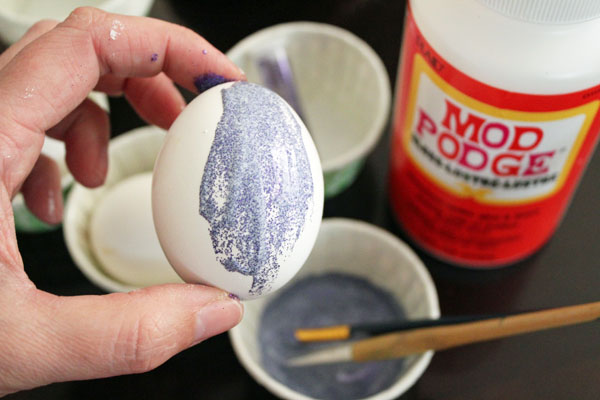
Using your paintbrush, apply the glitter paste. This will be a LOT less messy than if you put glue or Mod Podge on the egg, and then rolled it in glitter. In this picture, you’ll see that my mixture is thinner, so I’m not getting full coverage. With a nice thick mixture, you’ll get full coverage… it will feel more like you’re pushing it around than painting it on.
Once you’ve painted your egg with the glitter and Mod Podge mixture, put a skewer through the two holes and allow to dry.
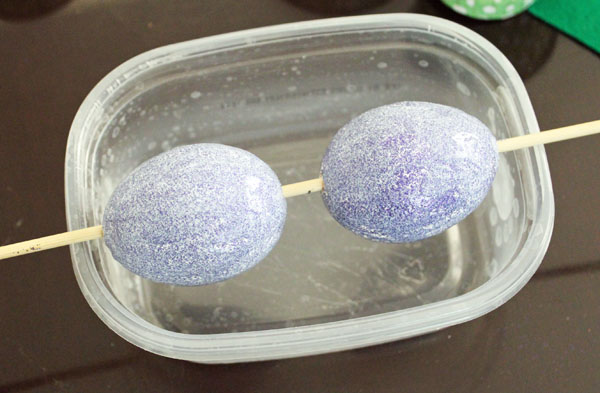
That’s it! You could give the eggs a coat of Mod Podge to seal them, but they really don’t need it… the glitter stays on the egg, doesn’t get on your table! And, if you get any of the glitter mixture on your hands, just let the Mod Podge dry a little, and peel it off – practically no mess at all!
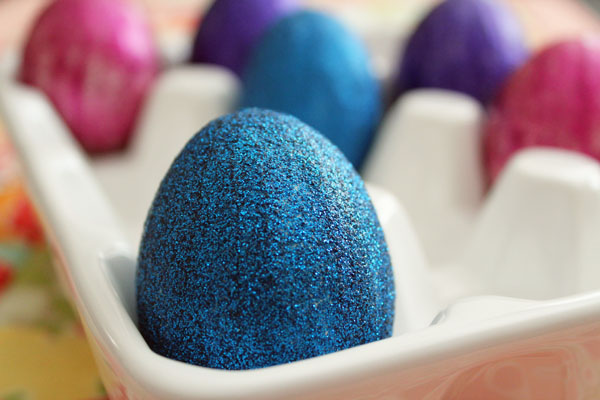
I might be able to like glitter again…
Make sure to check back this afternoon and tomorrow for more lightning fast crafts!


[…] partner for this series Carolina of 30 Minute Crafts came up with a great way to make glitter eggs (or anything else) without the mess. […]