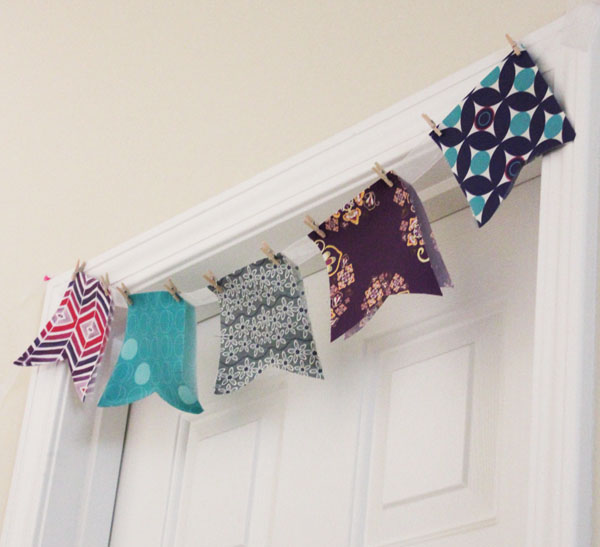
This fabric banner is super quick and easy to make. You can make yours as long or as short as you want it, just keep adding on to your ribbon to get length. Fabric banners are great party decorations, and add color to any space.
I’m sharing these banners with you this week as part of Craft Lightning Week. All week long Angie from the Country Chic Cottage and I are sharing crafts that take 15 minutes or less. We have friends sharing quick crafts all week as well, so be sure to check back this week for a roundup.
All the supplies and idea of this project came from Modern Yardage. They are a new fabric company that I’ve fallen in love with. This was a make-and-take project that they offered at SNAP conference, and instead of making mine there, I took a kit home so that I could photograph the process and share it from you.
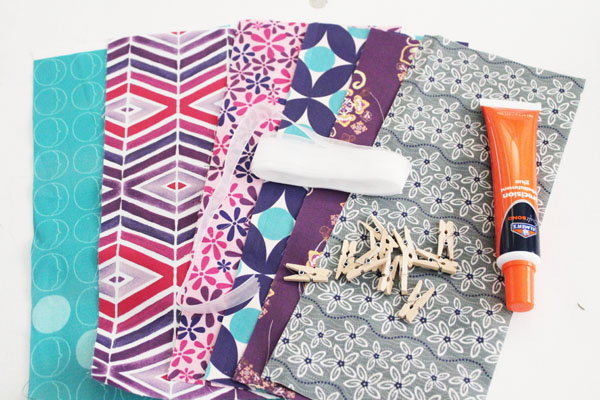 To make your own fabric banner, you need:
Fabric scraps about 6″x10″. My fabrics came from Modern Yardage
Ribbon
Mini Clothespins
Glue
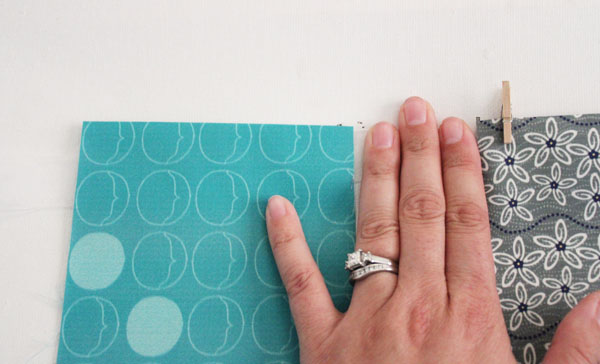
Fold the fabric scraps so that the squares become 6″x5″. Place them along the ribbon, using the clothespin to attach them at the fold. I spaced each of my pieces out about 3 fingers.
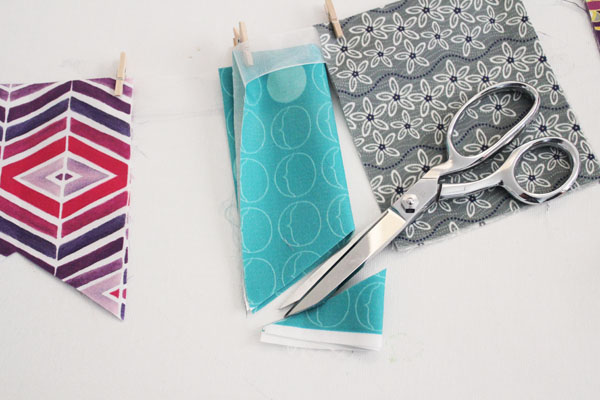
While on the ribbon, fold each piece in half and trim to make a V shape at the bottom.
You can add the glue when cilpping each piece in place, after the glue dries, you’re all done!
Make sure to check back this evening and again tomorrow for more great craft lightning projects!


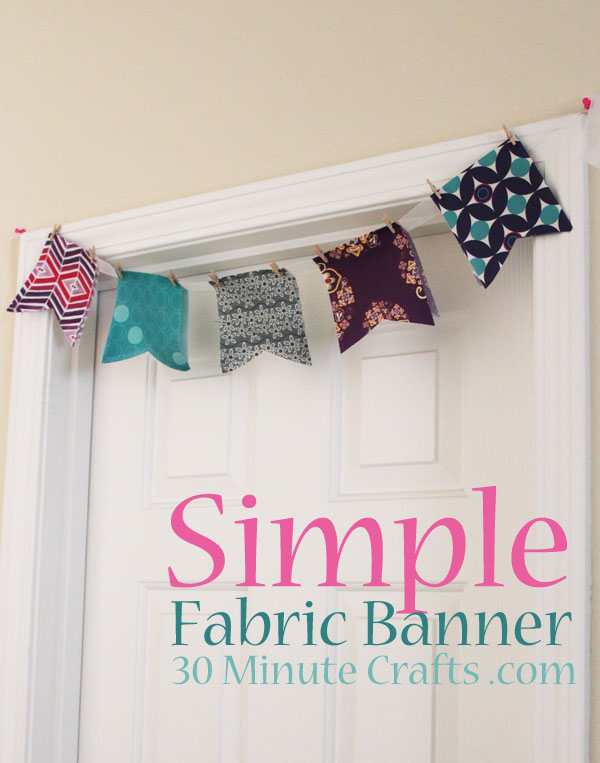


[…] partner for this series is 30 Minute Crafts and Carolina made this too cute fabric banner that is the perfect use for all those crafty scraps. […]