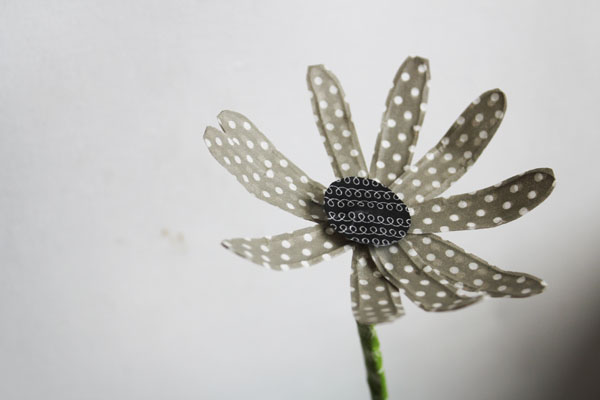
Yesterday, I hung out with Angie from The Country Chic Cottage, Amy from Washi Tape Crafts, and Jamie from CRAFT, and we recorded a video where we talked about Washi Tape and shared some fun projects. I promised I’d give you a detailed tutorial on how to make these Washi Tape Flowers, so here it is!
To make your Washi Tape flowers, you’ll need:
Beading Wire
Jewelry Pliers
Pipecleaner
Washi Tape (3 colors – one for petals, one for center, one for stem)
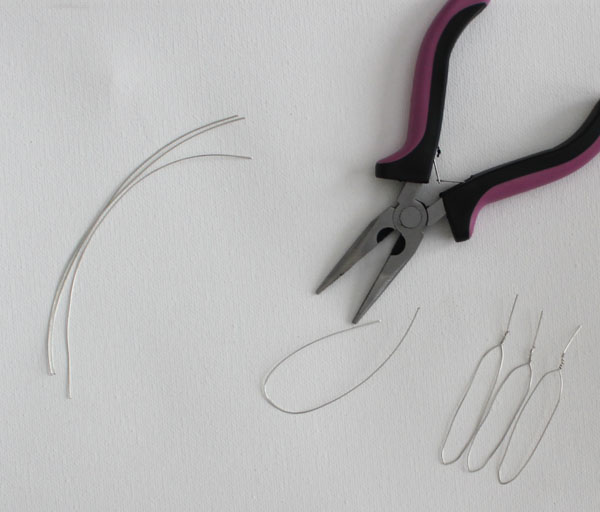
Start by cutting your beading wire into 10 pieces, each about 5″ long. Make a large loop, and twist the ends together as shown in the picture. Repeat with all 10 pieces.
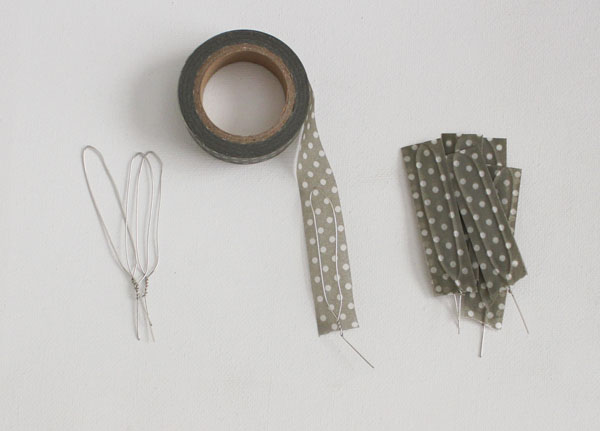
Cover each petal with the Washi Tape by covering one side, folding it over, and then covering the other side. Tear off the end, and repeat with each petal.
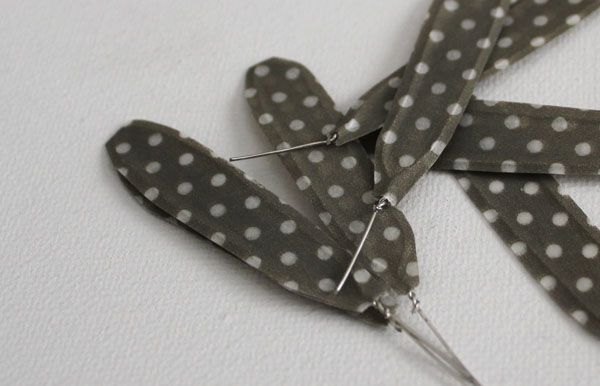
Trim the excess washi tape from the edges of each petal
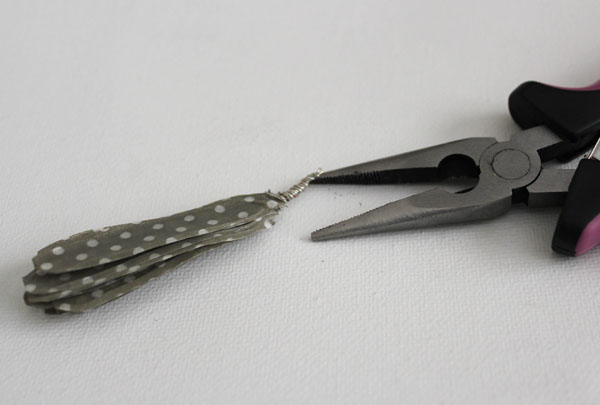
Stack all the petals. Using the pliers, twist all the end pieces together.
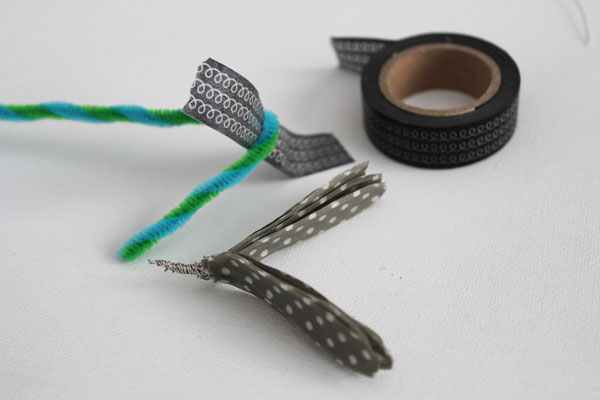
Prepare the pipe cleaner by folding over one end about 2-3 inches. Add a piece of washi tape (this will be used later). Split the petals in half to make a V shape, with half the petals on each side. Tuck in the prepared pipecleaner so that the tape is on top, and twist the ends of the pipecleaner to secure.
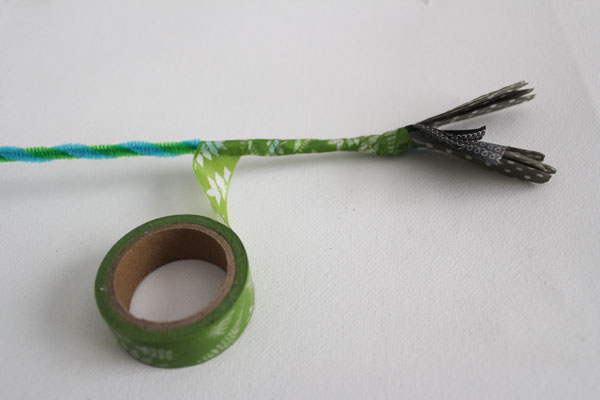
Wrap the pipecleaner with washi tape.
Separate the petals.
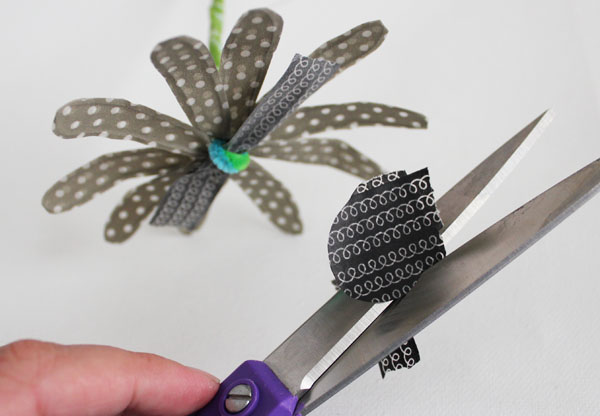
For the center of the flower, tear off a piece of washi tape about 6″ long. Tear it in half, and overlap the two pieces to make one wide piece of washi tape. Tear this in half, turn one half 90 degrees, and lay on top of the other half so that you have a piece of washi tape that is double thick and more than double wide. Out of this large piece, cut a circle for the center. Place in the center, securing with the washi tape on the pipecleaner. Cut away the excess washi tape from the pipecleaner.
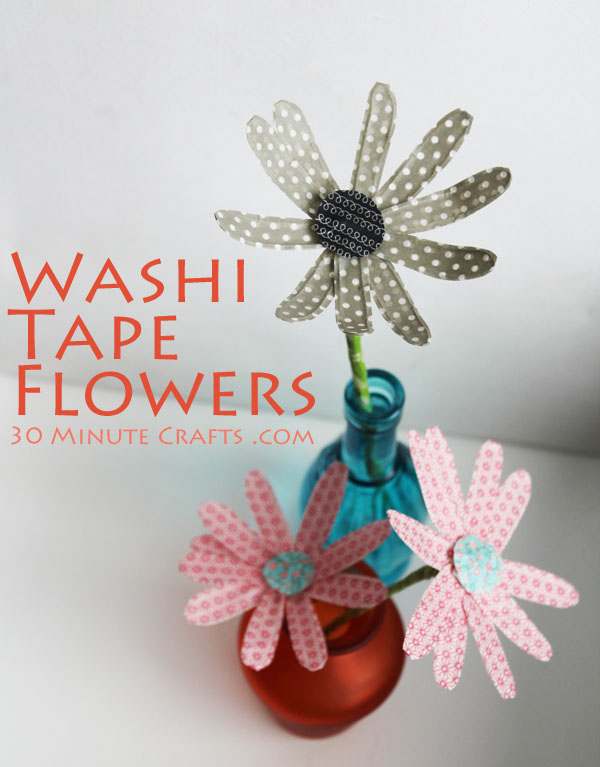
That’s it! Simple to make… go make a whole vase full!




I Love this tutorial! I am a hugh fan of washi tape and I write a blog about it.
I tried making washi tape flowers before but couldn’t make it as good as you did.
Well done 🙂