When DecoArt offered to send me their new multi-surface paints, I jumped at the chance. What crafter couldn’t use paints that can be used on just about any surface, right? When they sent me the paints and stencils, they didn’t disappoint – these creamy paints in a variety of modern and traditional colors are awesome to work with! And as soon as I saw the stencils they sent along with the paints, I knew I wanted to make a clock.
I’m in the (long, drawn-out) process of putting my craft room together. Since moving into my new space, I lose track of time more often than before because there is no clock in there! I had a little clock kit with the mechanism and the hands, I just needed something to mount them on. These stencils gave me the perfect opportunity!
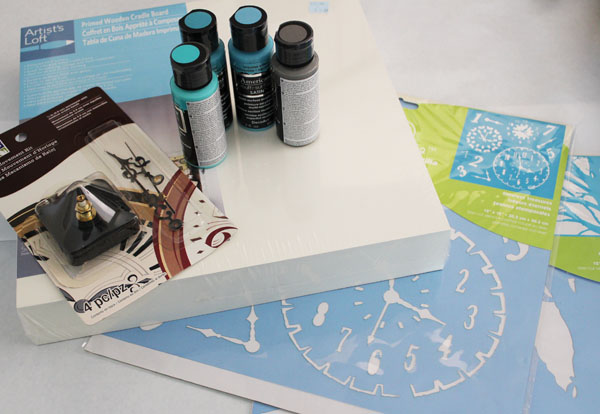 To make your own stenciled clock face you need:
Large background stencil (tree stencil from DecoArt)
Stencil Adhesive (optional)
Clock Face Stencil (also from DecoArt)
Wooden square (bought on clearance – score!)
3 colors of blue paint to blend (DeocArt Multi-Surface)
Paint for clock face and clock hands
Spouncer
Clock mechanism
Drill
Ruler
Pencil
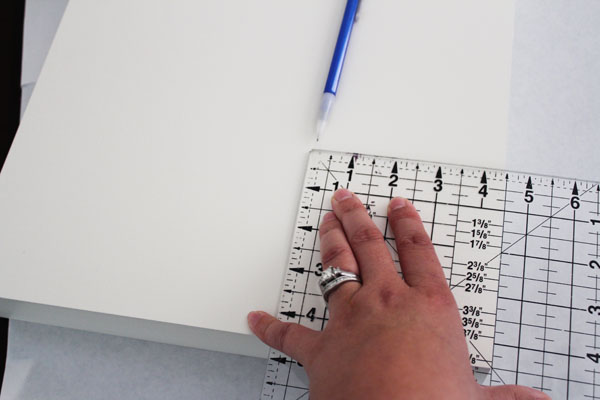
I started out by marking where I wanted my clock face to go. I wanted it off-center to make the most of the tree stencil I was using.
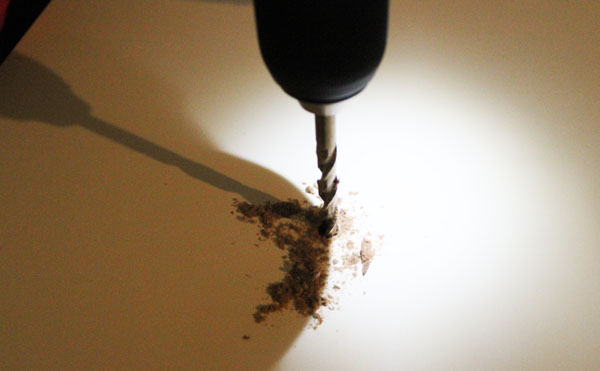
I then drilled a hole the right size for the mechanism.
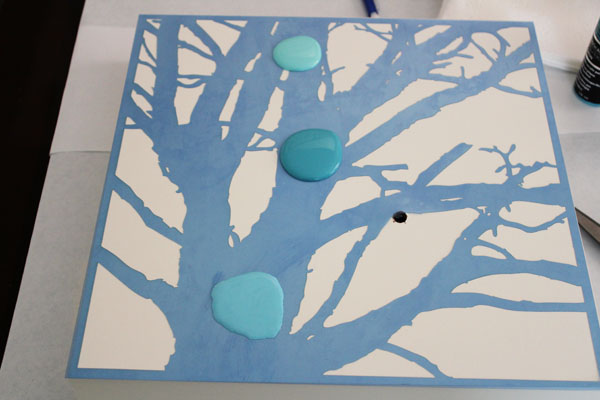
After testing to make sure that the clock mechanism would fit in the hole. I sprayed the stencil with stencil adhesive and then mounted it in place. I used generous blobs of my three colors of paint right on the stencil.
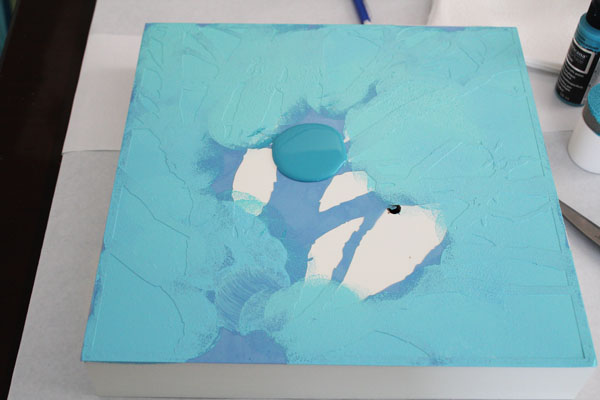
Then I used the spouncer to start blending them together.
and blending…
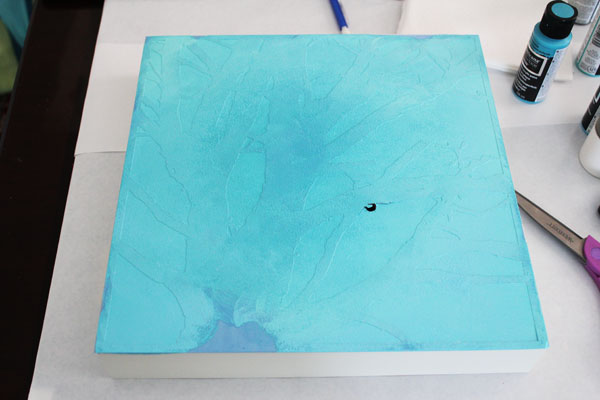
until I was happy with the result.
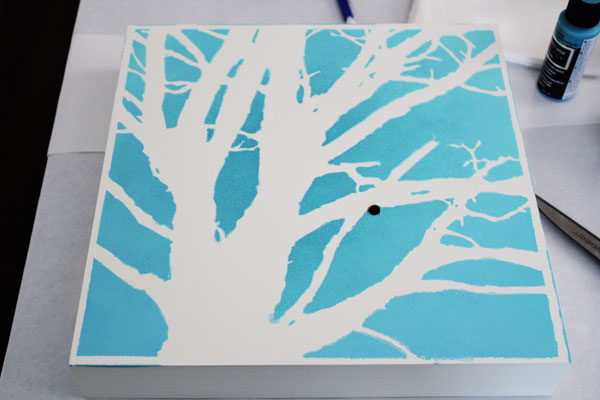
I pulled off the stencil carefully. There was a little bit of bleeding, but nothing that made me unhappy. I liked the soft feel of the colors.
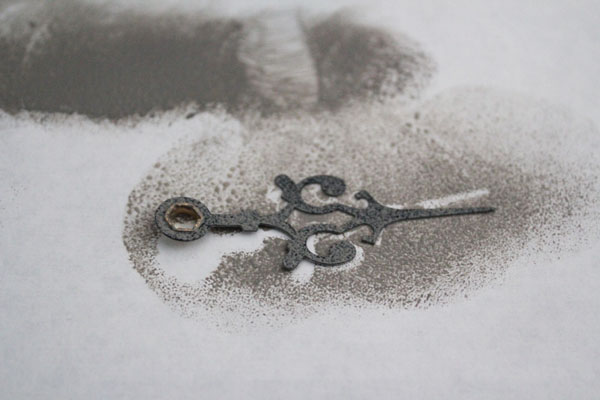
While I let the paint dry a little, I painted the clock hands. After all, these are multi-surface paints, so I can use them on the wooden clock face AND the metal clock hands – score!
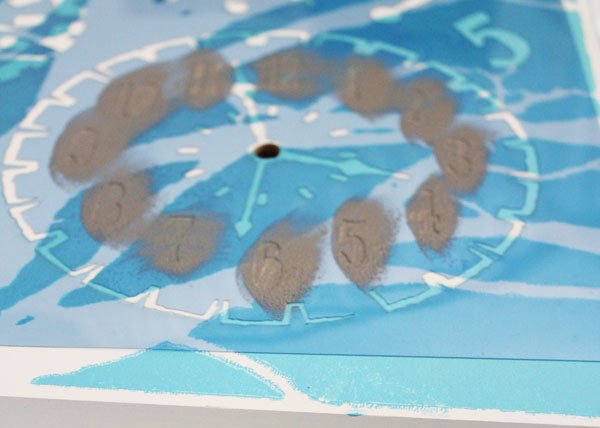
I carefully placed the clock face stencil on the barely-dry wooden square (no stencil adhesive this time), and carefully spounced in the numbers.
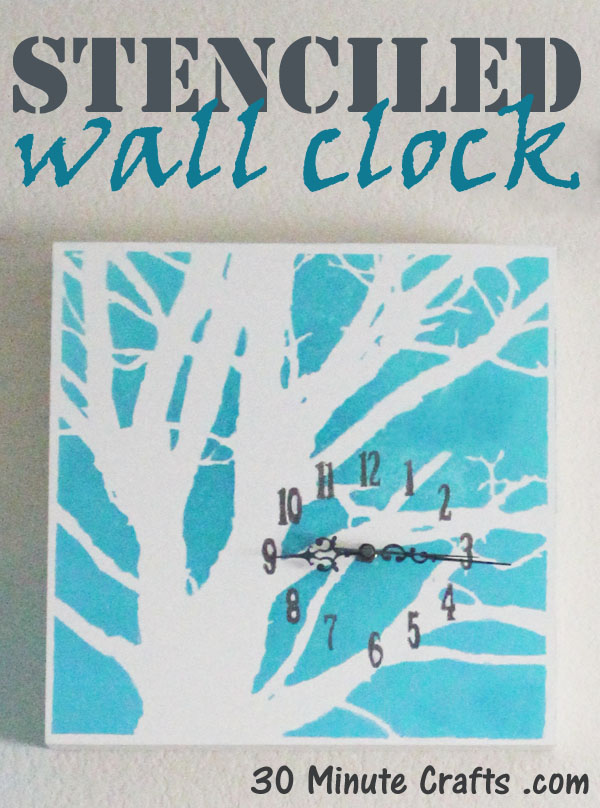
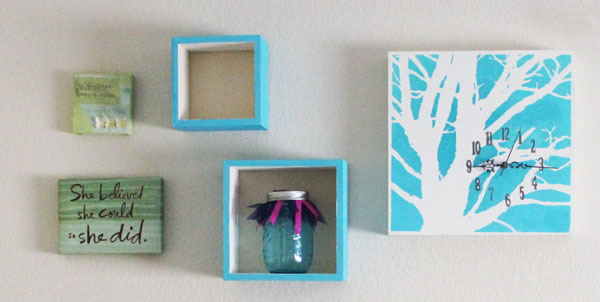
I put the clock mechanism in through the back and followed the instructions to mount the clock hands. After popping in a battery and setting the time, I was all done!
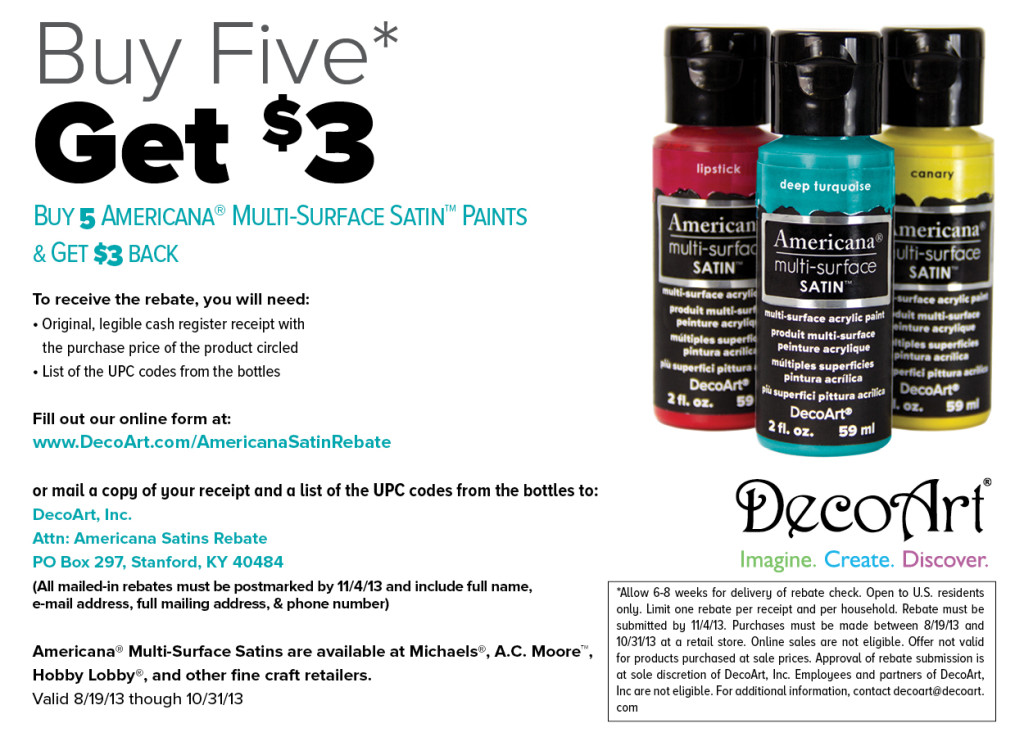
For this project I used DecoArt’s Americana Multi-Surface Satins. You can find them available for purchase at Michaels, A.C. Moore, Hobby Lobby, and other fine craft retailers. And right now there is a great rebate going on! You can get the details below, and enter your rebate details here.
Linking up here:




Awesome job! I’m so in love with this stencil– everything I’ve seen it used on so far has been a hit! 🙂 Great job!
I love the tree stencil. I can think of a ton of projects to use it with!
love the variation in color! turned out great!!
What a great idea! The clock is perfect, I have a clock kit in my craft room. Now I know what to do with it!
What a great way to pair those two stencils!
Awesome idea to stencil the clock! LOVE IT
What a great idea to use the clock stencil for an actual clock!
This is a beautiful project and you make it look so easy! I really love this, probably because of the tree… love trees… The clock stencil is a stroke of genius…
I found you through the Practically Functional Link Party where I am also partying, would love it if you’d stop by too.
Hugs, antonella 🙂
Super cute clock! We’ve always wanted to make our own clock–must give this a try!