


This is a Sponsored post written by me on behalf of Duck Brand provided by ShurTech Brands, LLC for SocialSpark. All opinions are 100% mine.
 One of my favorite parts of Valentine's Day has always been making the Valentine's Mailboxes. I remember being in gradeschool and transforming shoeboxes into lace-trimmed masterpieces. The reason I'm a crafter today probably has a lot to do with making those Valentine's boxes.
So, when I was asked to make a Valentine’s Day craft out of Duck Tape, and was tossing around ideas with a friend, when she mentioned a mailbox, I was all over it. Duck Tape is so fun to work with, and you can really make just about anything with it… including a mailbox! 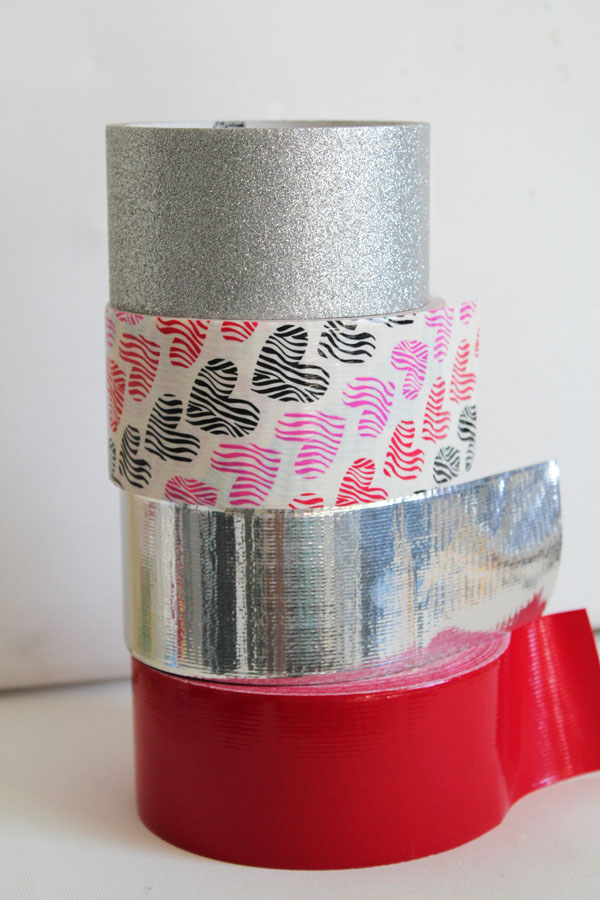 To make the mailbox you need: 3 rolls silver duck tape 1 roll heart duck tape 1 roll red duck tape 1 roll glitter duck tape Self-healing mat (the kind quilters use) 1 sheet cardstock scissors and a craft knife marking pen brad (paper fastener) Start by making two large sheets of Duck Tape. One will be 11"x16". The other 6"x11". These sheets are easy to make. Cut strips about 1-2 inches longer than you need, and lay them sticky-side-down on a self-healing mat. These are the mats often used by quilters for cutting fabric. You can purchase one at most craft stores. Overlap the strips about 1/4", and keep laying down more strips until you get the required width.
 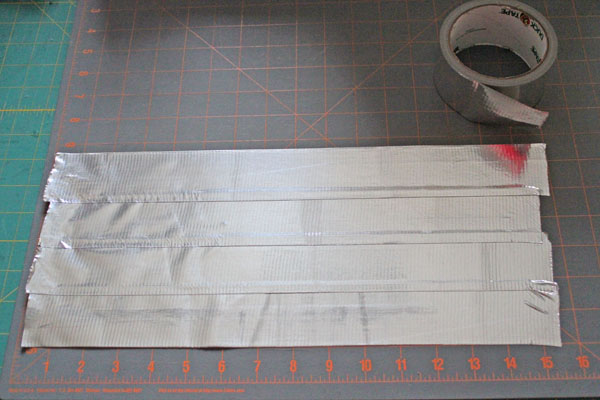 Peel up the strips, lay them sticky-side up, then cover with strips of Duck Tape so the two sticky sides are touching.
 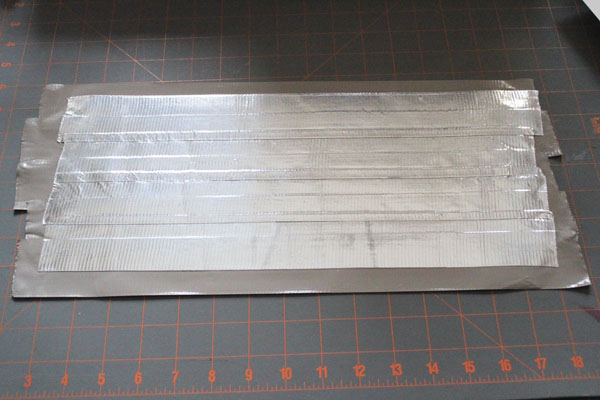 Use a ruler and a craft knife to cut the piece down to size.
 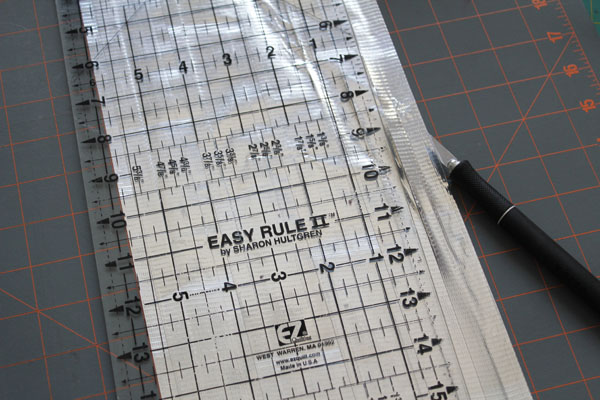 Line up the two 11" edges, about 1/4" apart. Tape with a piece of tape.
 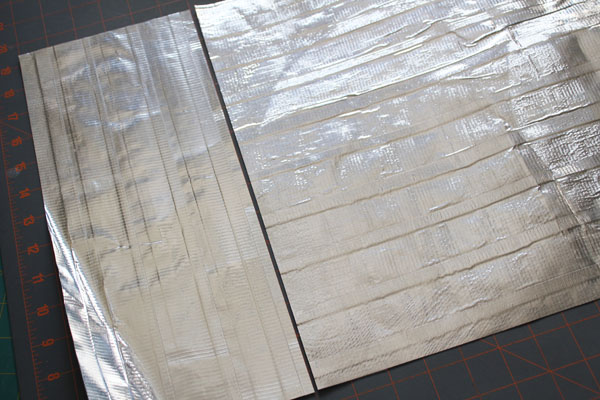 Flip and tape with a second piece of tape. Repeat with the other side to create the body of the Duck Tape Mailbox. Create two more sheets of Duck tape, each 6" by about 8.5". Tape the bottoms and sides in place on one side of the mailbox, leaving the curve untaped. Use a pen to draw the curve, then trim and tape.
 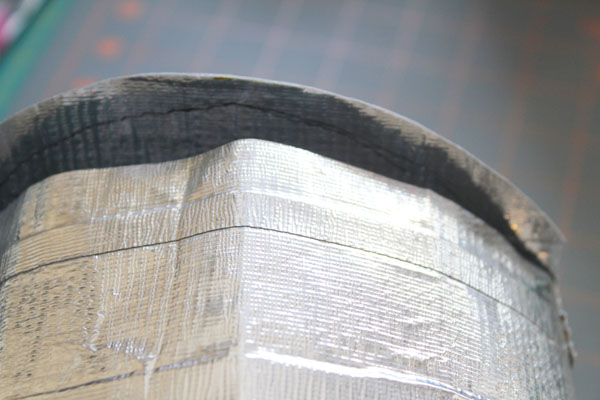 Cut the adhesive into tabs along the curve so that the curve lies smooth.
 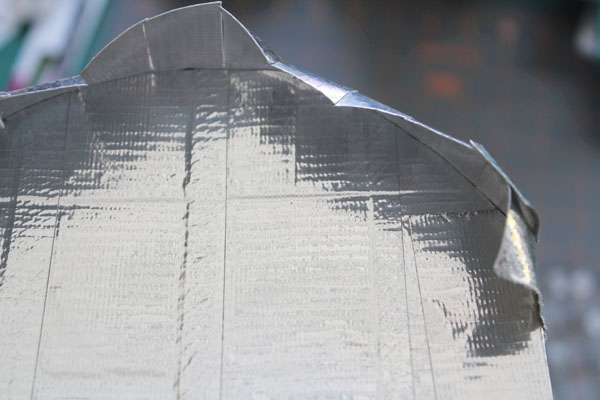 Trace the back end onto a piece of cardstock.
 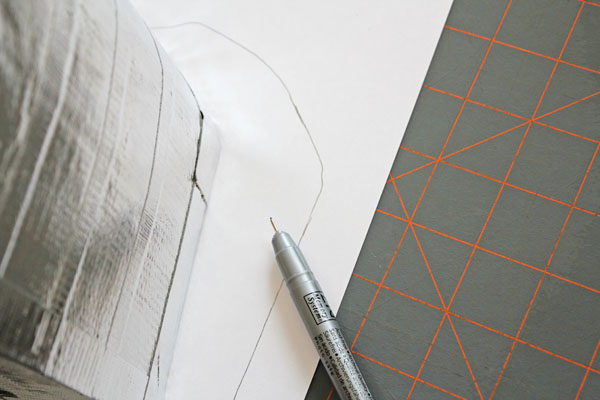 Cut the cardstock, smoothing out the top curve.
 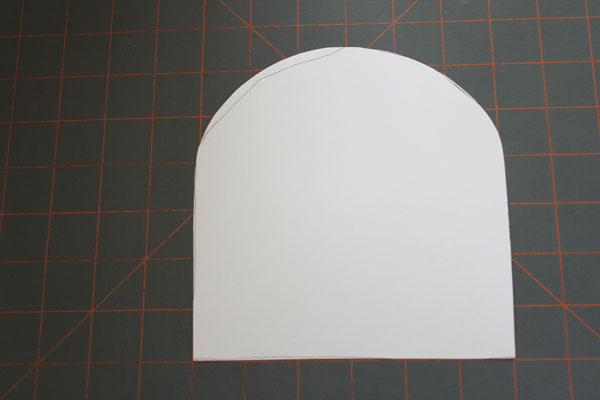 Cover both sides of the cardstock with the silver tape, trimming the edges. Cut a long strip, and fold almost in half, leaving about 1/2" of the adhesive showing.
 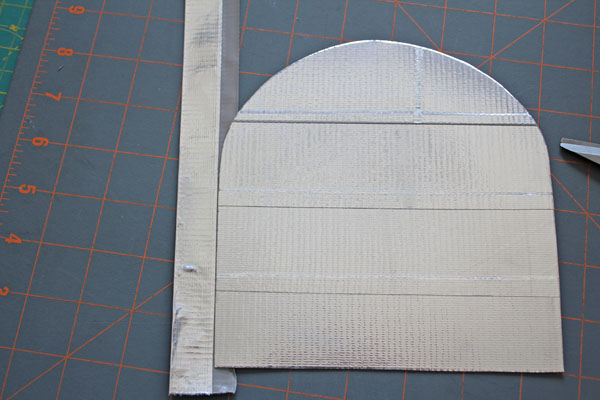 Wrap that around the edge of the front piece, clipping the adhesive at the curve into tabs so that the curve is smooth.
 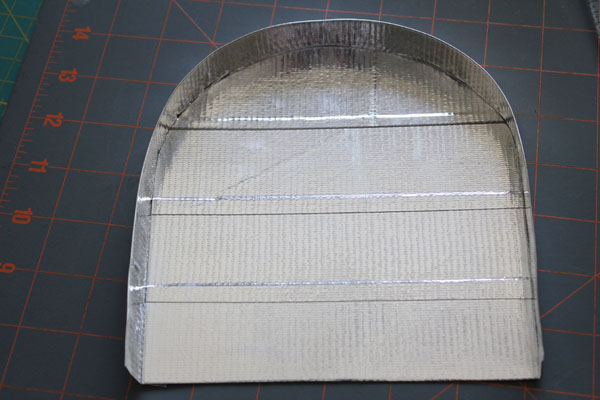 Attach the base of the door to the front of the mailbox body with tape on both sides. If you like you can add a piece of tape at the top to secure the door.
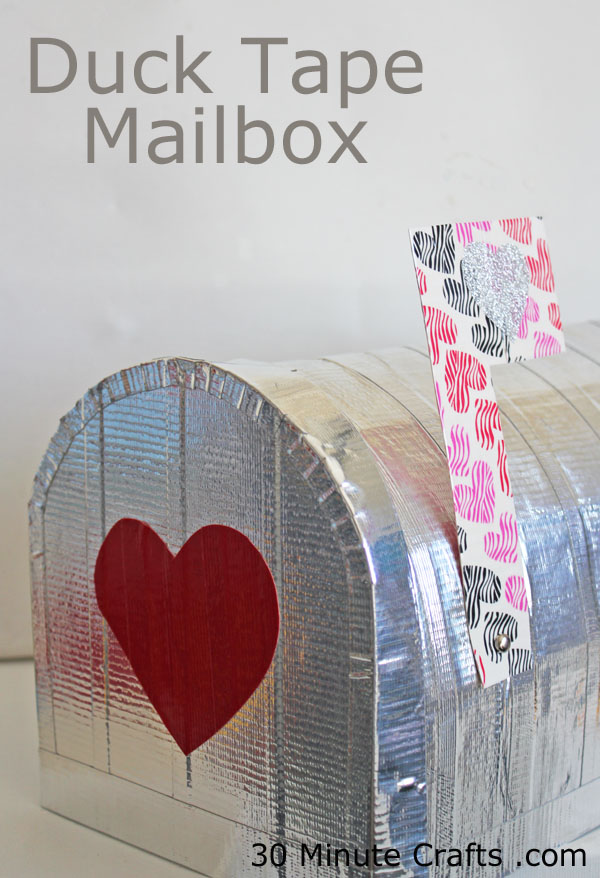
 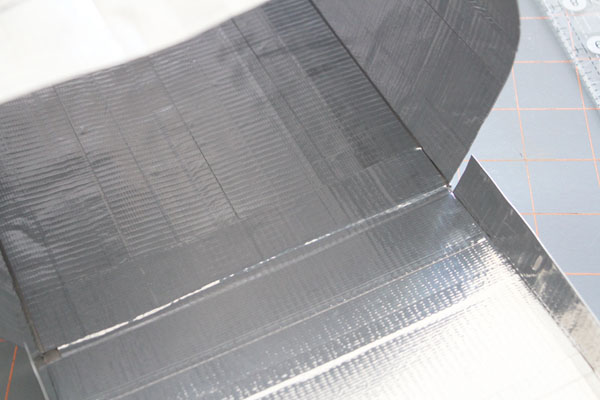 To make the flag, cut a flag shape out of the remaining cardstock, cover in the heart duck tape on both sides.
 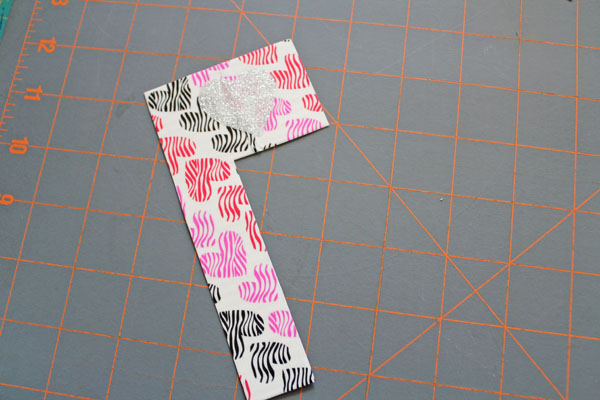 You can decorate it further with a heart cut out of glitter Duck Tape. Secure the flag to the side of the mailbox with a brad.
 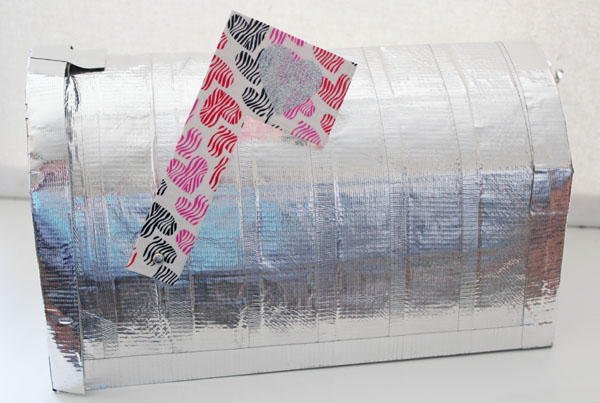 You can add additional embellishments with colored Duck Tape. Put several strips together, cut out heart shapes, and attach to the front or sides of the mailbox. Add as few or as many as you like.
  Just like that, you have a Duck Tape Mailbox!
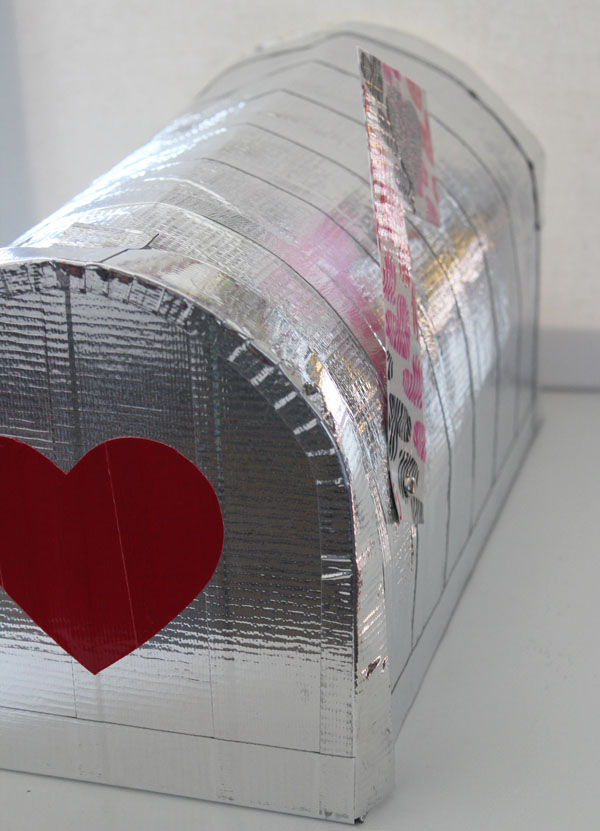
Have you made a Valentine’s Day craft out of Duck Tape?
Oh… and go check out Duck Tape on Twitter to keep up with all the great holiday Duck Tape Crafts!


[…] 24-Duct Tape Mailbox from 30 Minute Crafts […]