Affiliate links are used in this post.
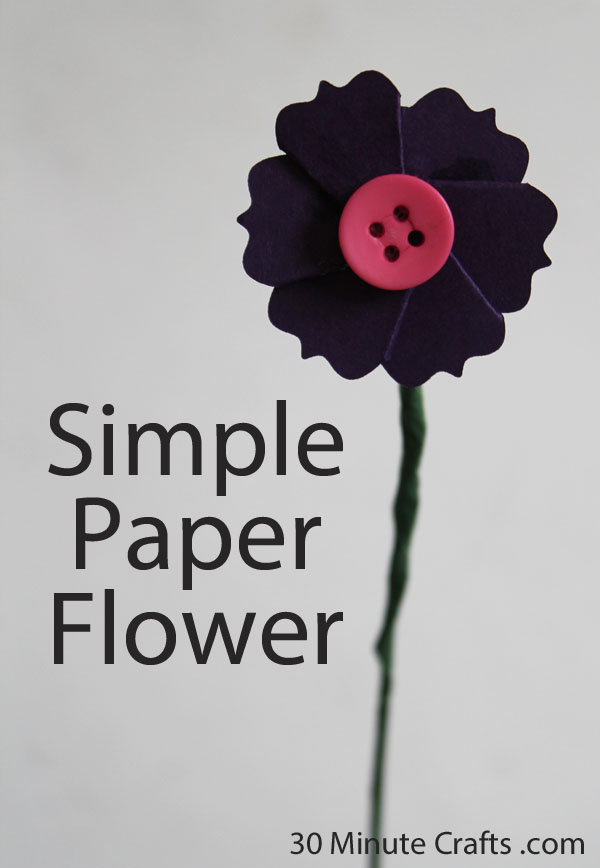
Flowers are fun to make, and a craft project that you can use in a number of different ways. You can put stems on them, add them to hairclips, use them to scrapbook pages, frames, or other decor items… flowers are such a fun little craft.
So when I was given the new Sizzix Framelits Flip-Its Die, I know there was a card on the front of the package, but I saw flower potential. I might have even seen the potential for TWO flowers, but I have to wait to give you confirmation on that one… there is some classified crafting going on over here!
If you want to make one (or lots!) of these simple flowers, here is what you need:
Sizzix Framelits Flip-Its Die
Paper
Die-Cut Machine
Adhesive (I used Krazy Glue)
Buttons
Wire for stem
Pliers
Floral tape (optional)
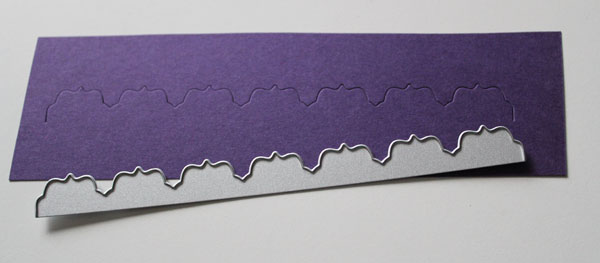
Start by using the long die to cut into your paper. I used plain paper, but a patterned paper would look good (a stripe would be awesome here BTW). If you’ve never used a die before, the way you use them is to sandwich the die and your paper between cutting plates, then run it through your die cut (Sizzix) machine. Die cutting gives you a beautiful cut.
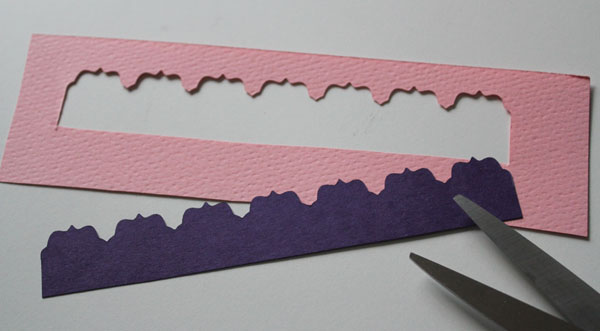
Then trim it down. I trimmed mine so that the height was about the height of one of the filigrees. You can go more or less – this is the height that determines the length of the petals, so make them as long or as short as you like.
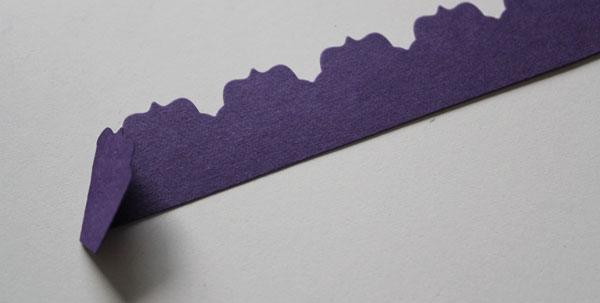
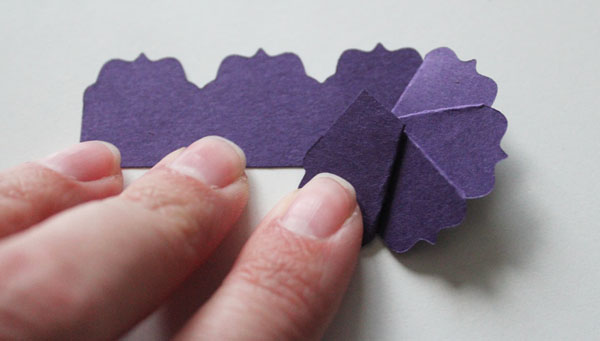
Start by folding one end in at an angle.
Fold back and forth accordion-style, but at an angle.
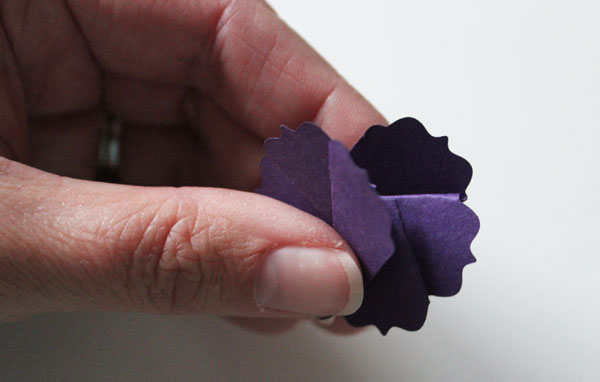
Fold all the way around.
If you have more petals than you need to go all the way around, you can just cut them off.
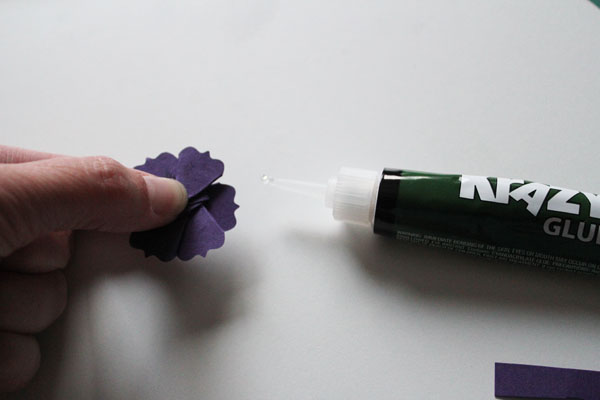
Glue in place. If using Krazy Glue, remember that less is more.
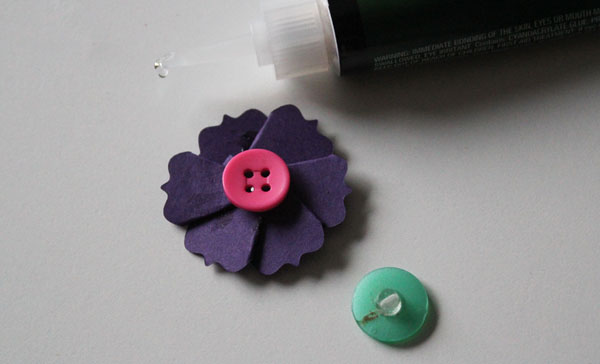
Glue a button to the front to act as the center. Use a button with a shank for the back of the flower, glue it in place. Then thread wire through the hole in the shank for the stem, and twist in place. Use the pliers if you need to.
You can wrap the stem in floral tape if you like, for a more finished look.


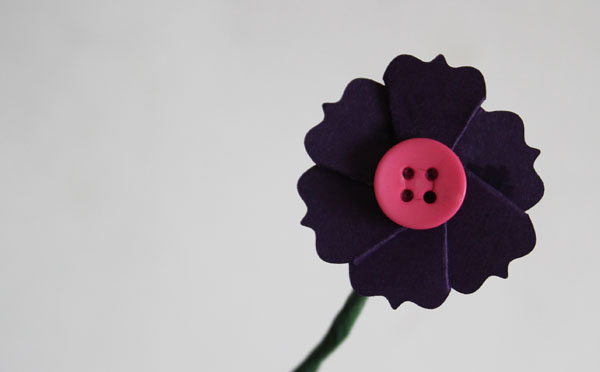


[…] This simple paper flower is fast to make and oh so […]