This post contains affiliate links.
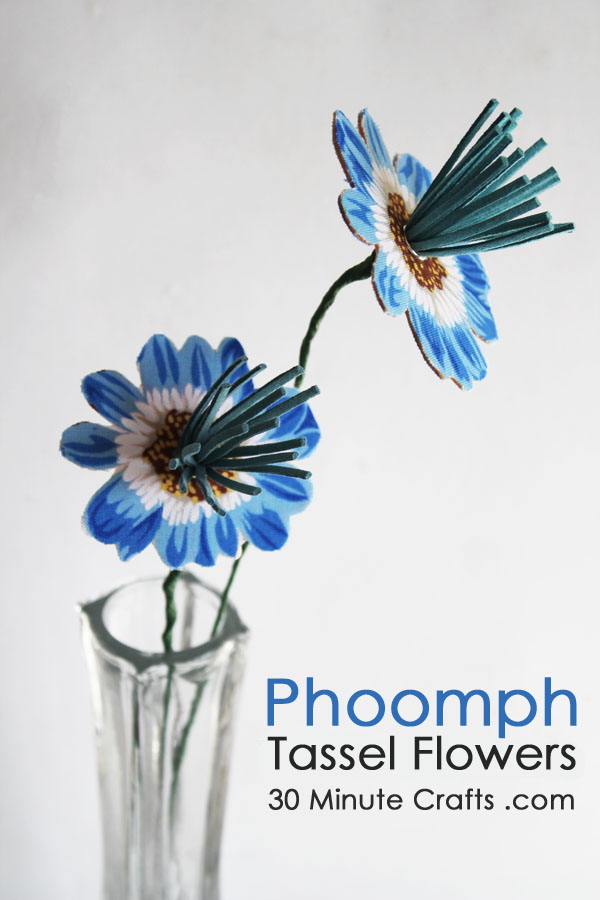
Do you ever think up a project, and then make the project, and the finished piece is even better than what you had in your head? That’s exactly what happened with this Phoomph Flower. I am so, over-the-moon thrilled with how this flower came out! If you’ve never used Phoomph before, it adds support to fabric so that you can use regular woven fabrics like felt. And the tassel on this project gives it extra dimension. I don’t know what flower this Phoomph flower looks most like… maybe something exotic? But I can tell you that if I was a bee, I would be super excited about landing on this fun flower!
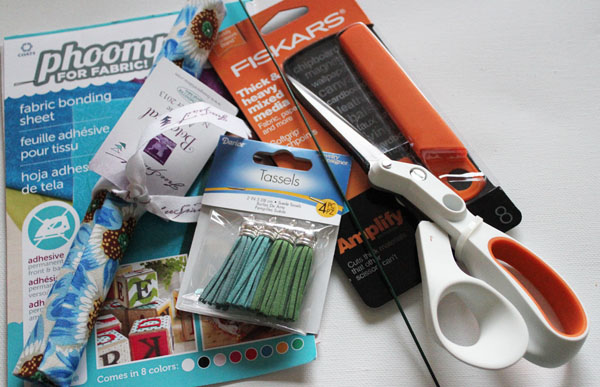 To make a Phoomph Flower, you need:
Floral Fabric
Phoomph
Scissors
Green Floral Wire
Tassels for Jewelry Making
Green Floral Wire
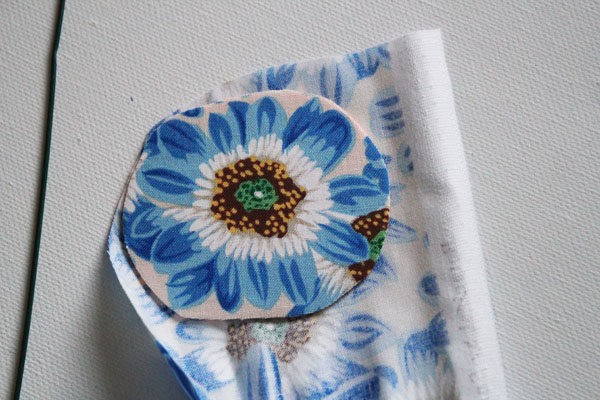
Start by picking flowers on your fabric. Remove the paper from the Phoomph to expose the adhesive on one side, and secure to the back of the fabric. Roughly cut out the flowers. Don’t worry about perfection – that comes later.
Find similar sized flowers on the fabric. Remove the adhesive on the other side of the Phoomph, and doing the best you can to line up the flowers, attach the cut out flower to the back of the fabric to make a double-sided flower.
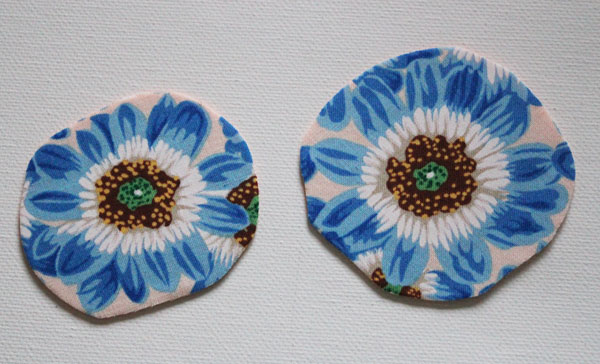
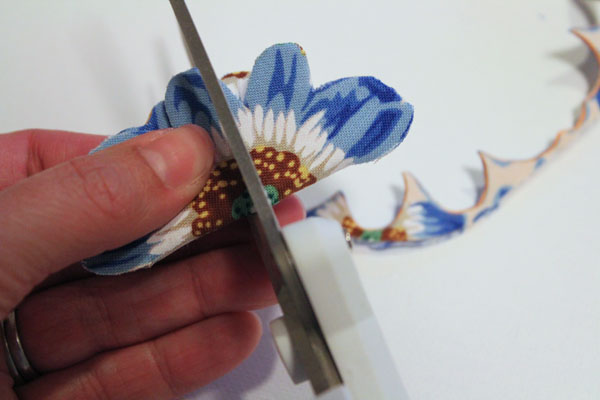
Carefully cut out around the petals, as best you can. Fold the flower in half, and cut a small slit into the center of the flower. Open and fold the other direction, cutting a second slit to make an X in the center of the flower.
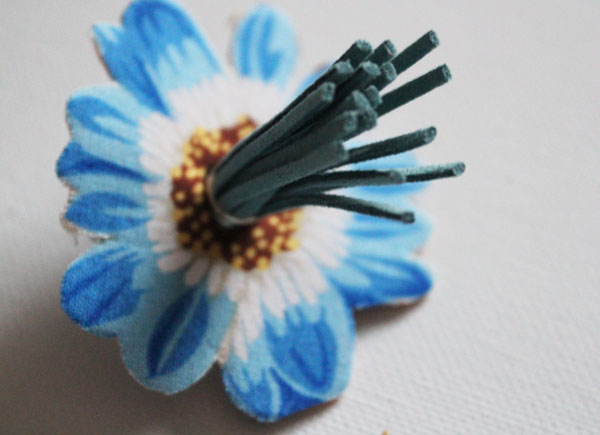
Insert the tassel into the X in the center. Secure with glue if needed.
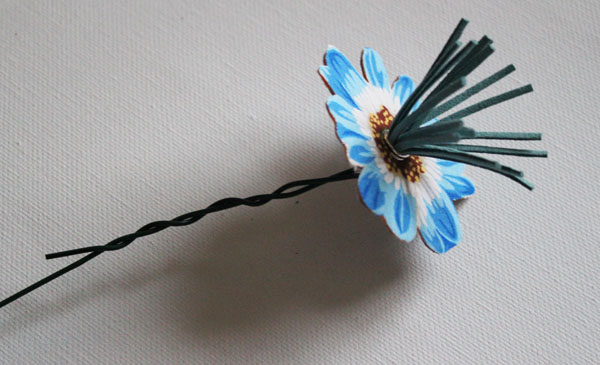
Attach the floral wire to the loop at the base of the tassel to make the stem. Twist to secure. Cover in floral tape if desired.
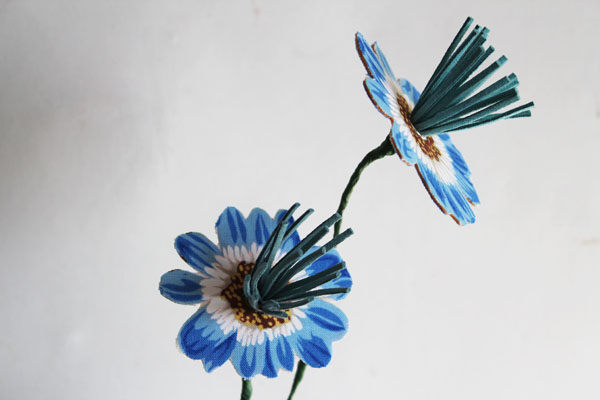
It is that easy! Super simple flowers with a little tassel whimsy!




Leave a Comment