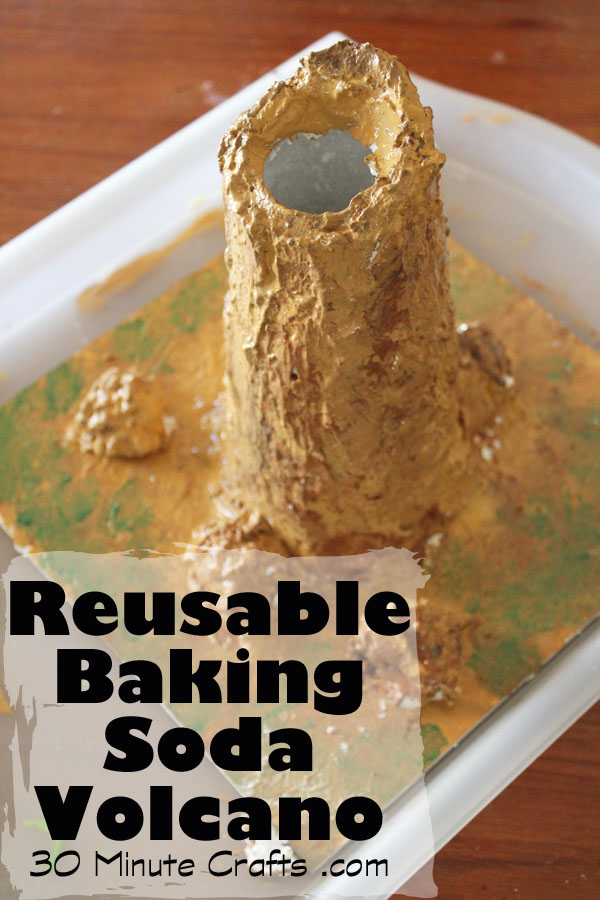
My son has been asking to make a baking soda volcano for weeks. And I’ve wanted to make one with him… but not a single-use volcano. I want one that will hold up to multiple blasts – one that we can enjoy all summer long. I came up with a way to make a long-lasting baking soda volcano that my boys and I could craft together… and that’s what I’m sharing with you for the Summer Survival Series I’m participating in. Kara from The Joys of Boys is a fellow crafter and blogger with FOUR boys (I love my two, but don’t know if I could survive double the kiddos). Kara invited a bunch of us to share some fun crafts for her Summer Survival Series. So, you want to know how to make this baking soda volcano? Let’s start by gathering up supplies!
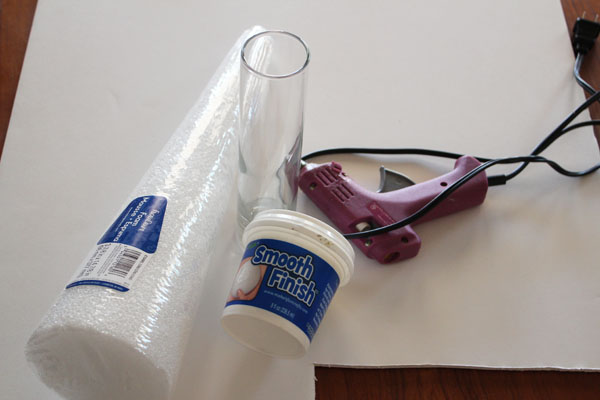
You need:
Styrofoam Cone
Foamcore for base (cut smaller than a tray or baking sheet)
Glass bud vase with straight sides
Smooth Finish for Styrofoam
Plastic spoons
Sharp Knife
Spoon (a long-handled spoon like an iced tea spoon works great)
Hot Glue
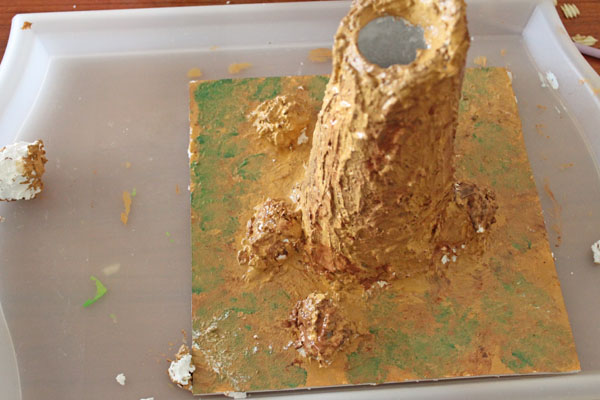
Brown and green Paint
Paintbrushes
Martha Stewart Decoupage (you can use another brand, but this one is water resistant)
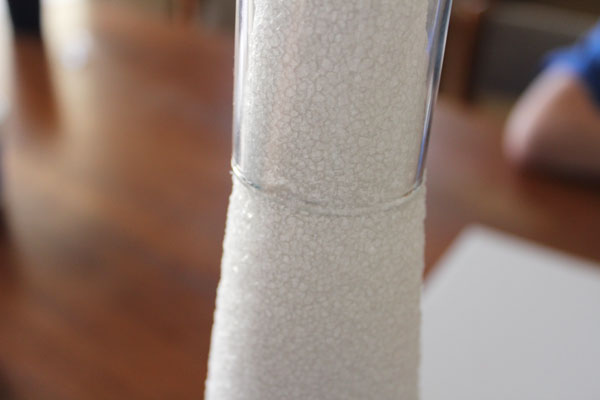
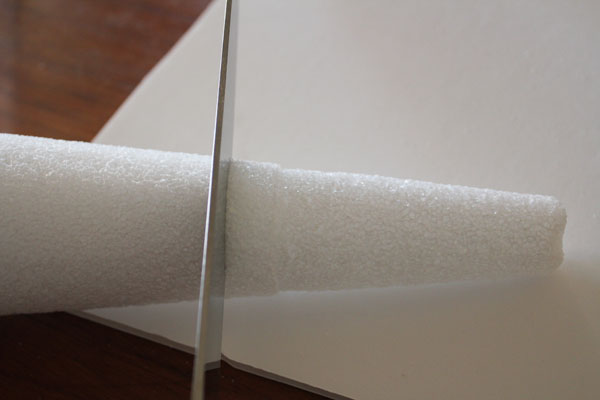
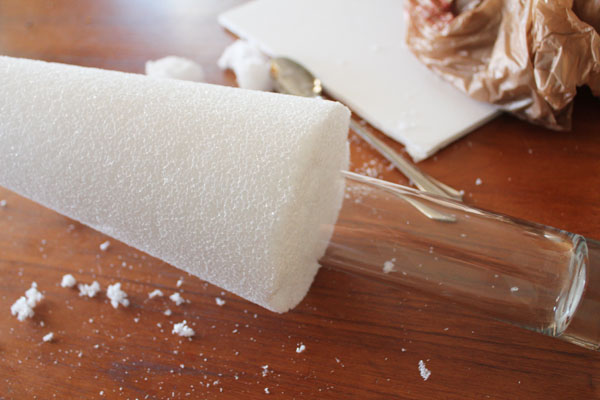
You’ll need to cut off the top of your Styrofoam cone. Push your vase down on top of the cone to make a mark.
Cut several inches down from the mark. I ended up cutting more after cutting this.
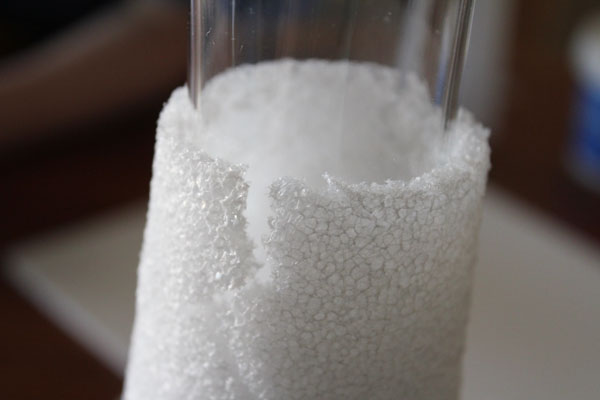
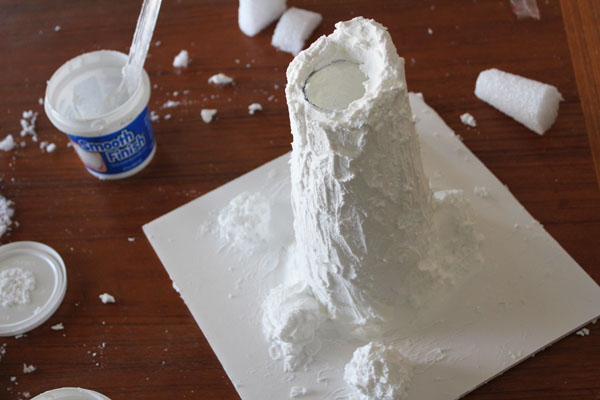
Hollow out the center of the cone to take the vase. The easiest way to do this is to push the vase into the base of the volcano to make grooves, then scoop out the styrofoam from the middle using a spoon. You can save the chunks you dig out to make rocks around your volcano later.
You can push the vase in from the top as well. If your top cracks a bit, don’t worry about it. You can use the smooth foam later to cover up any cracks.
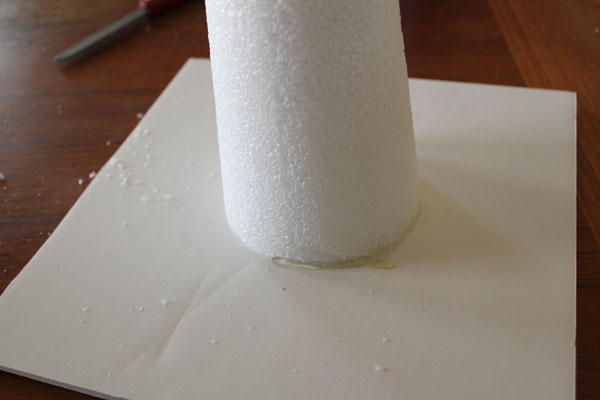
Once the vase fits inside, glue it to the foamcore base with hot glue.
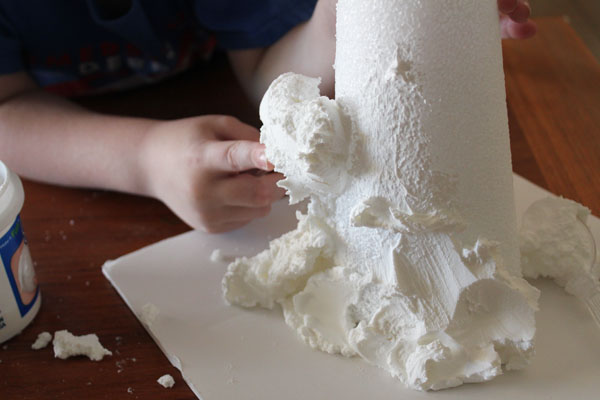
Now it is time to have fun. Use plastic spoons to apply the Smooth Finish to the styrofoam. We ended up using our fingers as well, but be sure to read the label warnings – it does contain VOCs. Don’t worry about making the sides smooth, go for a rocky, bumpy texture… just like a real mountain!
Let the volcano dry for at least 5 hours – overnight if you have lots of thick Smooth Finish.
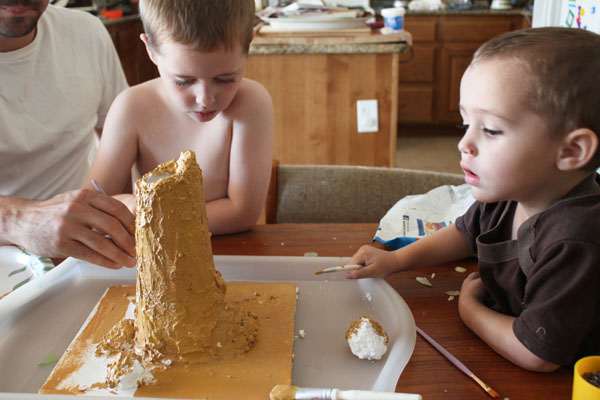
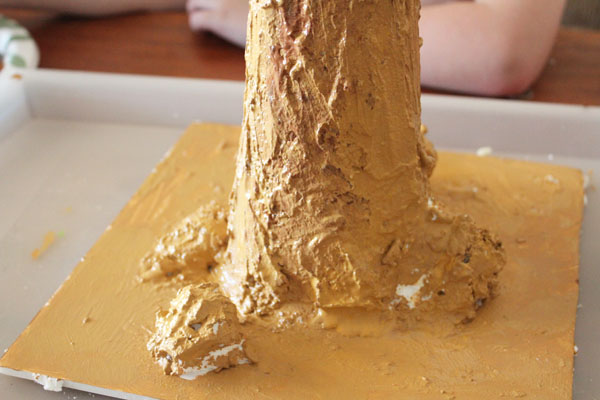
Time to paint! All the guys got in on this one… we started with a coat of light brown paint, then smudged in some dark brown on top.
After the paint dried, I added a layer of Martha Stewart Matte Decoupage over the whole thing. It is water resistant (the bottle actually says dishwasher safe!), so it will help our volcano to hold up to multiple uses.
All we have to do now is add a couple tablespoons of baking soda into the vase, and add about 1/4 c of vinegar tinted red with food coloring… then watch my boys dissolve into giggle fits as it explodes all over the place! I love being a mom to boys!
And check out all these other great projects as part of the Summer Survival Series!




What a brilliant idea!! I am going to share on Instagram and Twitter!
Oooh I love the idea of a permanent set up!
What a great idea–reuseable-who would have thought! 🙂