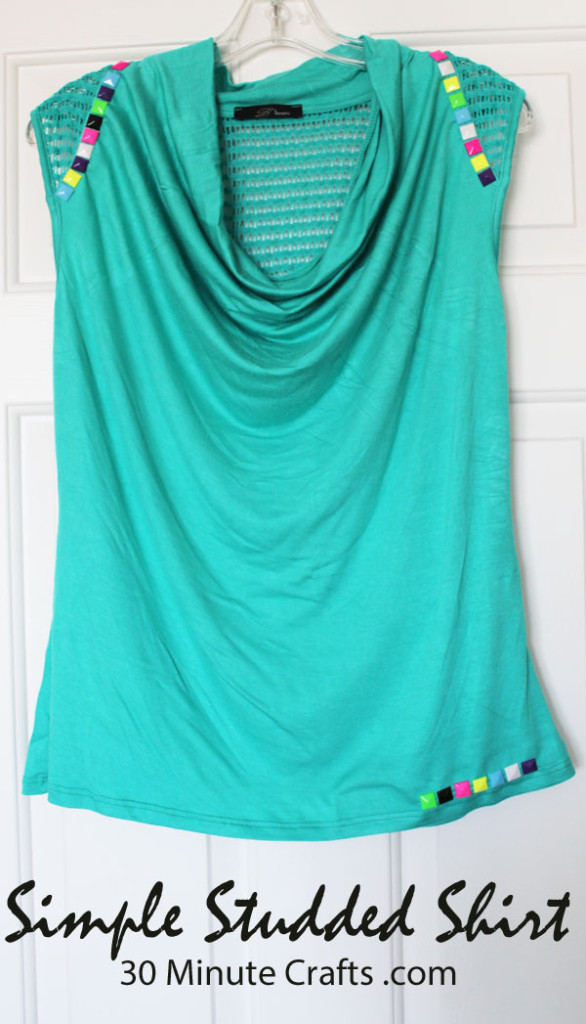
This week, I’m crafting with studs. Today’s project is a simple studded shirt. This shirt is insanely easy to make. All you need are 3 simple and inexpensive supplies, no fancy tools. Easy. And it adds some style to the shirt.
I made this shirt as part of a week-long celebration of studs in crafting. so all week long I’ll be sharing a stud-related craft over here… and each day you’ll also want to head over to CraftSnark for a more masculine stud. Safe for work, just not for viewing in front of your husband. HA!
So, while you’ve bookmarked that link for later, let’s chat about today’s craft. Gather up your supplies to make your own simple studded shirt. I’ve made you a list, and added affiliate links so you’ll know exactly what I used.
A shirt. I got this one from Ross.
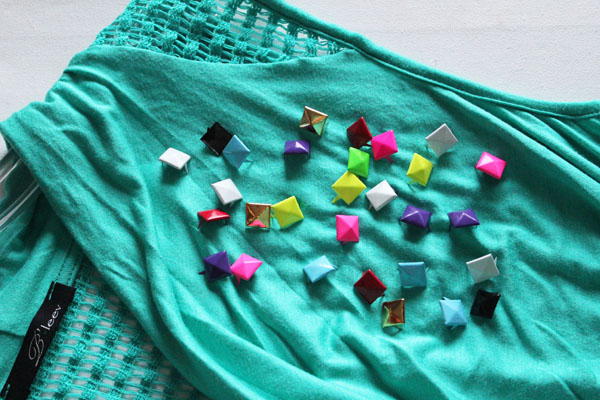
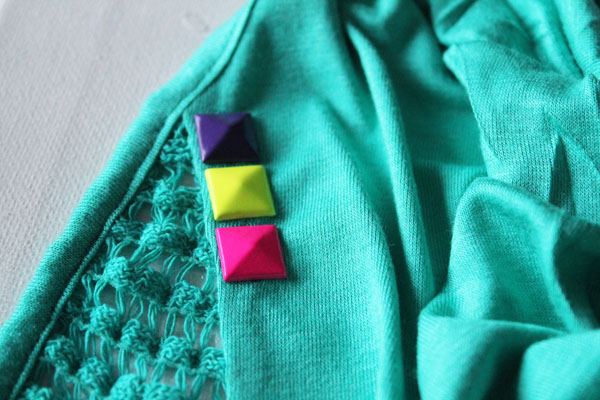
Colorful Square Pyramid Spike Studs
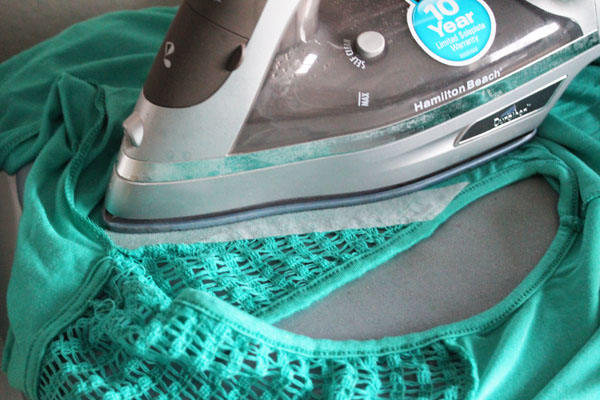
Heat’n Bond Medium Weight Iron-On Fusible Interfacing
Scissors
Iron
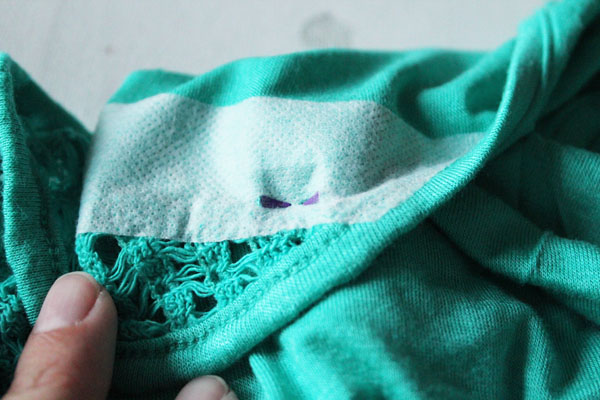
Start by cutting a strip of the interfacing about 2.5 times as wide as the studs, and iron into the area you want to place the studs. This will give the studs extra support. Iron into place, on the BACK of the shirt.
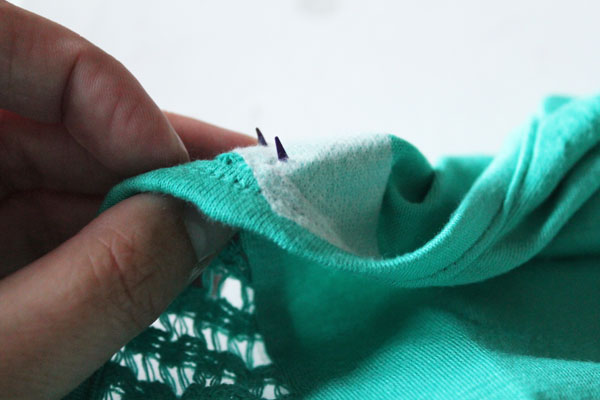
Decide the placement of your first stud, then carefully poke the prongs through the front, to the back.
Carefully fold in the two prongs.
Repeat this process to add more studs.
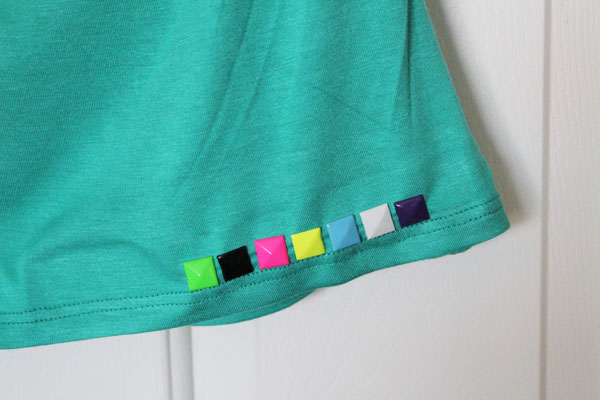
I added studs at each arm, and an extra line at the bottom. You can make a pattern, I specifically went patternless, because I like the random look.
Adds a fun pop of color to this shirt!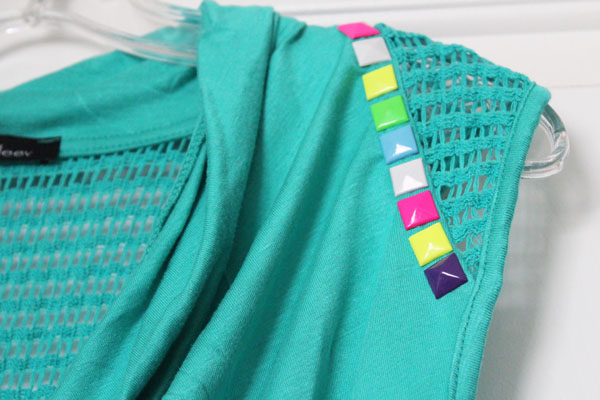
Oh, hey – if you want to see what this shirt looks like when I’m wearing it, you can! I wore it while recording a video with my friend Jenny over at Craft Test Dummies. She interviewed me, and got me to spill all my crafty secrets!
One last thing – this studded shirt is hand-wash only after you add these studs. Unless you use fabric adhesive to secure them, they won’t make it through a standard wash cycle.




I love this! What a fun look.