


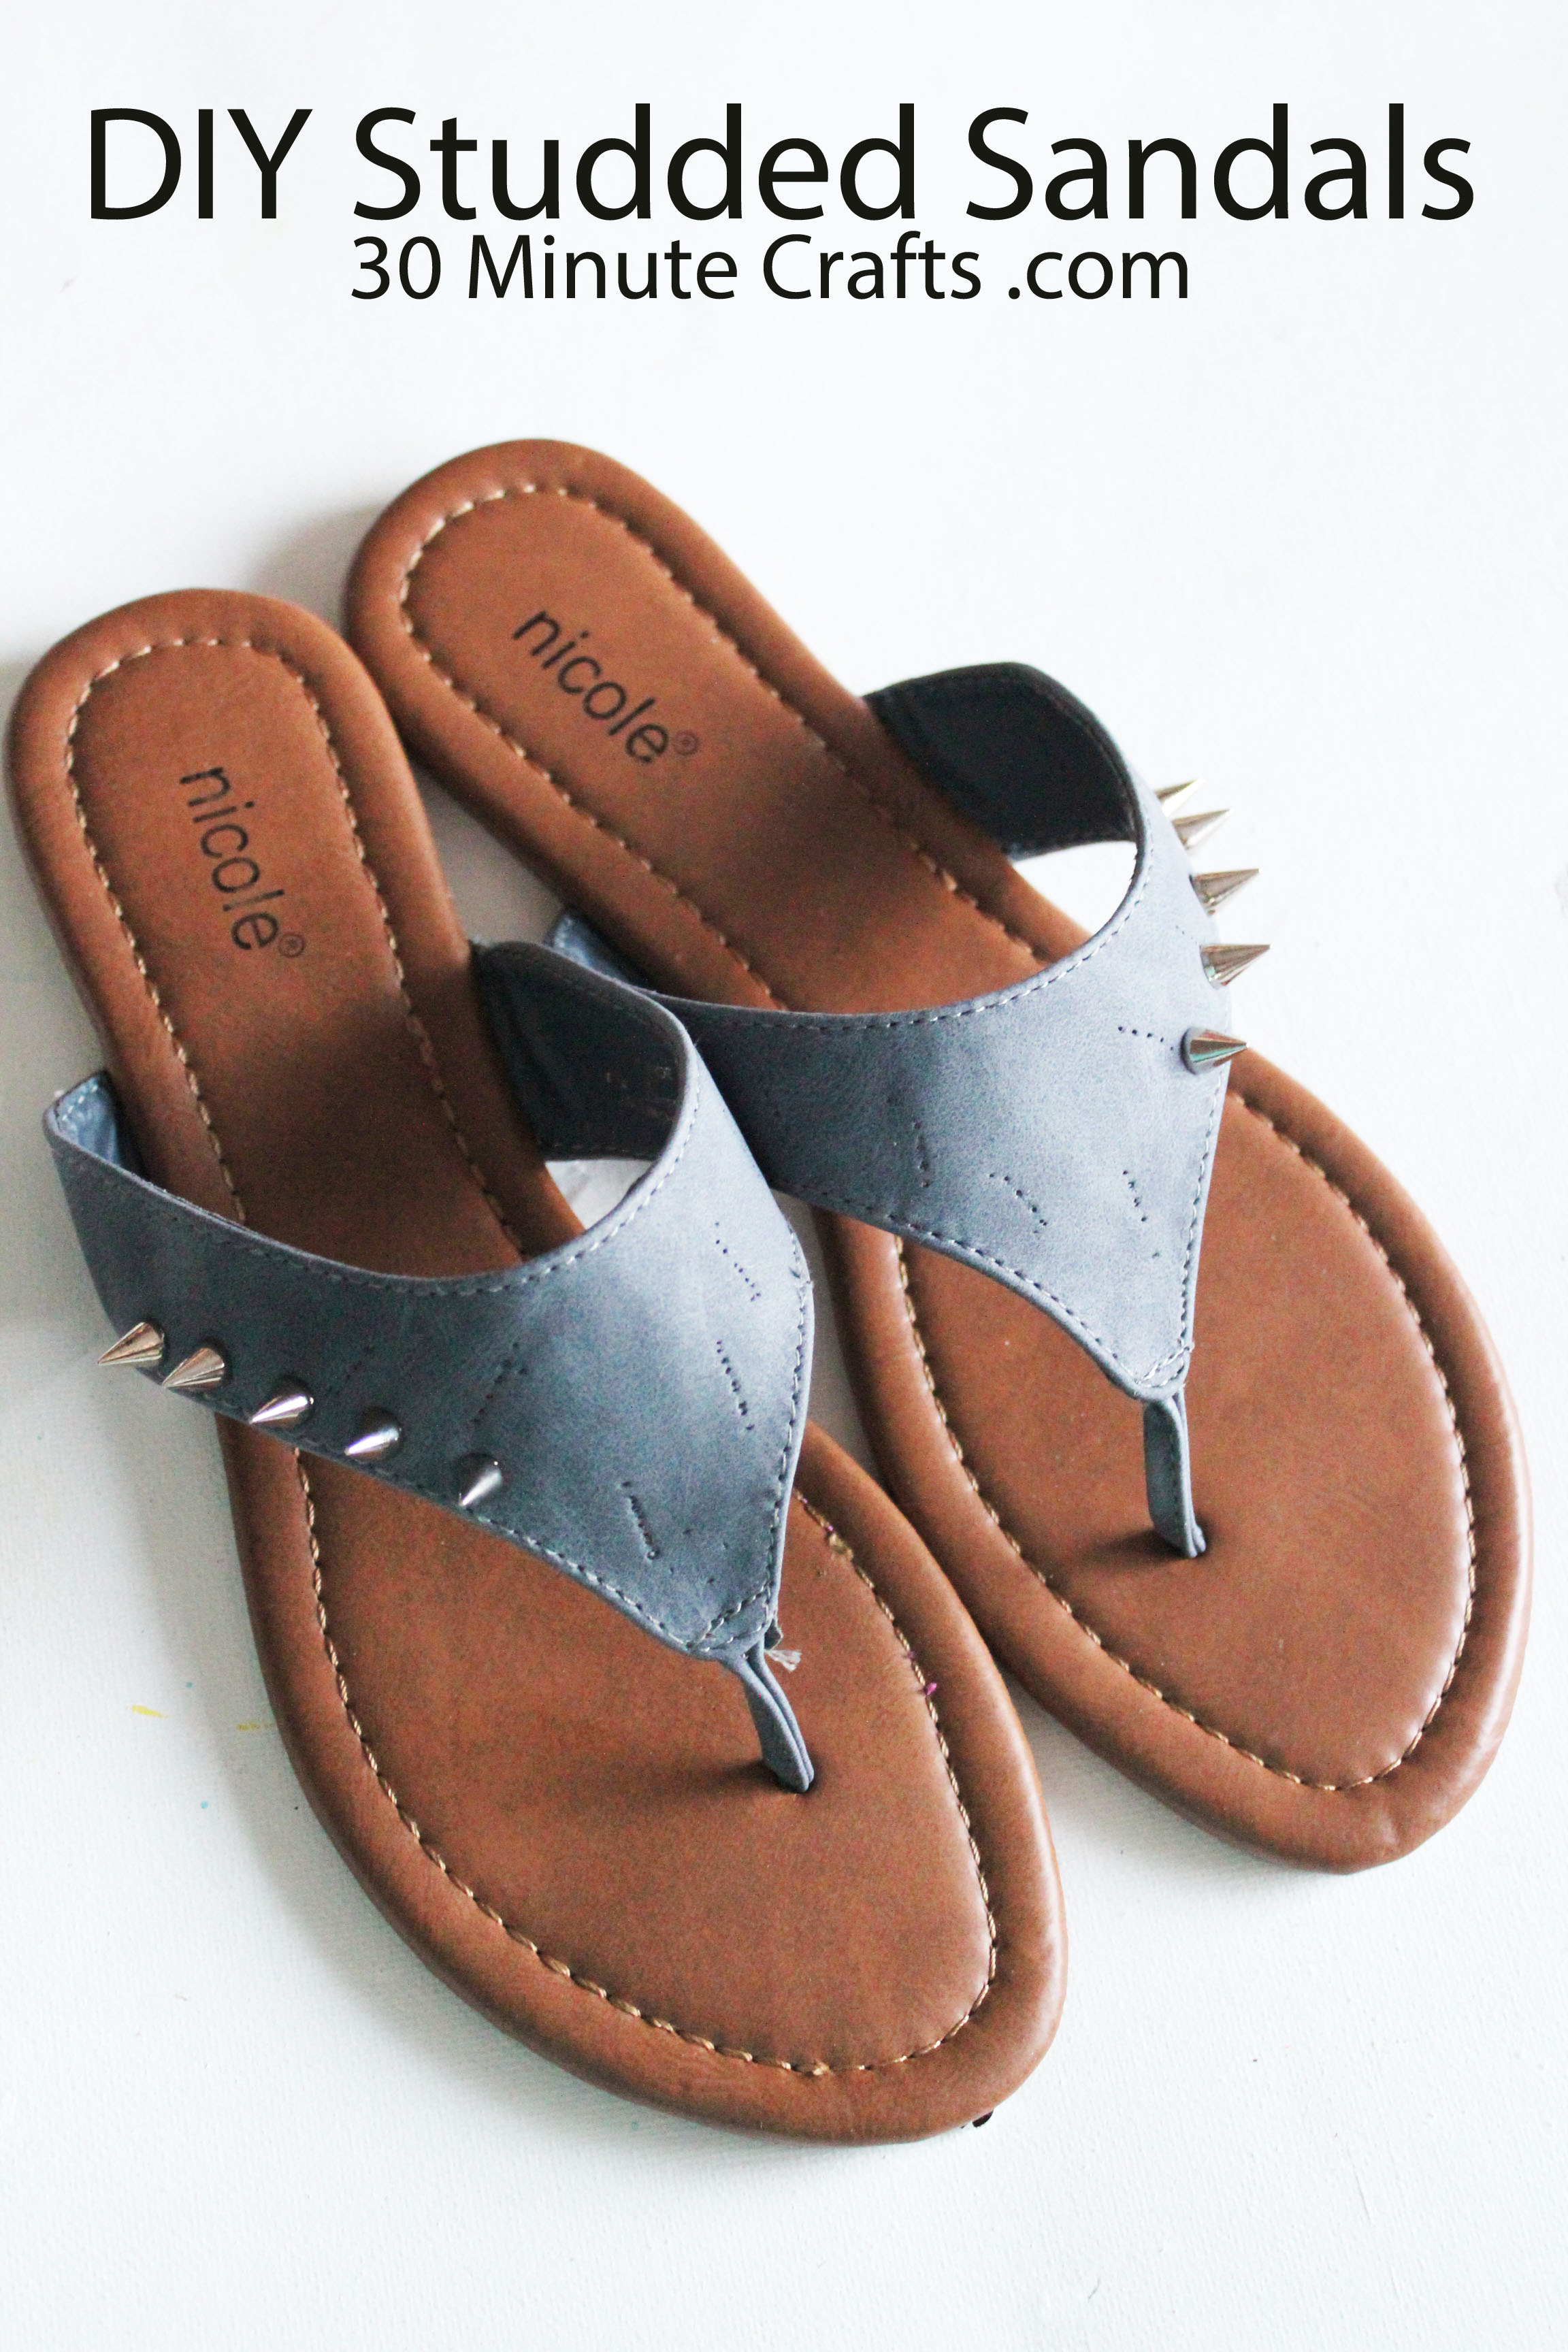
Add some interest to your wardrobe with studs on your shoes. Like these studded sandals. They’re simple to make, and go great with just about any outfit. Any outfit you want to look like a rockstar in. I’ve worn mine to meetings, classes, and to pick up my 1st grader from school, and I always get compliments. Which I love, because then I can say, “Thanks, I made them.” Which makes me feel like a rockstar. And these studded sandals are so much more comfortable than stilletos… yet they still have the attitude. That’s right, all the attitude, and none of the arch problems.
Now that you’re sold on the awesomeness of wearing studded sandals, let me show you how they’re made. First, let’s gather up our supplies. Here’s a list with affiliate links to make your shopping easier:
Leather Sandals (plain ones if you can find them – similar here)
Leather Awl
Silver Cone Screwback Studs
Seam ripper (if you couldn’t find plain sandals)
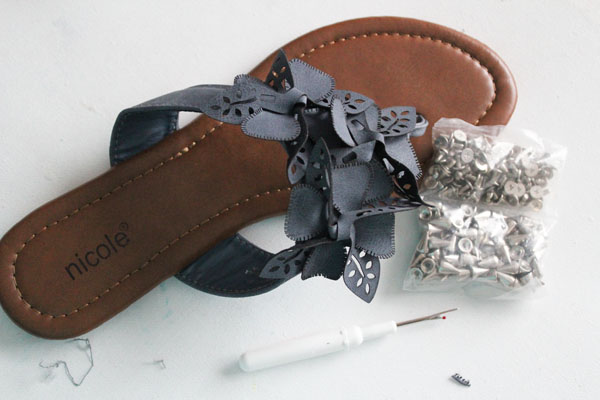
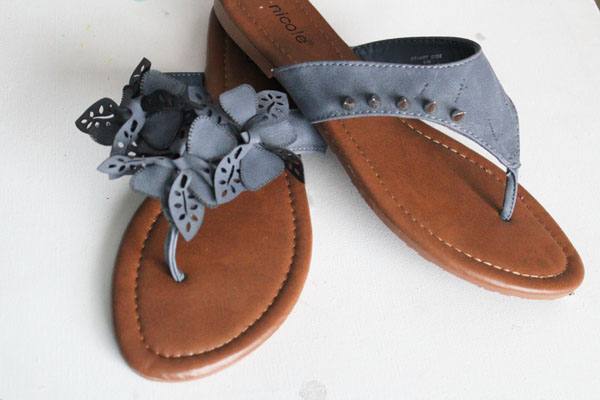
I headed to Ross to find my sandals. I couldn’t find plain ones, but these were on sale, and I loved the color. Since the flowery bits were just stitched on, I knew I could remove them. The holes will slowly heal over time and be less noticeable.
Speaking of flowery things… there are some crafty studs over on CraftSnark this week. You should check them out.
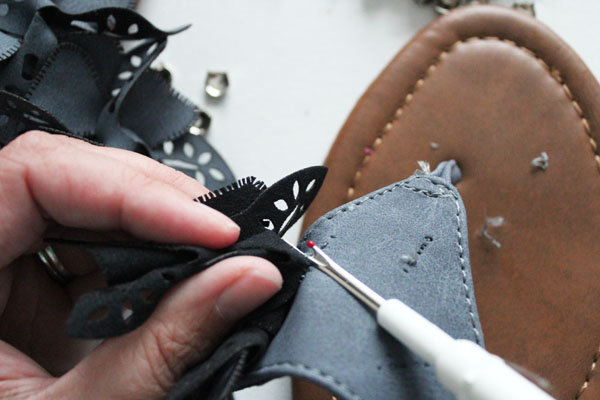
If you have this issue, just remove any embellishments with a seam ripper.
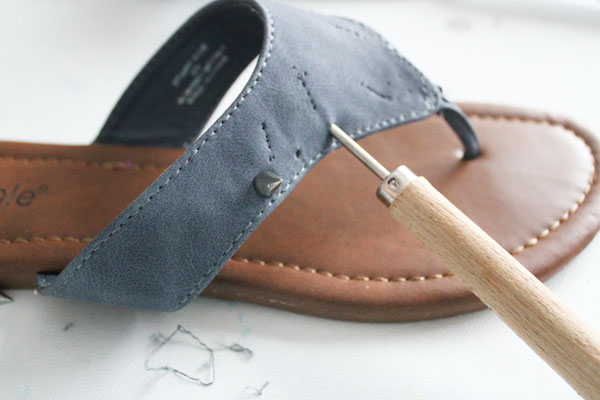
Once you’ve removed any threads, use the awl to make holes along the OUTSIDE of the shoe, about 3/4 of an inch apart. You can measure if you like, I just eyeballed it.
Insert the studs into the shoe by unscrewing the back, inserting it into the hole, then screwing the top back on.
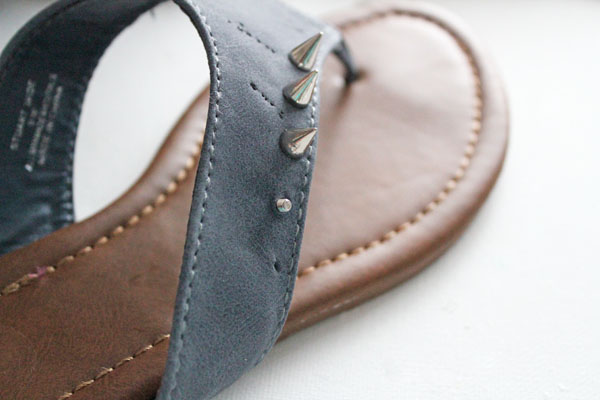
Make sure you only put studs on the OUTSIDE of the shoe – meaning, on the right side of the right shoe, and the left side of the left shoe. If you put studs on the inside, you might scratch yourself as you walk.
Once you finish one shoe, repeat, adding studs to the second sandal.
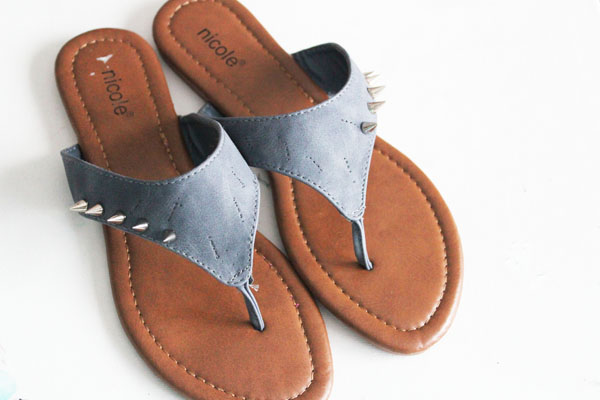
As I mentioned, the little holes left from removing the previous embellishments will fade over time. I made these weeks ago, and they’re not at all noticeable anymore. I actually thought about photoshopping them off, but felt that wouldn’t be a fair representation, so I just left them.


Leave a Comment