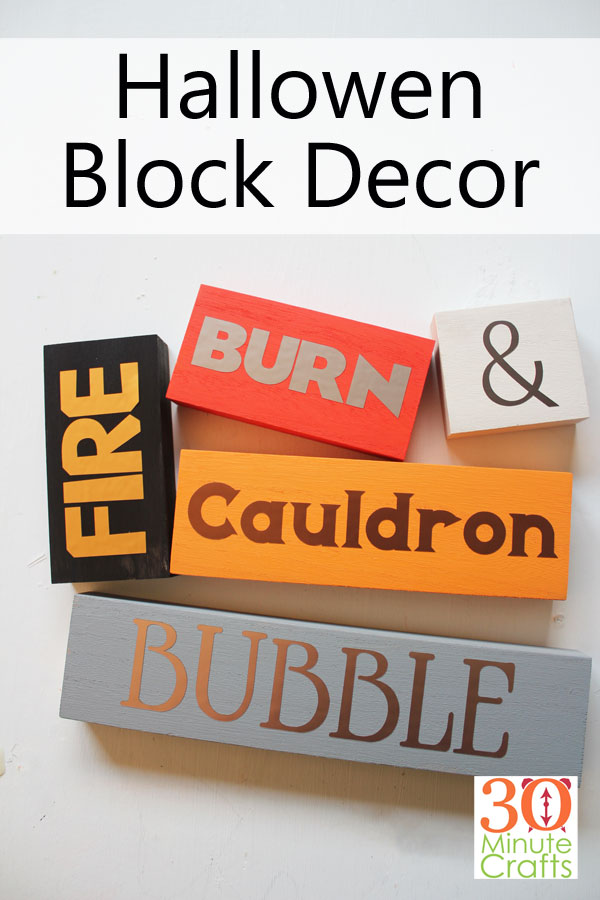
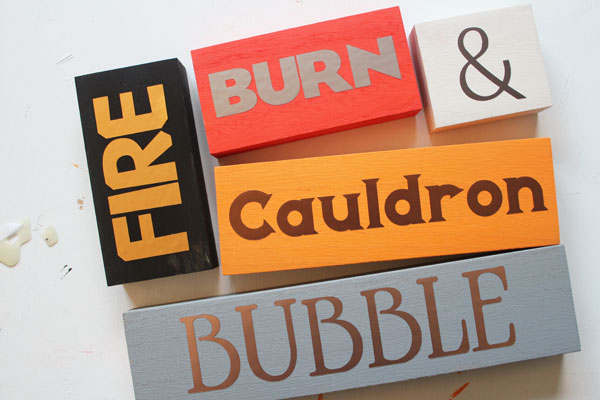
Simple decorations are my favorite. Which is why I made these fun wooden Halloween Blocks. I cut all the letters out of Metallic Vinyl, so it came together super quick!
This project is part of Craft Lightning Week. All week long I’m sharing fast Halloween projects that can be made on the Cricut
Puin 15 minutes or less, along with my friends Angie from The Country Chic Cottage and Jen from 100 Directions. And we’ve invited some of our crafty friends to join in. Scroll down to the bottom of this page to check out all their awesome fast Halloween Craft ideas!
To make these Wooden Halloween Blocks, you’ll need:
Metallic Vinyl
Transfer Tape
Cricut Machine
Wooden Blocks (I bought my set at JoAnns)
Craft Paint and Paintbrushes
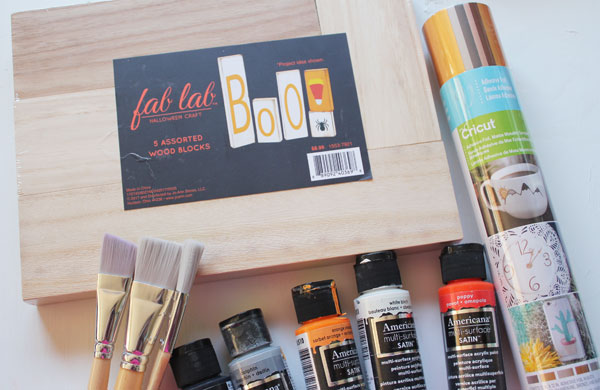
Put a quick coat of paint on the blocks.

While those are drying, cut strips of vinyl as wide as the height of the blocks. Decide which vinyl is going on which block.
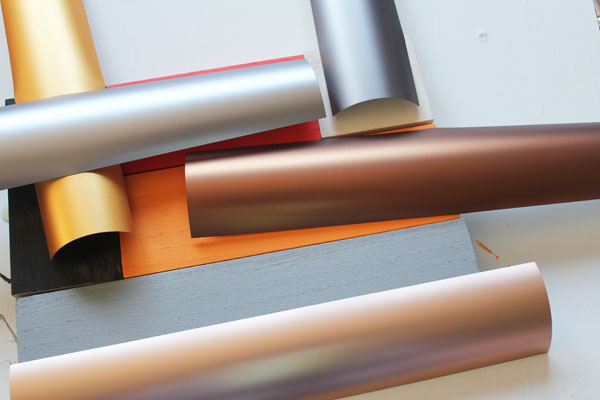
Trim each piece to the width of the block, then place on the mat.
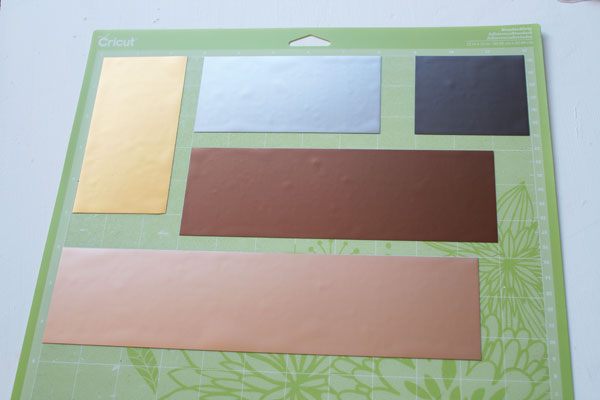
That’s right, we’re cutting all the different pieces at once!
Open up the file in Cricut Design Space. If your blocks are the same size as mine, you can delete the background boxes behind the text. Otherwise, resize the boxes as reference markers for resizing your text. Then resize your text, and delete the boxes.
Send the cut file to the machine. In the “mat” mode, you can use Snap mat to move your pieces around (check out how SnapMat works in my Halloween Tag post), if you don’t have an iOS device, you can just use the lines on the cutting mat as reference to move the words around. That’s what I did for this project, and it worked great!
Before cutting, make sure that you select METALLIC Vinyl. It needs a deeper cut than regular Vinyl.
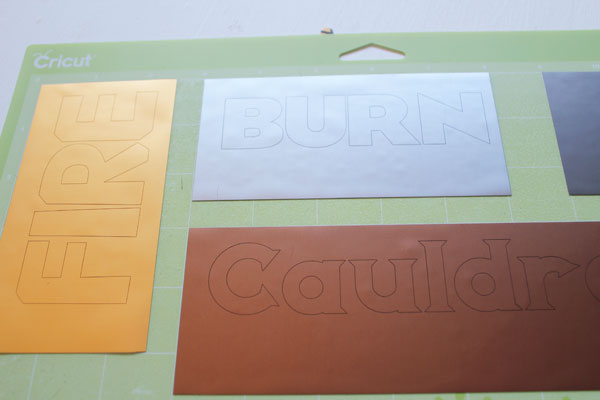
Remove the pieces from the mat, peel away the excess vinyl, then use transfer tape to secure the pieces to their appropriate wooden blocks.
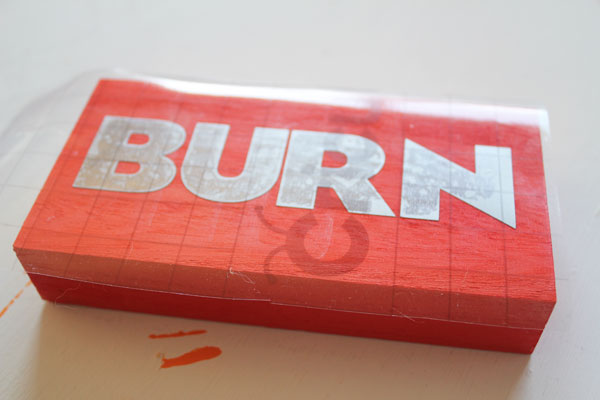
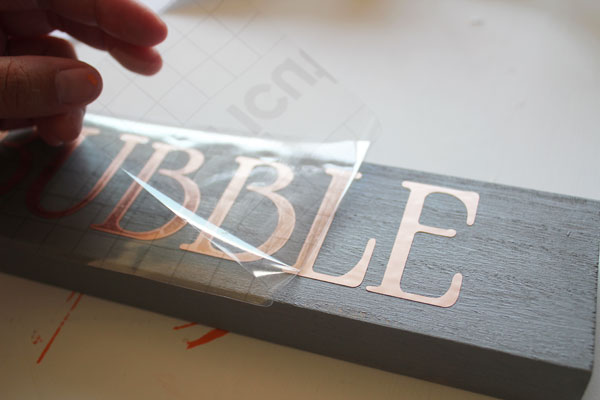
Your blocks are complete!
Check out these other fast and fun Halloween ideas!
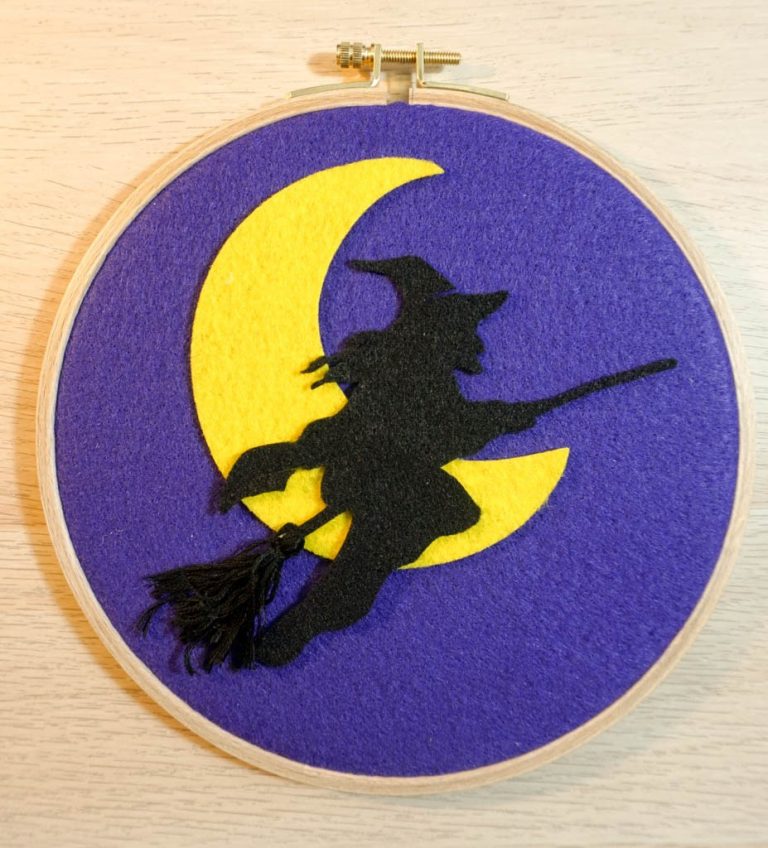
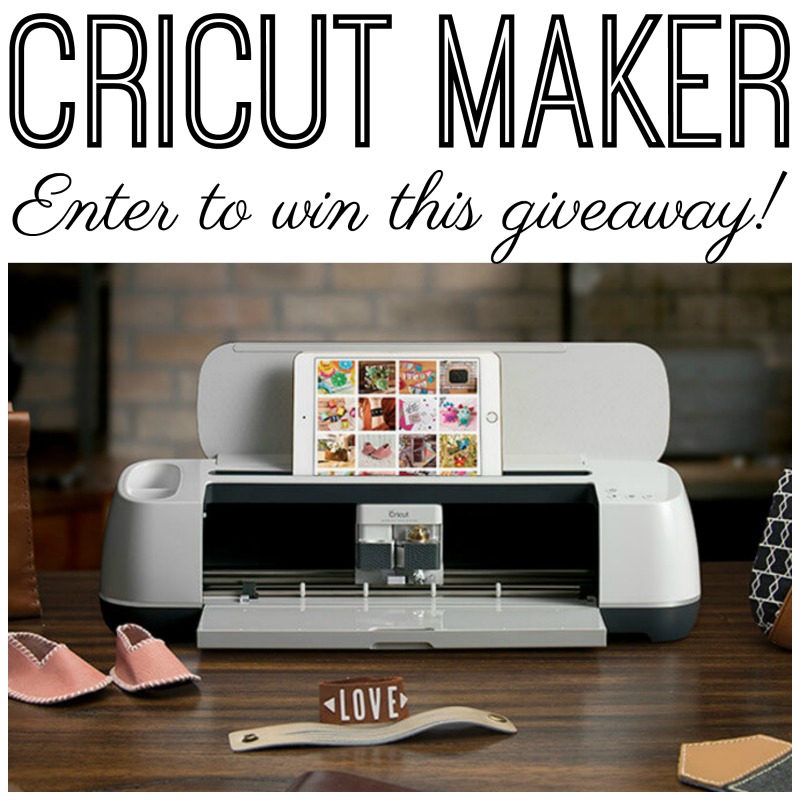
Start with this easy embroidery hoop art from Crafting in the Rain. How fun is that Felt cut on the Cricut Maker machine?
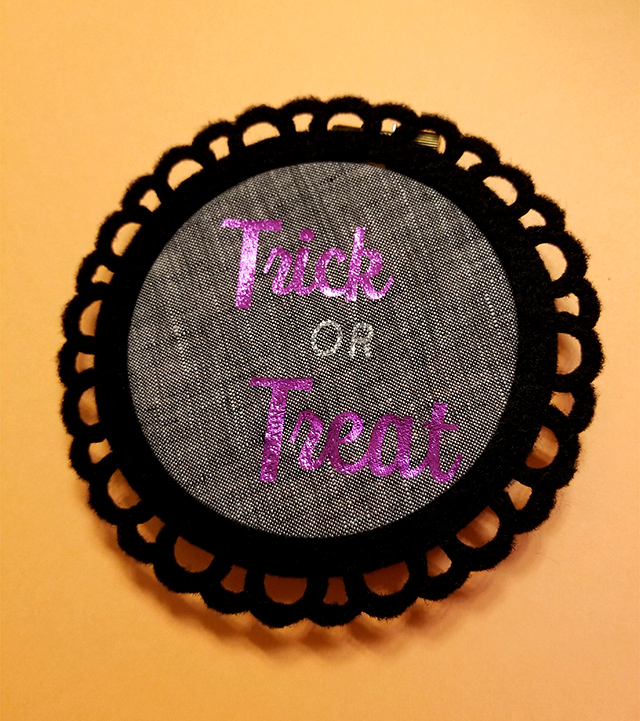
Love hoops? Albion Gould also cut some felt on the Maker to make this Halloween embroidery hoop art.
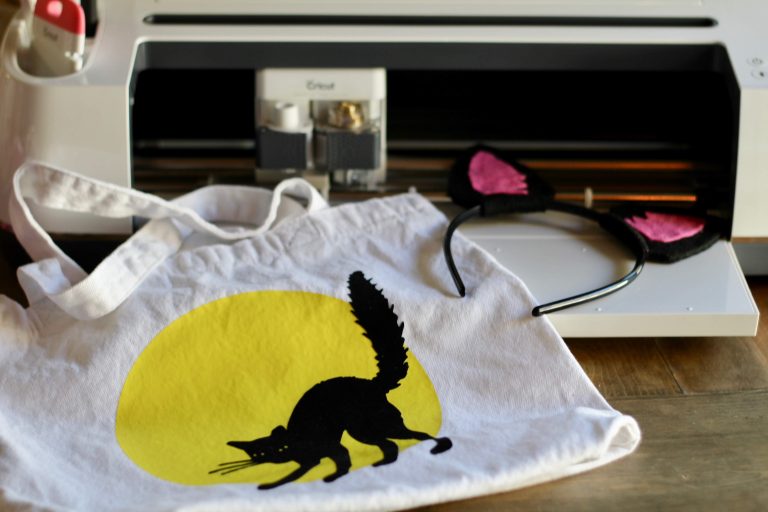
Two great Halloween crafts to get ready for trick or treating: some cat ears and a trick or treat bag like these from Everyday Party Magazine.
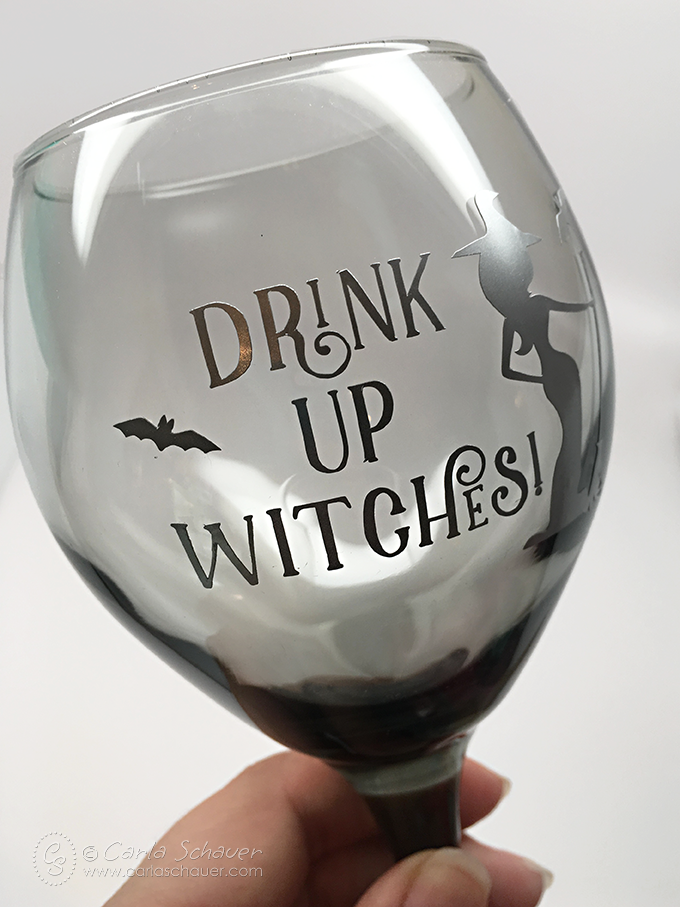
Spook up your wine glasses for Halloween with this tutorial from Carla Schauer.
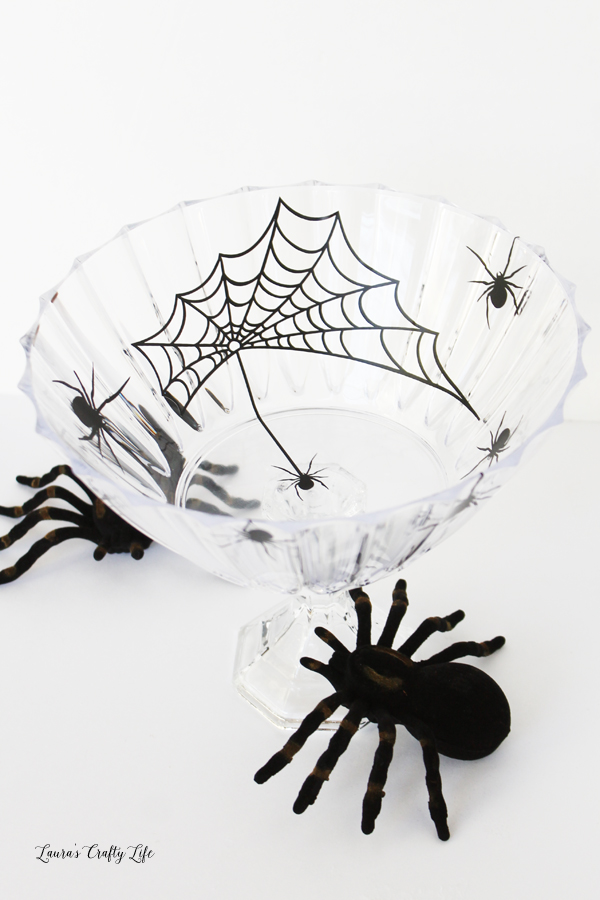
Halloween parties are even more fun with this spooky serving bowl from Laura’s Crafty Life.
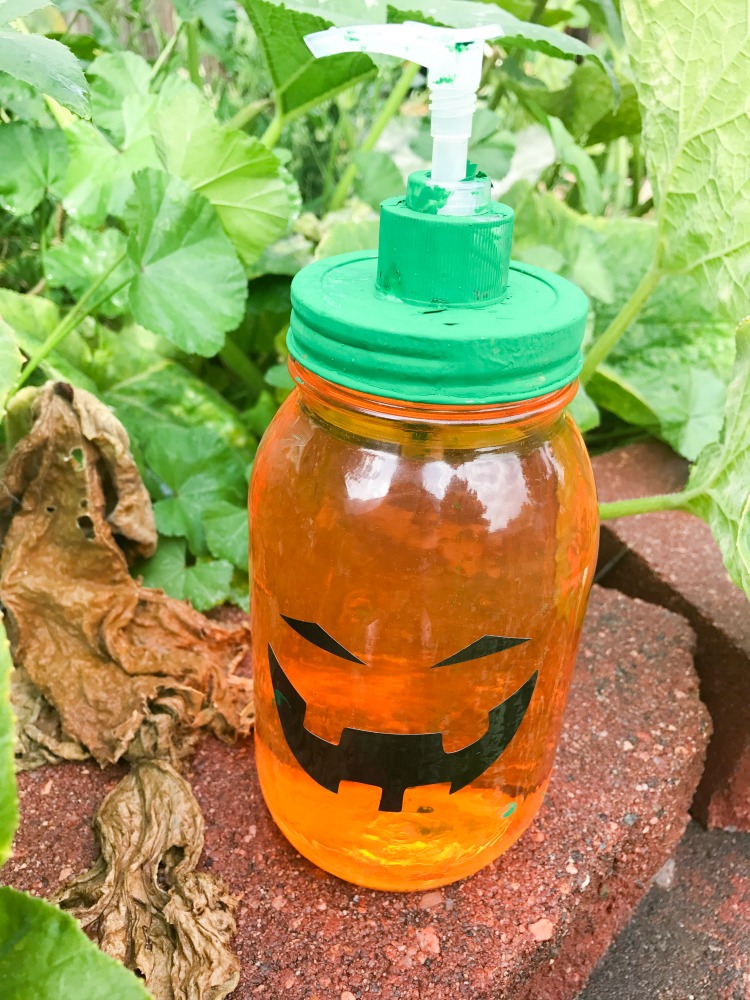
How fun is this Halloween soap pump idea from Clarks Condensed.
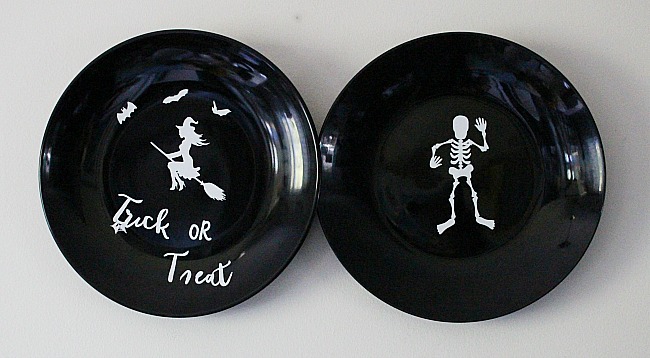
I love these spooky plates from Our Crafty Mom.
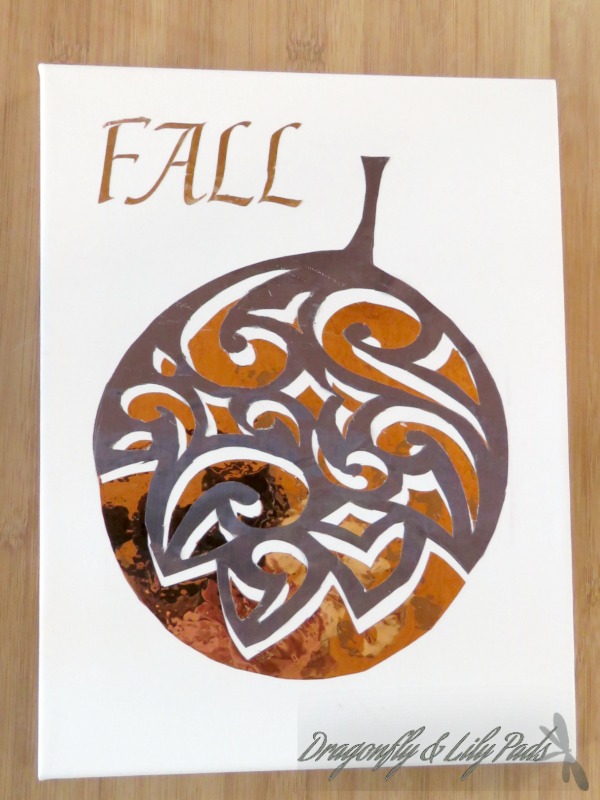
Want to make another project with the adhesive foil I used? Turn it into art for your wall like this from Dragonflies and Lillypads.
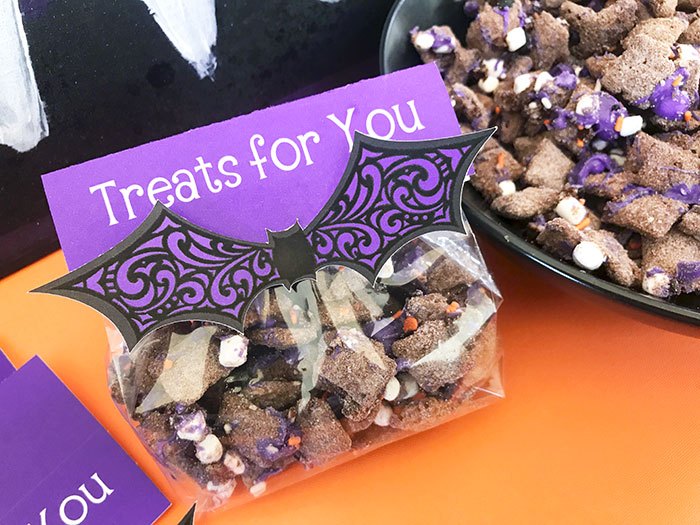
Our guest co-hostess Jen from 100 Directions made the most adorable bat treat bag for Halloween.
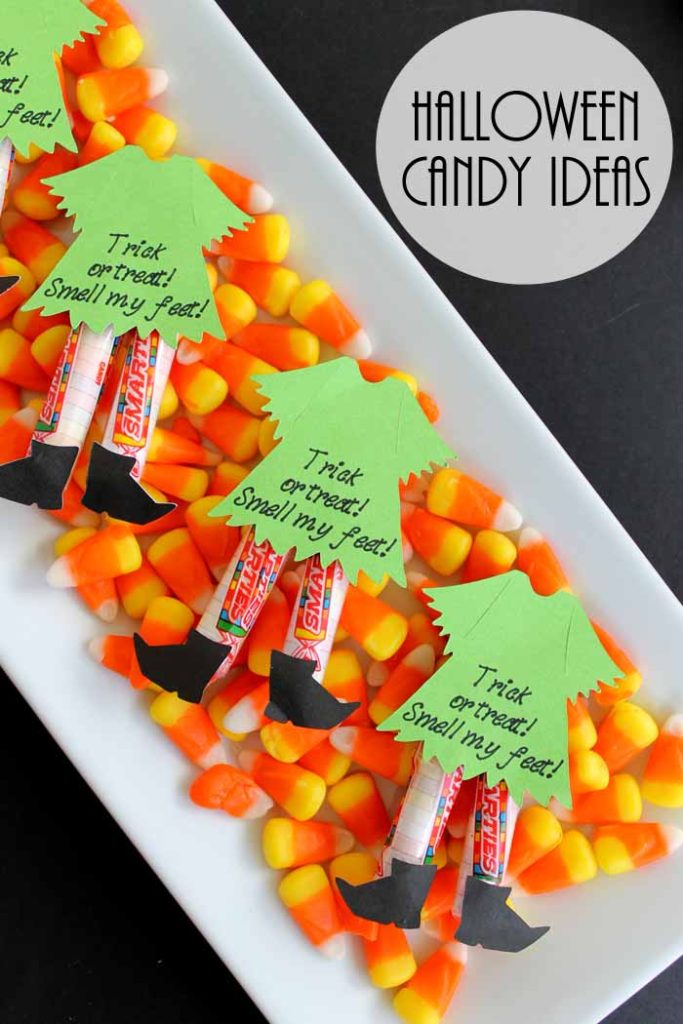
And my co-host Angie from The Country Chic Cottage made the cutest witch leg candies perfect for a Halloween party!


Hi! I realize this post is four years old, but I just got my Cricut! I loved the blocks, but when I tried to download the project, the words “burn” and “cauldron” only have the first letter. I can download the Eagle Bold font, but not the cool arrow-looking one for Cauldron. I think it must have been one you bought? If I have to, I’ll replace it with something else, but I wondered if you had any idea why I couldn’t get the whole word. (P.S. Your exact size of blocks was available on Amazon – yay!)
I am not sure why you wouldn’t get the whole file. I generally try not to use fonts that need to be purchased. These may have been fonts that were free with an Access subscription, though.
If Cricut licenses their fonts, they may have chosen not to renew the licenses on these fonts, and that could explain the issue?