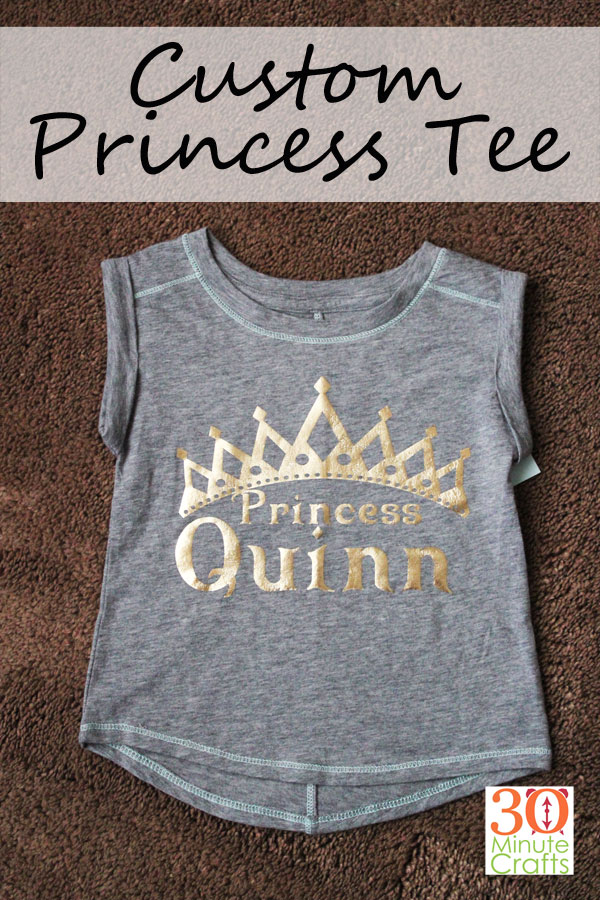
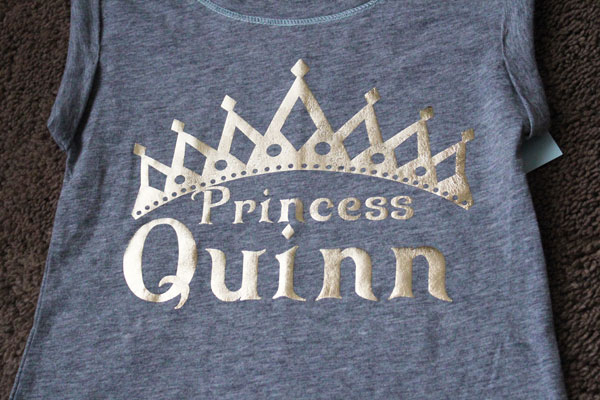
Have a little princess in your life? Make her this DIY Custom Princess Tee! Making this shirt is a super simple craft project that you can make in less than 30 minutes!

To make your Custom Princess Tee, you’ll need:
Gold Heat Transfer Vinyl
Shirt
Cricut Machine
Iron and Ironing Board
Cricut Princess Shirt File
Customize the shirt using your Princess’s name. Adjust the size of the name to fit under the crown. You might need to make it larger or smaller, based on the number of letters in the name.
Cut the design on your Cricut machine. When using heat transfer vinyl, it is important that you Mirror the image! If you don’t, your letters will be backwards when you apply them to the shirt.
Weed away the extra vinyl. This just means peeling away the background vinyl, and the extra pieces on the inside crown and inside of the P, e, and letters in the name. Leave behind the parts you want to iron to the shirt.
Place the design adhesive-side-down on the shirt. The clear transfer plastic should be on top. Iron in place according to the settings indicated on the vinyl packaging. Make sure the steam is OFF. Using steam will create bubbles or puckers in your vinyl, instead of giving you the beautiful, smooth result you are looking for.
Allow the vinyl to cool, then you can peel away the clear transfer plastic. Your shirt is complete!

I gifted this Custom Princess Tee to Princess Quinn along with some cute leggings and a fun toy on her first birthday.


This short is totally aDORable and really stylish too! I could see teenagers wanting one of these! 🙂