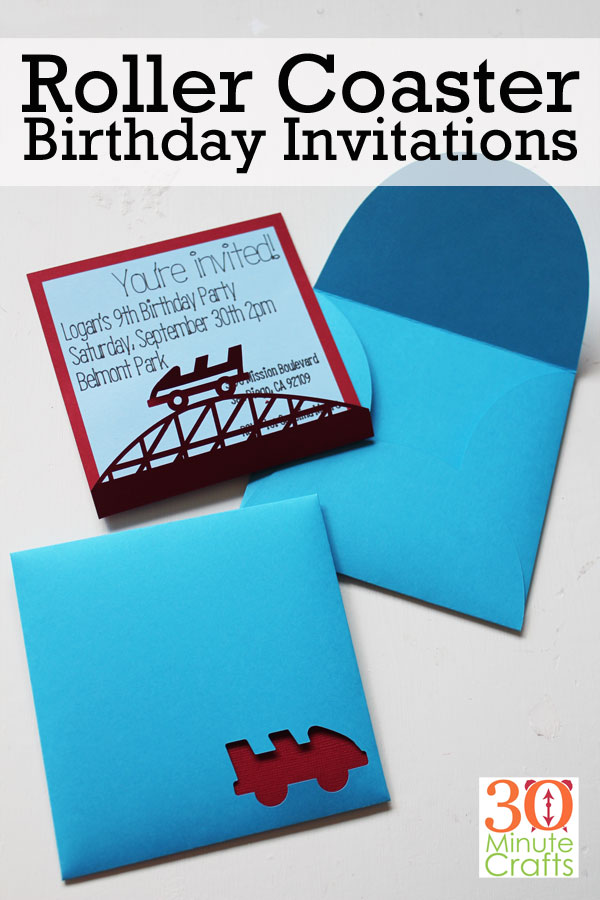
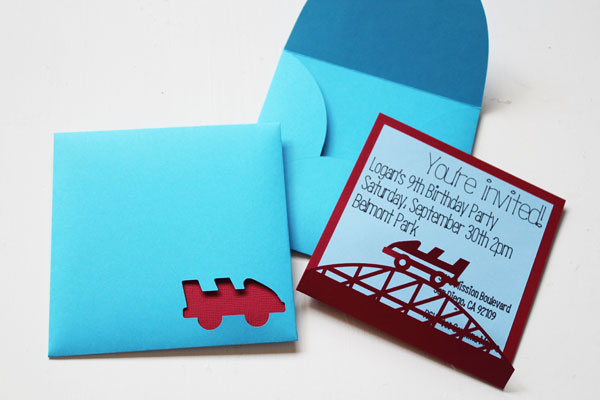
This year we celebrated my oldest’s birthday at the Boardwalk. It was so much fun, eating hot dogs and cake under the roller coaster… and these were the invitations I made to invite his friends to join us – Roller Coaster Birthday Invitations!

This post contains affiliate links which help support this site at no extra cost to you.
I love making both the cards and the envelopes, so that I can theme the envelopes to the cards. It adds a fun touch! When I made the cactus cards, I printed an insert to go in the cards. This time I used the drawing feature on the Cricut to write out the inside. It adds a different look, but I like both options.
If you want to make these cards, use the Roller Coaster Card File that I created. Make sure you click the link from your laptop or desktop computer (not your mobile device) to open the file in Cricut Design Space.
After you update the invitation with your party details, select the background and all the text, then attach them. That will ensure that the test is written in the right place on the invitations.
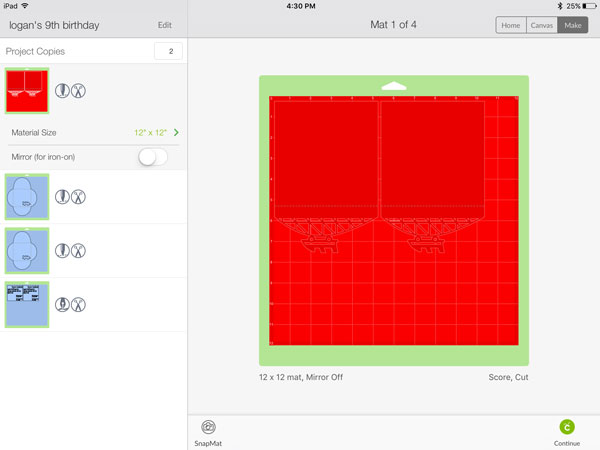
Once you have the file in Mat view, you can use the option in the upper left hand corner to cut multiple copies.

After cutting out all the pieces, glue the square inside the card, and assemble the envelope. If you’re planning on mailing the cards, you’ll need to put the card in a larger envelope so that the roller coaster cut-out doesn’t get caught in the Post Office’s machines. Also, square cards often require extra postage – check with your post office.


Leave a Comment