


I’m a tool junkie. I love tools that make crafting easier, faster, and provide better outcomes. And that is exactly why I was so excited when the folks at Cricut offered to send me a Cricut Easy Press, and asked me to share about it here. The Cricut Easy Press is like the love-child of a household iron and a Heat Press machine. I absolutely do not have room for a heat press in my craft room. It is too large. While it would do a fantastic job of applying vinyl to my projects on the occasions that I use Heat Transfer Vinyl, it would sit idle most of the time, taking up a whole lot of space. The Cricut Easy Press has a much smaller footprint, is easier to store, and has so many features that even my fancy quilting iron doesn’t have.

The Easy Press is designed to fuse iron-ons. The heat from the metal sole melts the adhesive in the iron on to fuse it in place. This makes it great for Heat Transfer Vinyl. I love cutting HTV for shirts and other projects, and the Cricut Easy Press makes it even easier to get a perfect transfer.
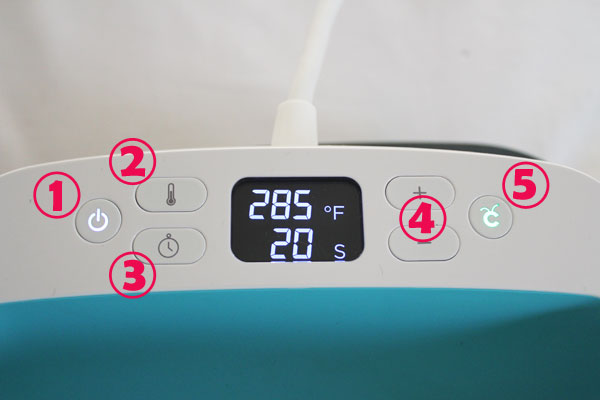
The Cricut Easy Press has 6 buttons:
- Power Button. Press this Button to turn on the machine.
- Temperature Button. Different materials need and can withstand different temperatures. Press on the temperature button and then the (4) keys to adjust it up or down.
- Timer. The Cricut Easy Press has a built-in timer. Press this button and the (4) keys to adjust the timer.
- Plus and Minus. These buttons are used with the Temperature and Timer Buttons to set the right time and temperature.
- Cricut Button. This starts the timer.
The Cricut Easy Press comes with a cradle to hold it. I love this for several reasons. First, it prevents the Easy Press from burning the surface it sits on while heating up. Second, the hot plate on the bottom of the Easy Press is always facing down, making it less likely that someone will get burned. Keep the Cricut Easy Press in the Cradle when it is not in use.
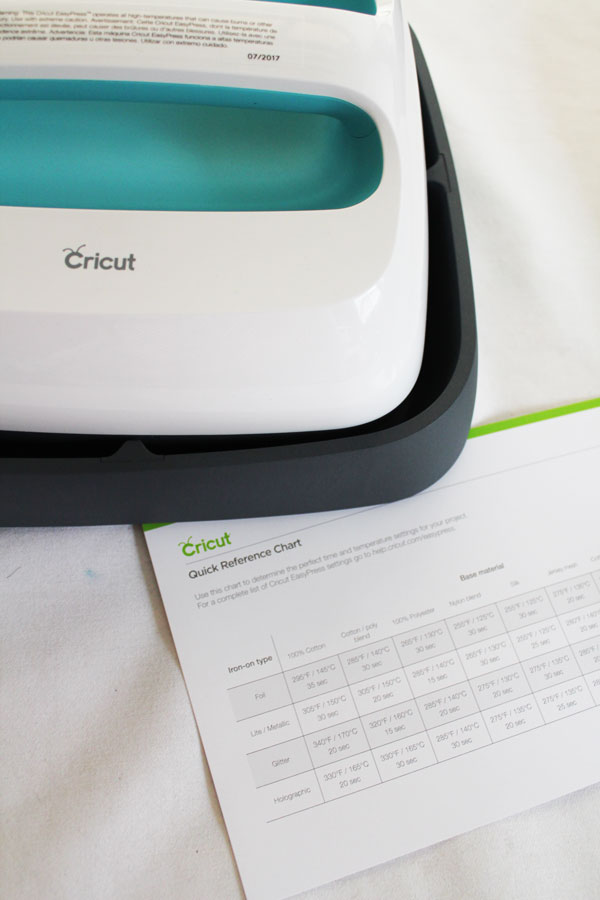
It also comes with a reference chart for temperature settings. Keep this handy so you always know what time and temperature to set your Easy Press at.
When you are ready to use the Easy Press, turn it on. Set the temperature and time. Wait for the Cricut light to turn green, indicating that the Easy Press has come up to the desired temperature.
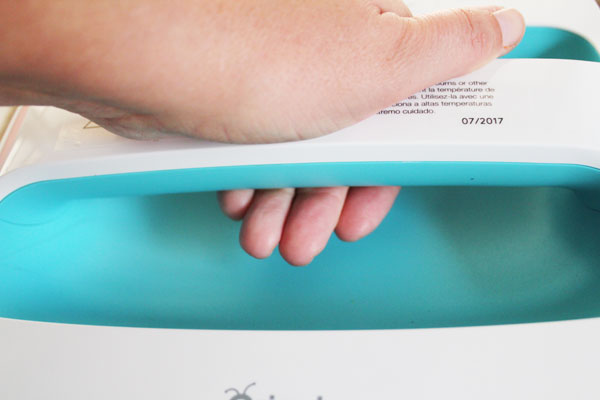
Move the Easy Press off of the cradle, and onto the project. Press the Cricut Button to start the timer. Use gentle, even pressure to press down on the Easy Press.
After the timer beeps, return the Cricut Easy Press to the cradle. Repeat the process as needed for larger transfers.
Allow the transfer to cool. Remember, the adhesive is activated by heat. Cooling it down will secure the transfer in place.
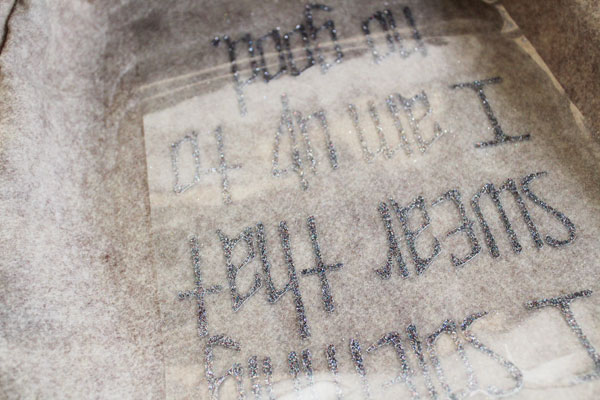
Peel back the clear transfer tape to expose the design. Your transfer is complete!

This is a sponsored conversation written by me on behalf of Cricut. The opinions and text are all mine.


Leave a Comment