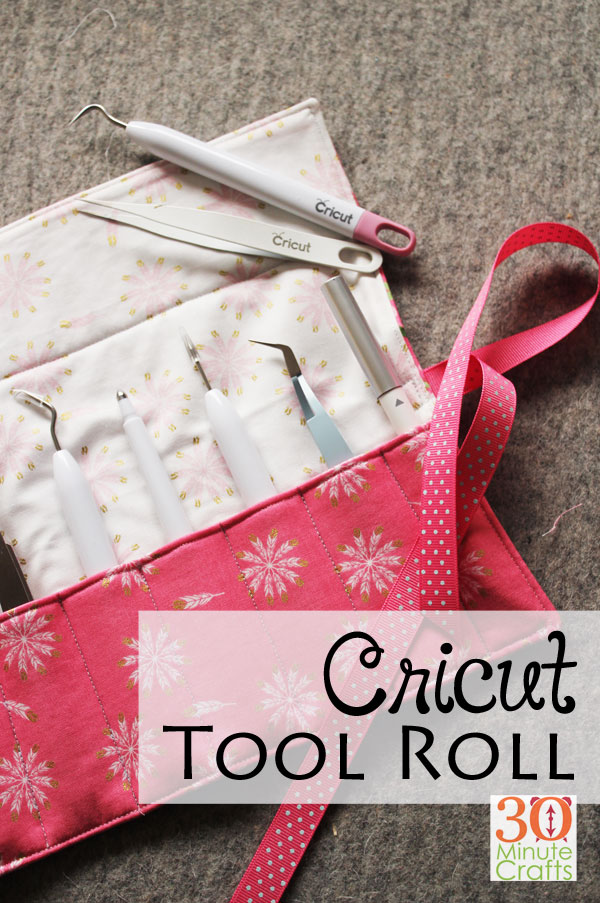
If you love your Cricut, chances are you have a growing collection of Cricut tools. From pens to the scoring stylus, and multiple pointed weeding tools, there are lots of fun bonus toys to collect when creating with the Cricut. They each have a special purpose – but you need to know where the tools are to use them! Keep all your Cricut tools close at hand with this easy to make and pretty Cricut Tool Roll!
This past summer I was invited by Cricut to see the unveiling of their new Cricut Maker machine. I was incredibly excited when I learned about the new features of the Cricut Maker, because it has a rotary blade! This new blade completely revolutionizes the machine. In the past, the Cricut has been great for cutting paper and vinyl – but the option to also cut fabrics (hundreds of different types of fabric) is completely game-changing! Quilting cottons are my favorite to work with (in fact I’ve created an entire quilt series that uses the Cricut Maker and quilting cotton). I thought I’d show you how beautifully the Cricut Maker cuts fabric by showing you how to make this simple to make Cricut Tool Roll.
This post contains affiliate links which help support this site at no extra cost to you.
To make the Cricut Tool Roll, you’ll need:
3 different fabrics – I used a Fat Quarter of each, but Cricut has great coordinated fabric packs that would work great as well.
12″ of fusible fleece
Iron and Ironing Board
Sewing Machine and Thread
Pins
24″ of ribbon
Cricut Maker
Fabric Pen for Cricut Maker
12×14″ Fabric Mat for Cricut
Cricut Brayer and remover set
Cricut Tool Roll Pattern in Cricut Design Space (open file on a laptop or desktop computer)
All seam allowances are 1/4″. All edge stitching is 1/8″.
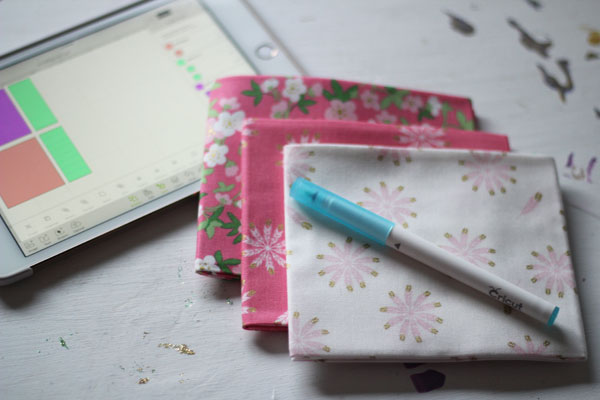
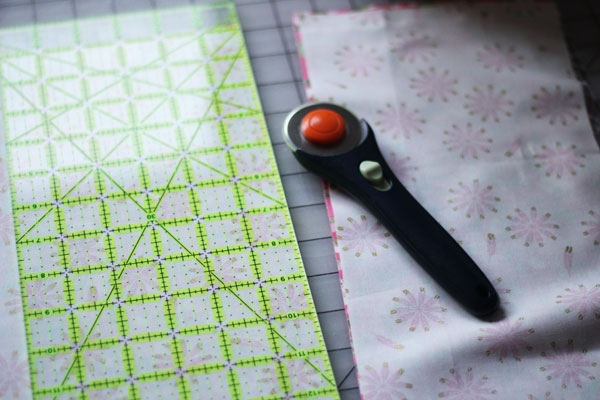
The Cricut fabric bundles are pre-cut to 12″ wide, making them perfect and ready to put on the mat. If you’re using your own fabric, cut it down to 12″ wide.
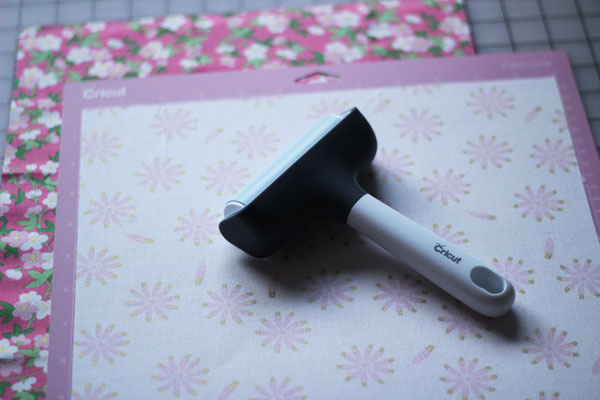
Put the fabric on the mat right side up. Use the brayer to secure.
Normally, we would put fabric right side down. This is so that we can mark our seam allowances on the back of the fabric. For this project, we’re not marking seam allowances. We’re marking top-stitching lines. Those need to be marked on the right side of the fabric, so we will be cutting all fabrics right side up.
Note: the two large pieces are the outside and inside. The two small pieces are the pocket. The two white pieces are fusible fleece. When you cut the inside and outside, one has a line drawn on it. It doesn’t matter if this is the inside or the outside piece – just choose the fabric that the blue line will show up well on.
Cut the fusible fleece and cut and mark the fabric on the Cricut Maker.
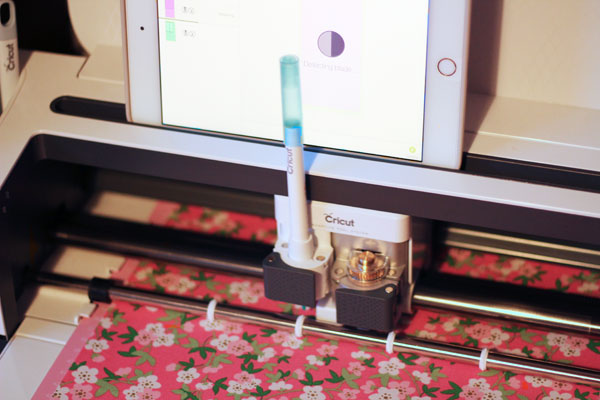
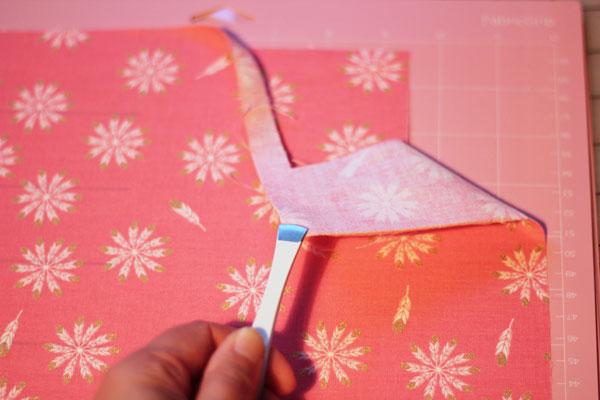
This was the first time I’d cut fusible fleece on the Cricut Maker. I thought I’d have to play around with the settings to see what would work best. Should I put the fusible side up or down? (Turns out that it works equally well both ways.) Should I use the felt setting when cutting? (I forgot to change the setting from cotton, and it worked perfect – so no need to play with settings!) The fusible fleece was so simple to cut, and cut beautifully.
Fuse the fusible fleece to the back of the large front piece, and the small pocket piece with the lines on them.
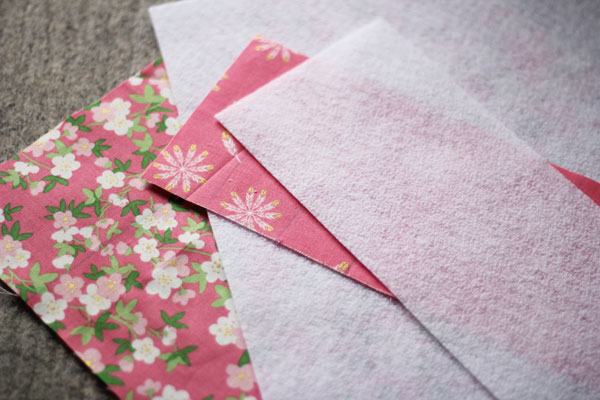
Place the two pocket pieces right sides together.
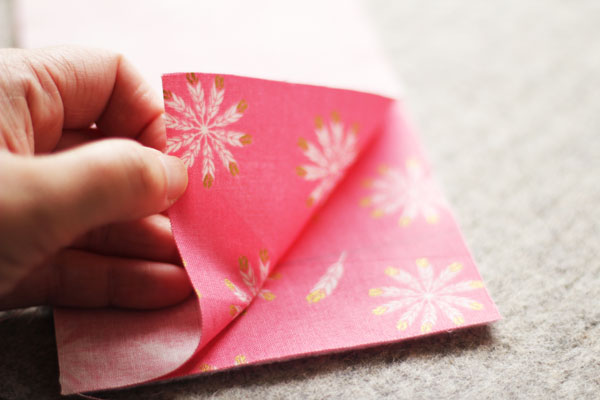
Stitch along top (one of the long sides).
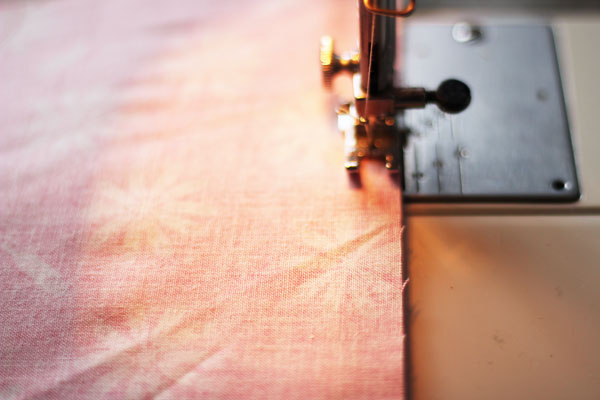
Flip it wrong sides together, and press the top.
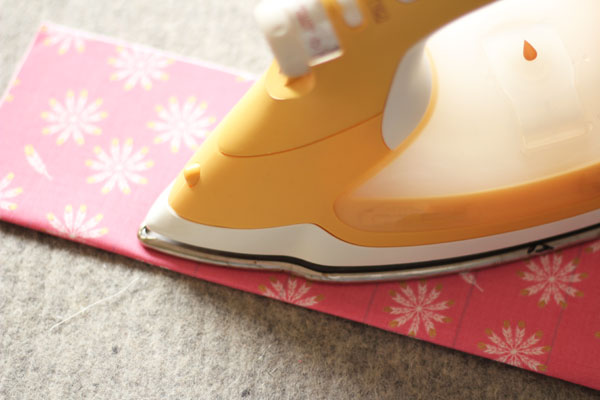
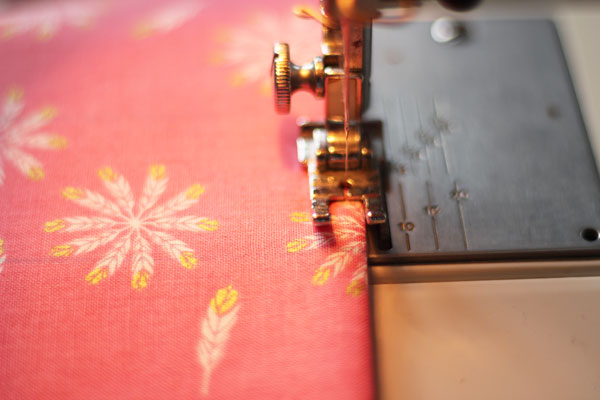
Edge-stitch the top edge.
Layer the outside, pocket, and inside. The outside and inside should be right sides together. Make sure the lines on the pocket are facing the outside.
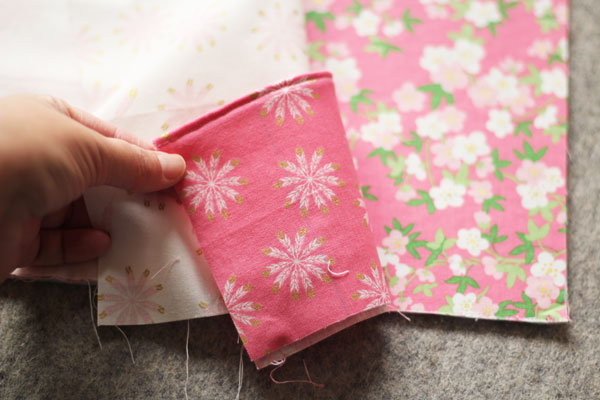
Pin on all four sides.
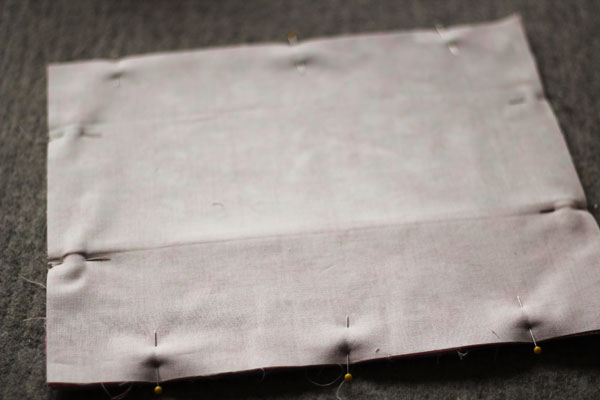
Stitch all the way around. leaving a 4″ hole along the bottom.
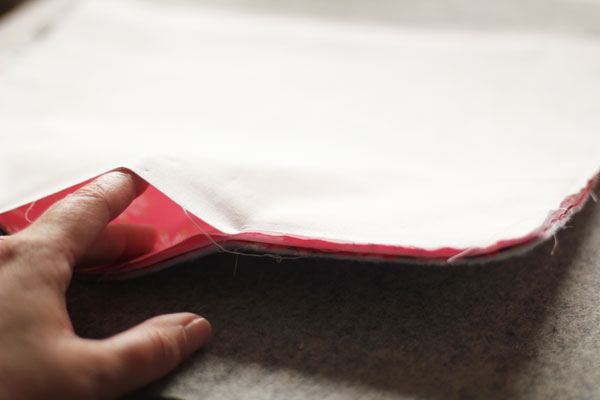
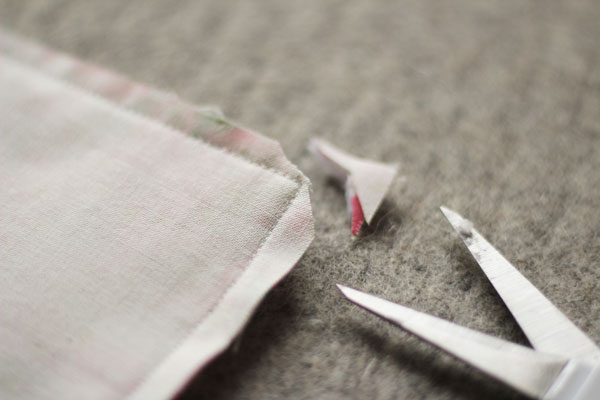
Clip corners.
Turn the tool roll right side out. Press flat. Make sure to tuck the seam allowance into the gap you left for turning.
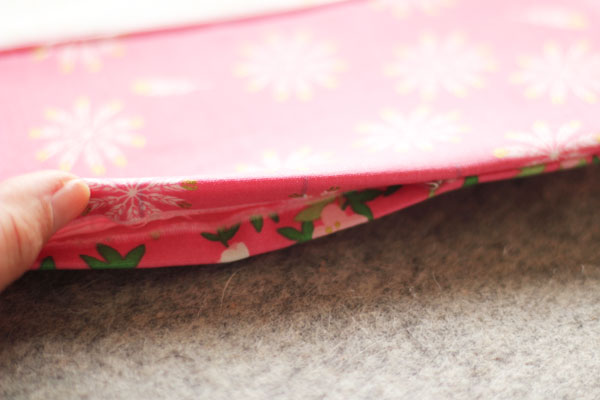
Edge stitch all the way around. This will close the hole you used for turning and give the edges a nice, finished look.
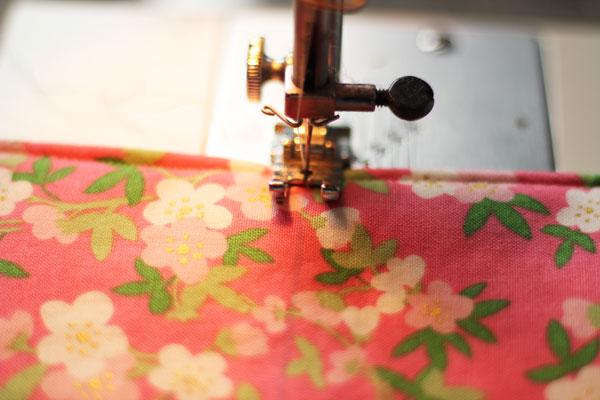
Find the long line on the large piece. We are going to stitch along this line to give the flap a niece crease for turning.
Start on one end. Stitch forward about 3 stitches. Then back 3 stitches. Then forward again, all the way acoss. When you reach the other end, go back and forth a couple stitches again. This helps secure the threads.
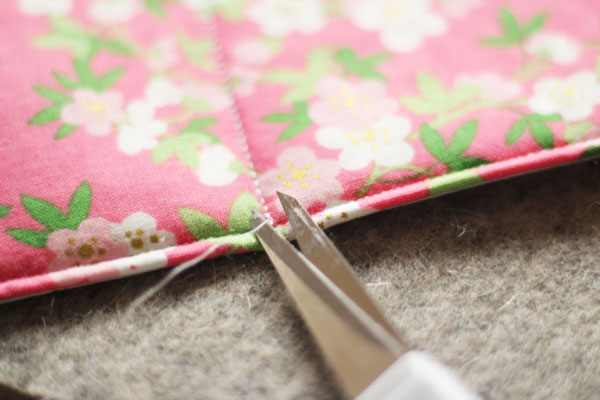
Carefully trim your thread tails.
Repeat this stitching on the lines of the pocket, making sure to stitch back and forth at the beginning and end of each line of stitching.
Start with the line in the middle, and work your way out.
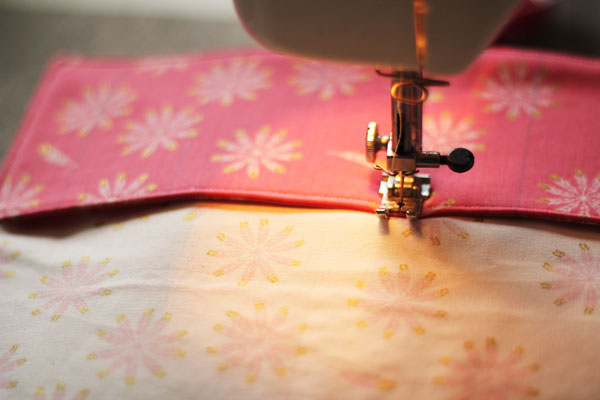
Stitch ribbon to one side so that the tool roll can be tied closed.
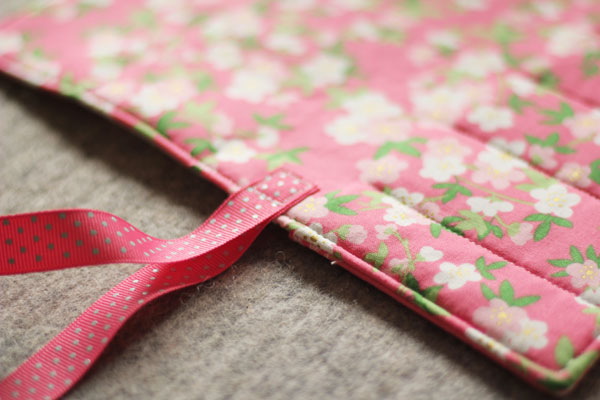
Insert your tools into the pockets, and you’re all set!
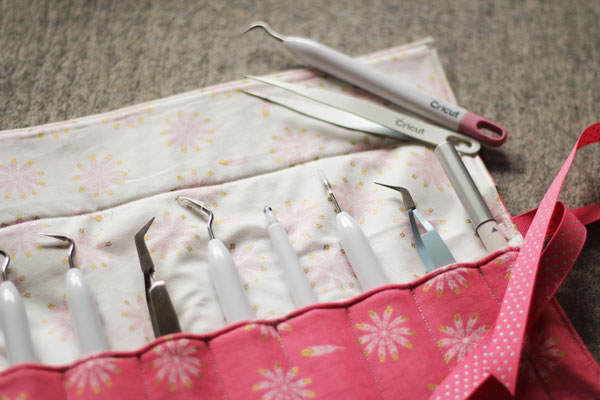
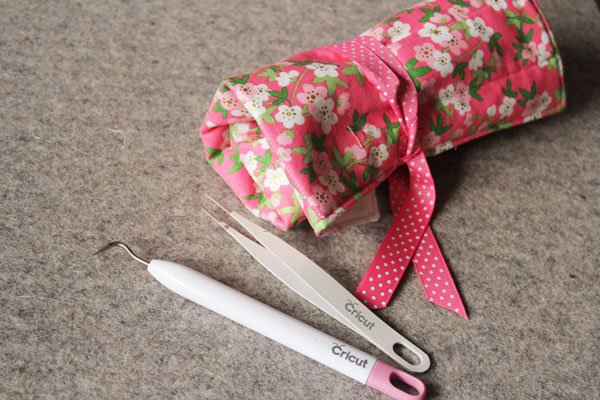
Fold down the flap, roll up your tools, and tie off – and you are ready to travel!
This is a sponsored conversation written by me on behalf of Cricut. The opinions and text are all mine.


Leave a Comment