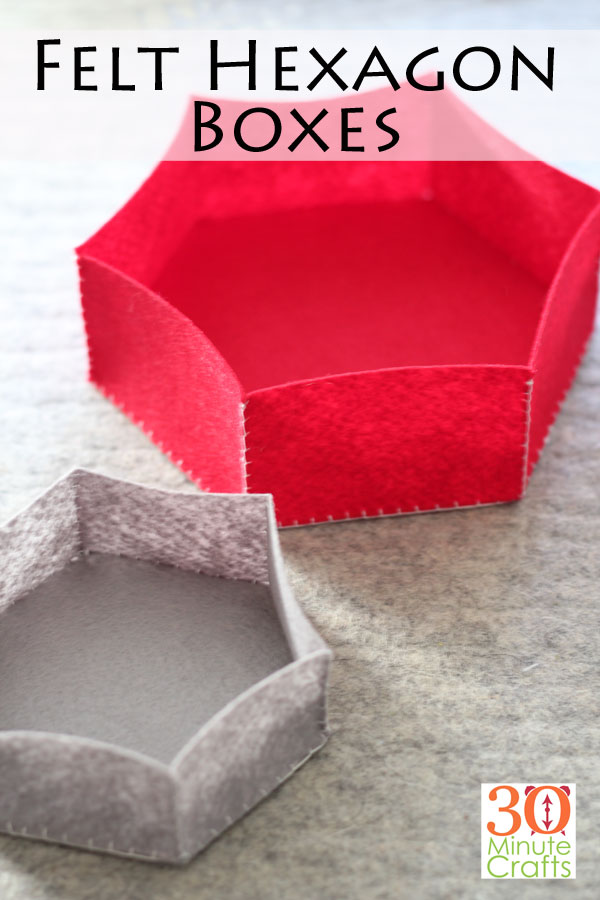
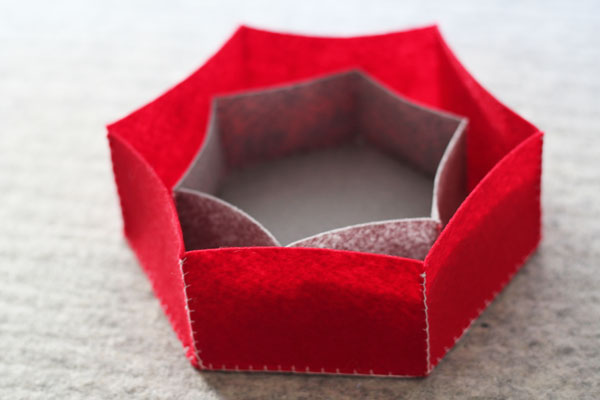
These cute Hexagon Felt Boxes are super simple to cut and to sew, and super useful! You can use a Hexagon Felt Box to store all kinds of items, to keep candy close at hand, or just as decorative pieces! Make your own stitched up Hexagon Felt Box with the instructions below.
This project is part of a monthly challenge to create with my Cricut. Each month I’ll be joining some of my crafty friends online as we challenge ourselves to create using a specific craft supply and our Cricut machine!
To make your own felt hexagon box you’ll need:
Felt (I used the Cricut Felt because it is nice and stiff)
Embroidery Floss
Tapestry Needle
Cricut Maker (perfect for cutting felt)
My Hexagon Box Cut File for the Cricut Maker
Start by cutting out the file. It has enough pieces to make 2 boxes – one small box and one large box. I timed myself when making the small box, and I was able to make it in just under 30 minutes.
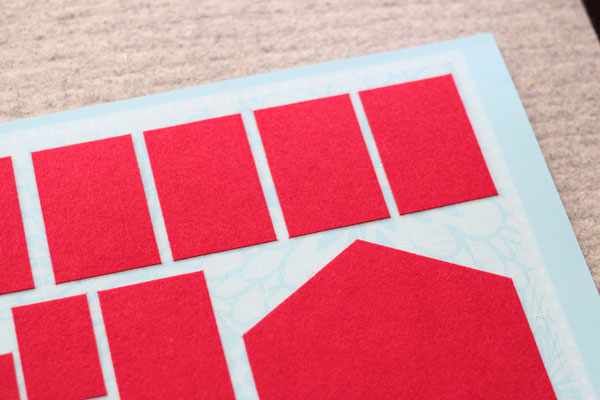
You can lay out your pieces to make sure that you’re matching the correct size sides to the correct size hexagon.
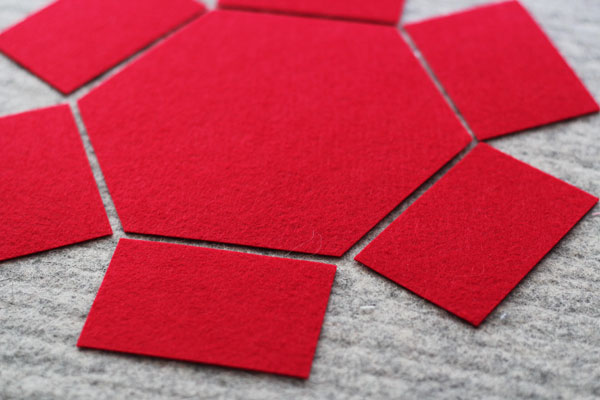
Line up one side with an edge of the hexagon. Thread your needle with the embroidery floss and start stitching. I start each edge with 3 small stitches in place, leaving about a 2″ tail of thread.

Blanket stitch all the way across.
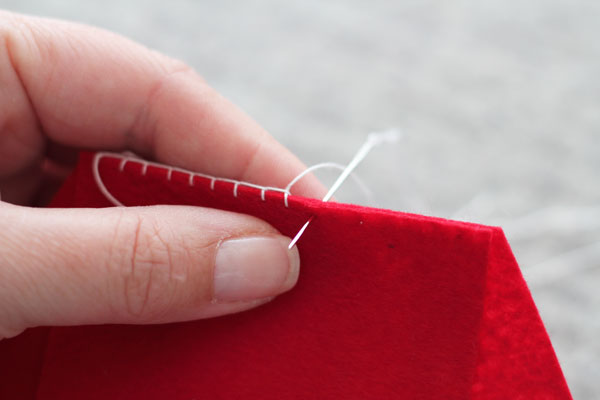
Blanket stitch each side on, going all the way around the hexagon.
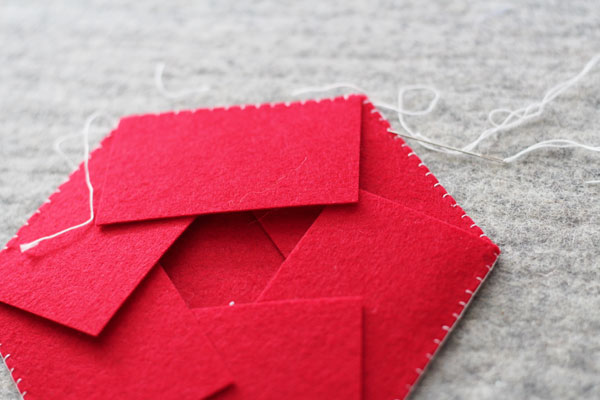
You can tuck the threads away, neatly into the seams.
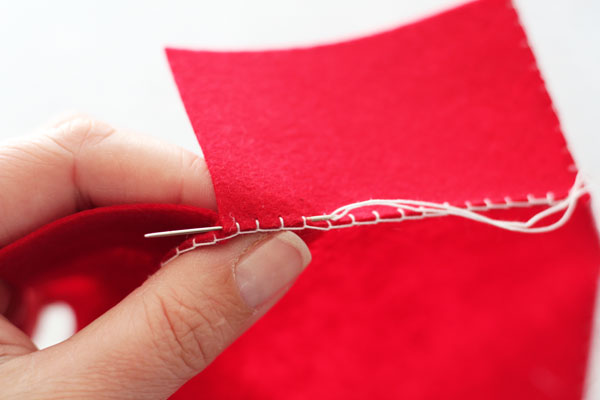
Then stitch the sides together in the same manner.
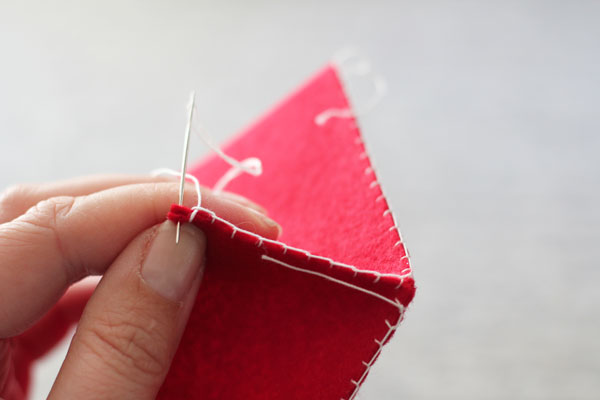
And just like that – your box is complete! Make it in as many colors as you like, and try the different sizes for even more variety.
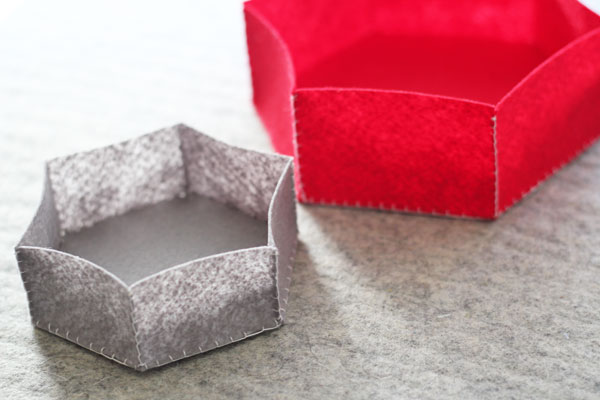
The two sizes nest perfectly inside each other!
And be sure to check out all these other fun felt projects made with the Cricut!


Leave a Comment