


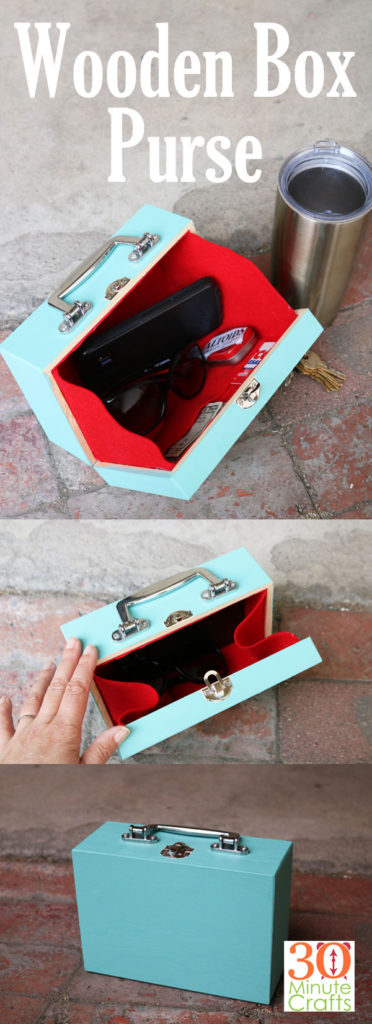
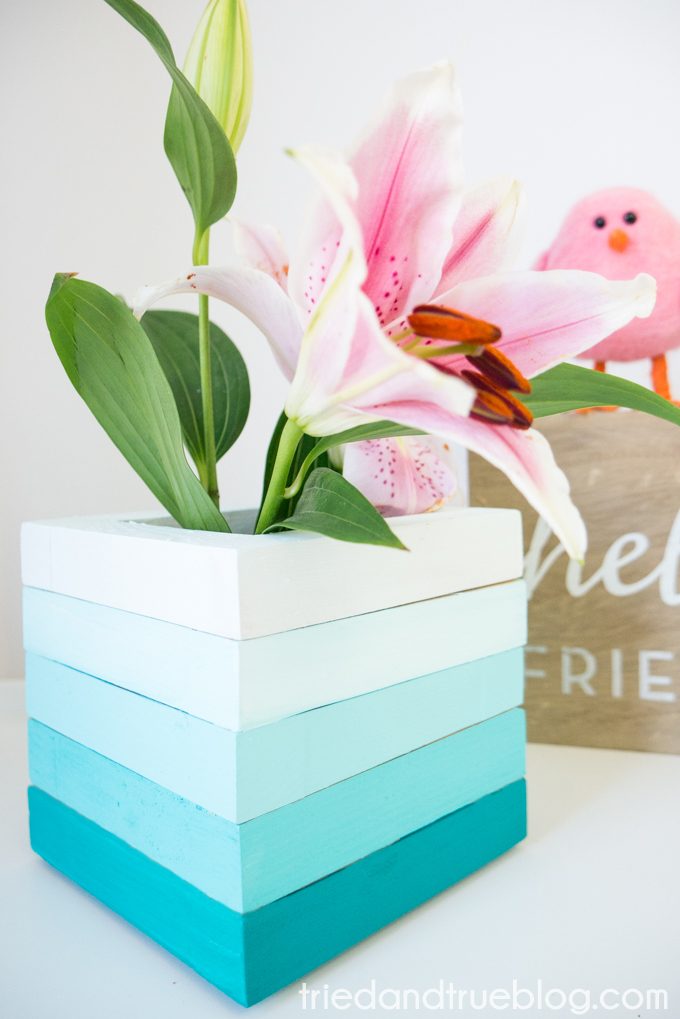
When I saw this wooden box at the craft store, I just knew it needed to come home with me and become a little purse. Sure, a wooden box is a great place to tuck things away and store them, but with a little help, this wooden box can be transformed into a purse! A wooden box purse is a fun way to accessorize an outfit – and a fun DIY to make!
This wooden box craft is part of Craft Lightning Wood week! All week long my friends Angie from the Country Chic Cottage, Laura from Pet Scribbles and I are all making lightning fast (15 minute or less) crafts made using wood! And we’ve invited some of our craftiest friends on the internet to join in! Be sure to scroll down to the bottom of this page to check out their fast wood craft ideas!
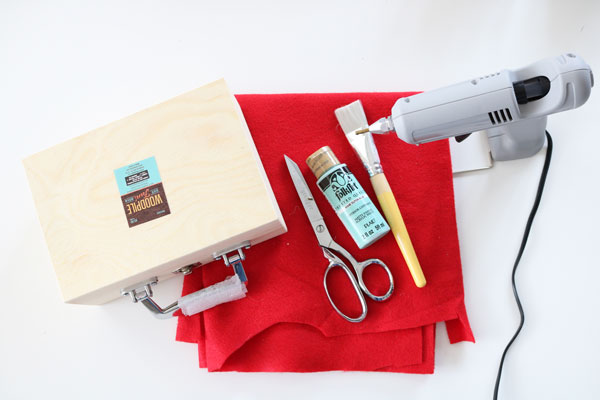
To make your Wooden Box Purse, you will need:
Wooden Box
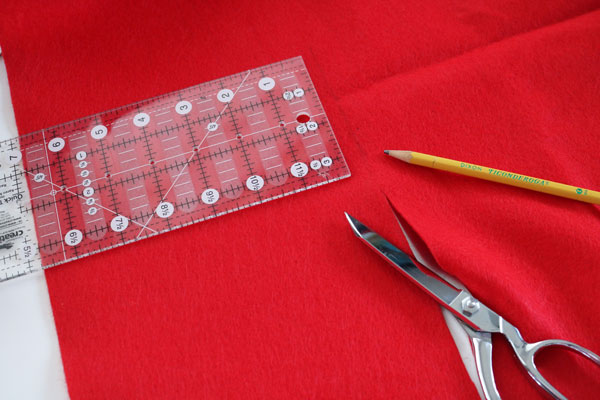
3/4 yard felt
Paper
Pencil
Scissors
Ruler
Hot Glue
Paint
Paintbrush
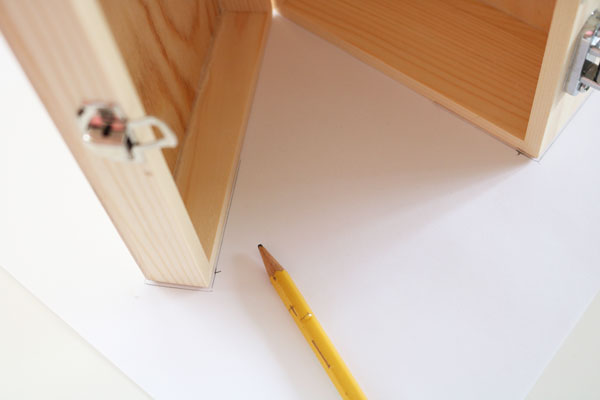
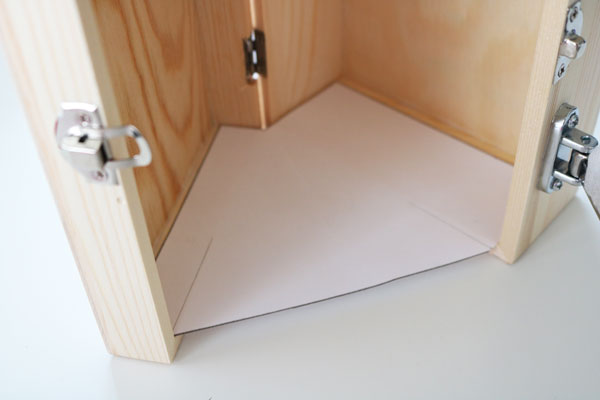
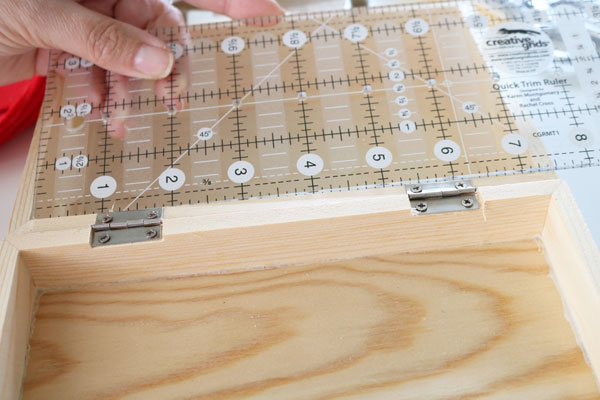
Open your box about 1/3 of the way. Place it on its side on a piece of paper, and trace the angle.
Use the ruler to draw inside the traced line. You want to draw your inner line as far from the outer line as the thickness of the wood. For my box that was a little more than 1/4 of an inch.
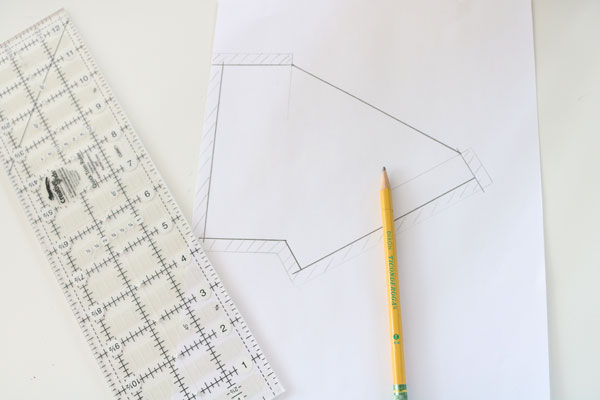
Cut out the template on the inner line. Place it in the box to check the fit. Adjust as needed.
Measure the width of the inside of the box. This will be the width you cut.
Add together the height and depth of the box. Multiply by 2. Add 4. This will be the length of the strip you cut.
Cut a strip the length and width you calculated in the last 2 steps.
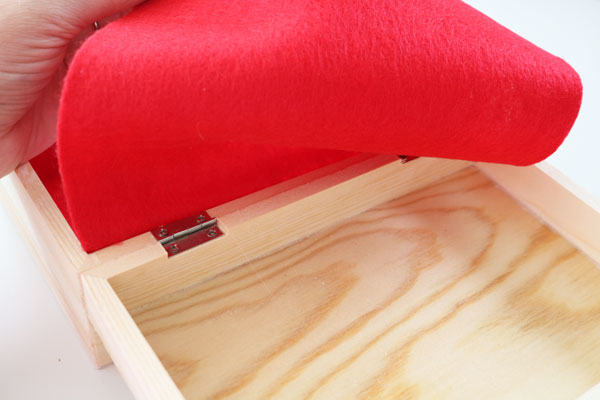
Using the hot glue, glue the strip along the inside of the box.
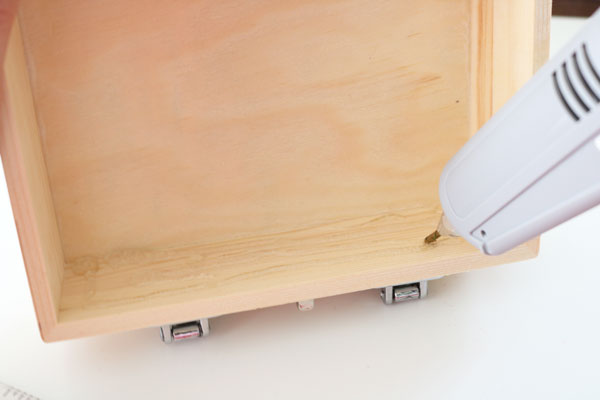
Do not add any glue on the edges with the hinge. Close the box to about 90 degrees, then keep gluing the fabric around the inside.
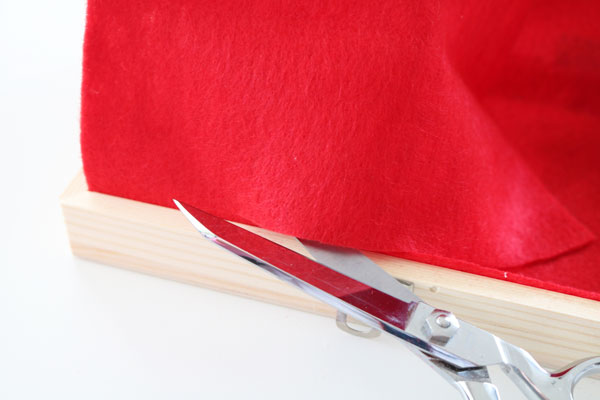
When you get to the end, trim off the excess.
Trim down the excess piece to 2 1/2″. Place in the lid half of the box to make sure it is the right size.
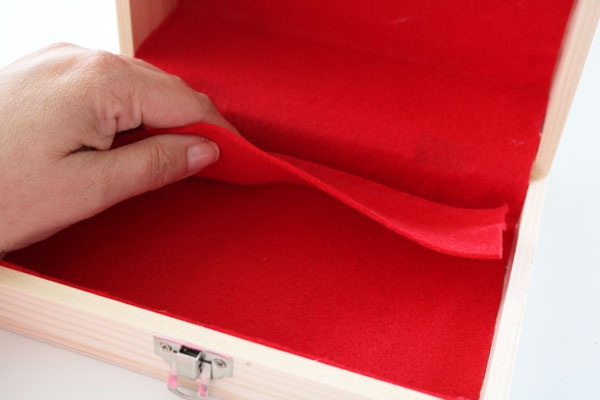
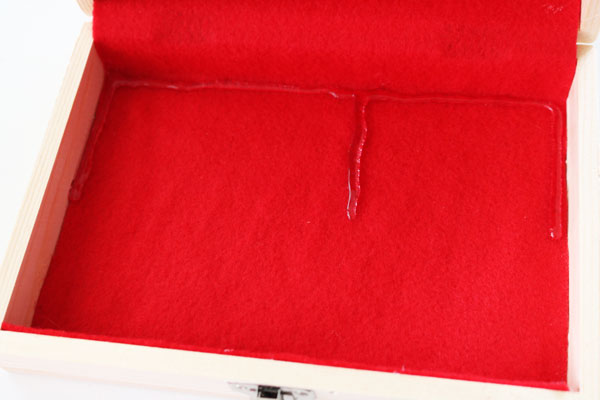
Carefully add a line of hot glue down the two edges and the bottom where the pocket will go (on the lid half of the box). Add an extra line just off center of the middle to divide the pocket in two. Then press the felt on top to secure the pocket in place.
Use the template to cut two pieces of felt to the size of the template.
Place one of these pieces in the side of the box to double-check the fit.
Glue both pieces to either side of the large half of the box.
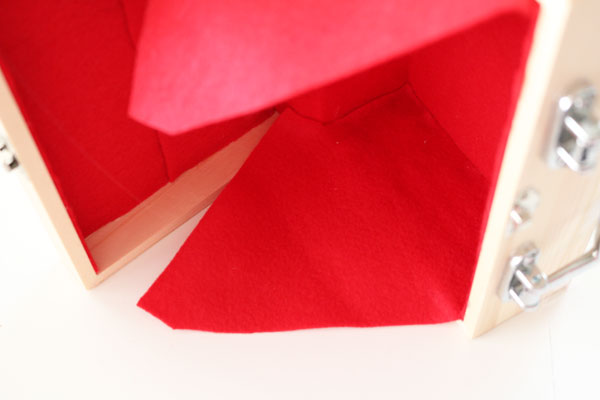
Glue the other side of the templates to the small half of the box (the lid).
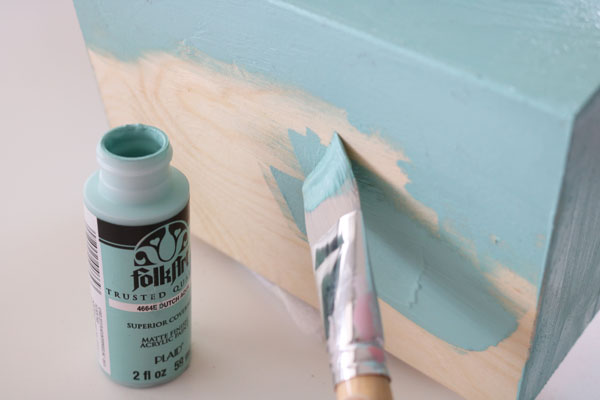
Now, if you like, you can paint the box. It is all done!
Check out these other fun and fast crafts made out of wood!
Creatively Beth shows you how to stain a wooden box using markers!
Happy Go Lucky will teach you how to make wood monogram keyrings.
![]()
These wood cake toppers from Dragonflies and Lillypads are just darling!

I love this wood frame from Tried and True.


OMG this purse is SO sweet! Love it!
Good job.
I like the idea of storing things in a wooden box. I feel like it is something out of a movie. Maybe I could get a couple and give them to my daughters as they get older.