


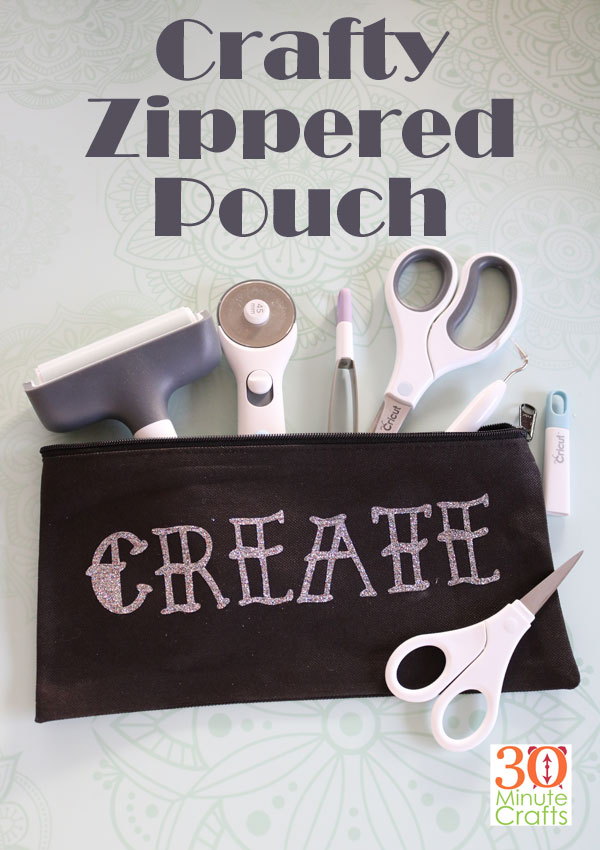
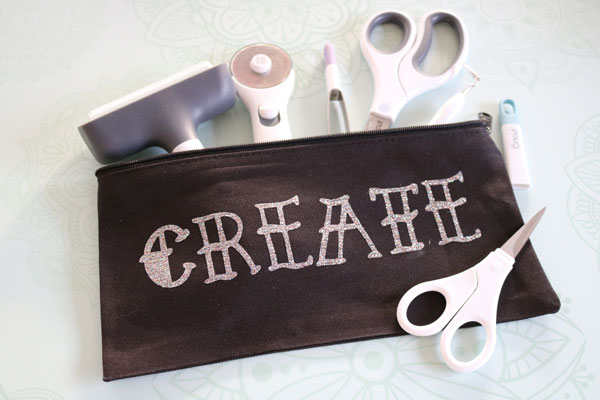
Looking for a crazy-simple project that you can say you made yourself? That’s exactly what this CREATE Zippered Bag is. I started whipping this bag up after the sun went down, and was finished before the last rays of light left my craft room. Yes, it helps that the sun really has staying power during the summer… but this is a crazy fast craft project. Let me show you how easy it is to make!
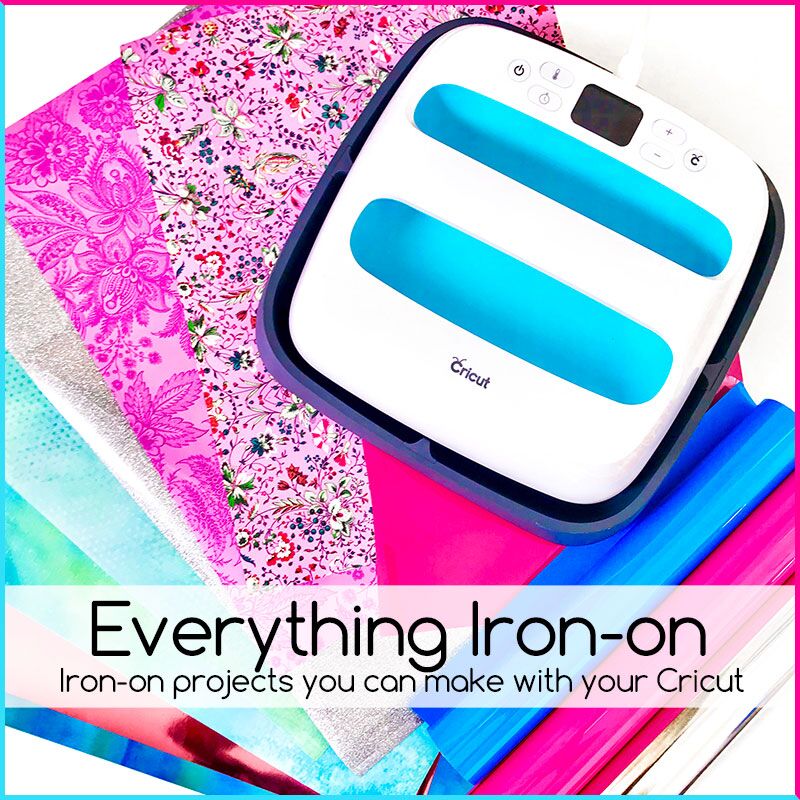
This project is part of a whole week of iron-on projects made with the Cricut. All week long my friends and I are sharing how you can use iron-on to make fun and custom projects. Be sure to scroll all the way down to check out their amazing ideas!
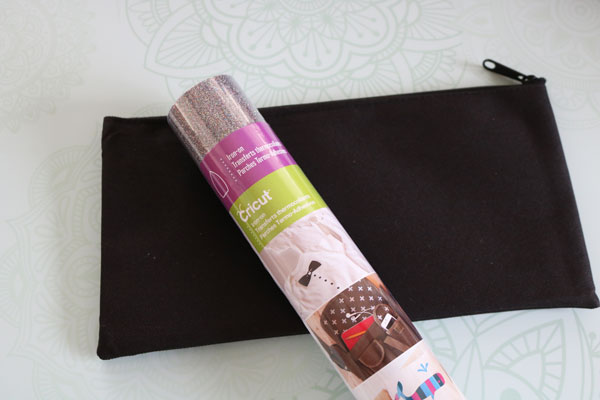
To make this crafty zippered pouch you’ll need
A zippered pouch ( I got mine from Canvas Corp)
Glitter Iron-On
Weeding tools
Bright Pad (optional)
Heat press or Iron
Old towel (trust me – I will explain)
Cut out the Create cut file with your Cricut Machine. Remember when you’re cutting Iron-On that you have to toggle the “mirror” button, otherwise your words will be backwards! Also, cutting glitter iron-on is a little different than plain iron-on. It is a little thicker and harder to cut. So make sure that you choose “Glitter Iron-On” from the settings so that your iron-on will cut through completely.
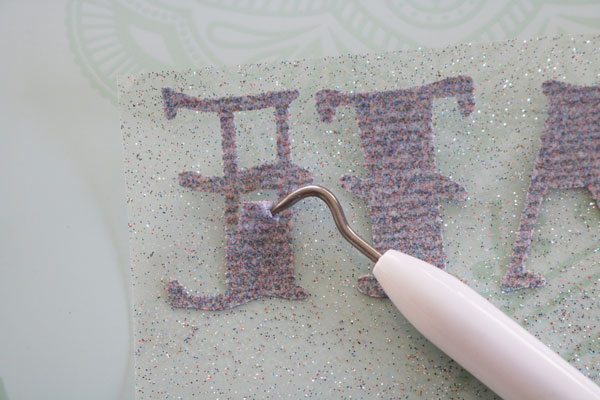
Once you’ve cut the design, weed the vinyl. This just means that you take out all the background and extra pieces of the vinyl to expose the finished design. When using glitter iron-on, I find that using a bright pad or holding the iron-on up to a bright light in a dim room helps me to find the cut lines. This makes weeding a lot easier.
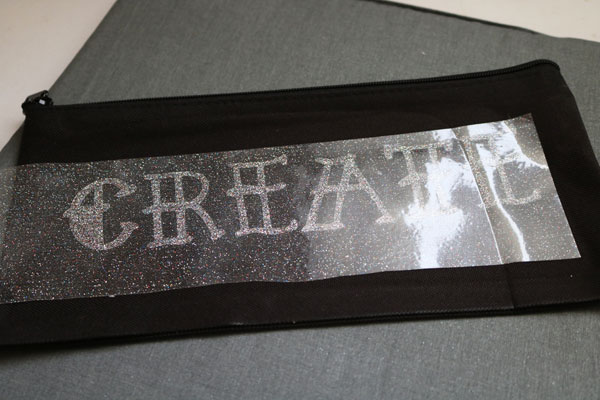
Place the design on the zippered pouch. You can center it, off-set it – whatever you like!
Here is a tip that I learned the hard way. Before you iron your design into place, open up the pouch and look inside. The inside of my pouch was lined with a plastic lining. Great for having a very durable bag – not so great when you apply heat. The inside of my bag fused together when I ironed on the design! Luckily, I was able to peel the layers back apart. But, it wasn’t ideal. So, if you have an old towel you can place inside to protect the layers, that would be a good idea. A teflon sheet would be even better.
Use your EasyPress or Iron to fuse the Iron-on into place. Once it has been fused, you can remove the transfer plastic
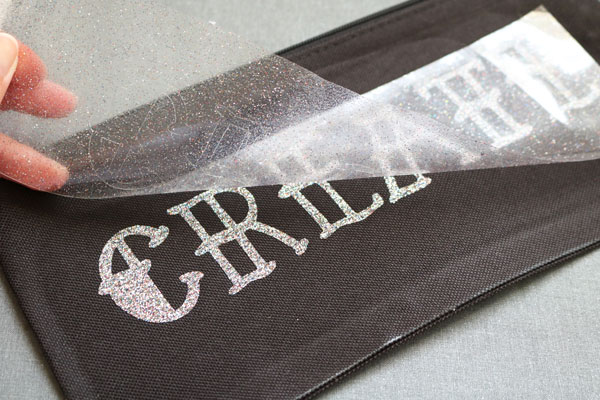
If you didn’t use an old towel or teflon sheet, here comes the step where you peel the layers apart before you can use your bag! But, once you’re done, you have a great bag… I think I’ll be using mine to hold my favorite Cricut tools!


Leave a Comment