


When Cricut asked me if I would make an Advent Calendar to show off the versatility of the Cricut Maker, I knew I wanted to make this 12 Days of Christmas Advent Calendar! I hope you love it, and want to make your own little advent calendar with your Maker! Once you’ve made it, you can choose to fill the boxes with items that relate to the song “12 Days of Christmas,” or you can just rejoice in the fact that you’re only filling 12 boxes in the Advent calendar instead of 24! Just one way to take a little of the crazy out of a busy holiday!
Also, this Advent comes together very easily! Have your Cricut Maker do all the cutting, then fold and glue everything together, easy-peasy! All the files have been designed in Cricut Design space and are ready to go. Just cut and make!
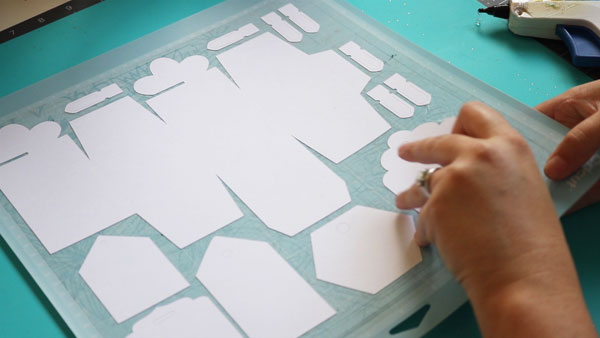
And if you hate waste as much as I do (and have no place to store your scraps), then you’re going to extra-love this project! Each page of cardstock that gets cut to make one of the advent boxes has been created to minimize waste. In the margins where there might normally be scrap cardstock, the files have been set up to cut gift tags! So you’ll have your Advent Calendar and your holiday gift tags all done and ready to go!

This post contains affiliate links which help support this site at no extra cost to you.
To make your 12 Days of Christmas Advent Calendar, you will need:
Cricut Maker
Cricut Knife Blade
masking tape
Hot Glue Gun
Silicone Mat
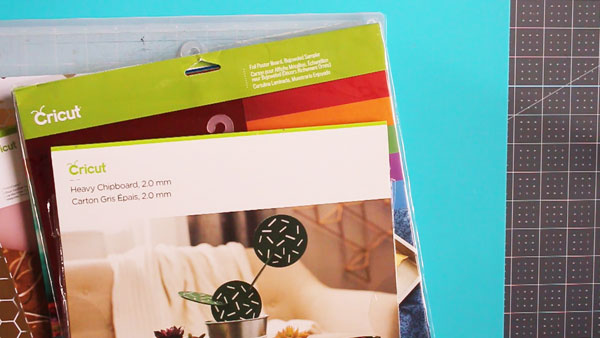
Cricut Heavy Chip Board
Foiled Cardstock
Another Cardstock for numbers (I used red shimmer)
1″ or 2″ wide ribbon
I have a video that will take you through all the steps, or you can follow the photos and instructions below.
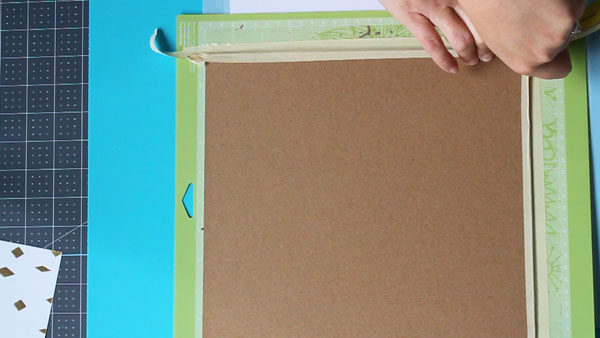
Start by using masking tape to secure the chipboard to the mat. This is a great way to use old, worn mats.
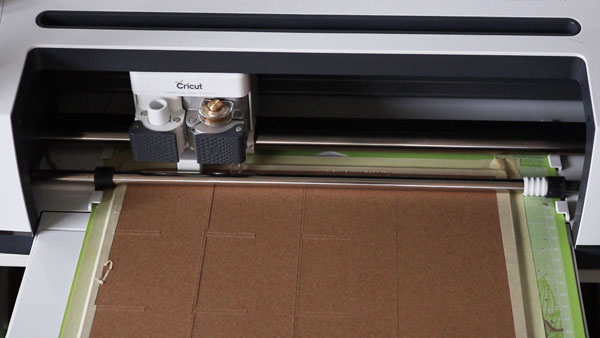
Insert your knife blade to cut the chipboard. Make sure to push the star wheels all the way to the right. Remember that you can only use the knife blade from a desktop or laptop computer – not from a mobile device.
After you have cut the chipboard, you can put the star wheels back and put in the fine point blade so that you can start cutting the Advent boxes while you assemble the frame. You can use the scoring wheel or scoring pen to make the boxes. If you are using the scoring pen, make sure to put the cardstock right-side-down.
Remove the chipboard pieces from the mats.
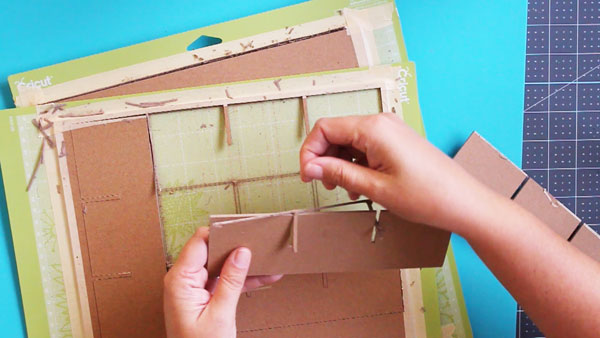
Use the notches to assemble the frame.
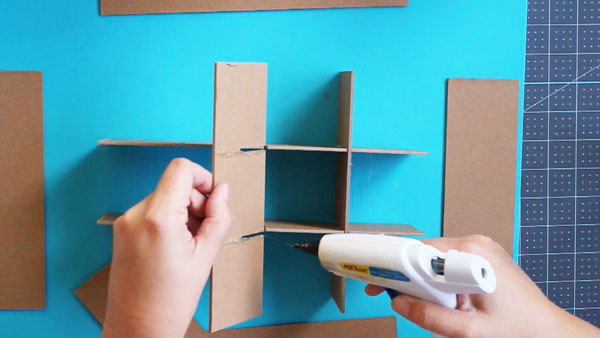
Add a ribbon around the outside for extra color.

Start assembling the boxes. Remove the pieces from the mat. You can set the tags aside – these are bonus cuts in the extra page space!
Fold the boxes on the score lines, then glue together with hot glue.

Insert the boxes into the frame.
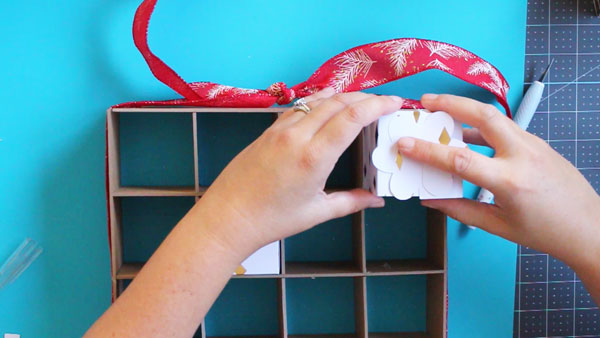
Put the numbers on the boxes, and glue in place. Be sure not to glue the boxes shut when gluing on the numbers unless you have already filled the boxes!

Now you just need to decide what to put in the advent calendar boxes!

This is a sponsored conversation written by me on behalf of Cricut. The opinions and text are all mine.


Leave a Comment