Last week I showed you how to make a simple 12 Days of Christmas Advent Calendar. So today I’m going to show you how to make an ornament that you can put in the calendar! The plan is that in plenty of time for Christmas, you’ll have the files to make the Advent Calendar as well as all 12 Ornaments to celebrate the 12 Days of Christmas!
I’ve joined my friends Angie from The Country Chic Cottage, Jen from 100 Directions, and Jessica from Mad in Crafts in putting together a week of Cricut Crafts to get you ready for the Holidays. Every day we’ll be sharing more Holiday Cricut Crafts on our sites. And we’ve invited some of our craftiest friends on the internet to join in! So be sure to scroll all the way down to check out what they’re up to! With all these ideas, you’ll be ready for the holidays in no time!!
This post contains affiliate links which help support this site at no additional cost to you.
This 12 Days of Christmas ornament is super simple to make! All you need is:
Your Cricut (Explore series or Maker both work here)
Felt
Foil Iron-on
Easy Press or Iron
Ribbon, String, or Twine

Start by using this file in Cricut Design Space to cut out your ornament pieces.
Weed your foil by removing all of the background pieces. Then line up the foil on the felt. If you didn’t mirror your iron-on, don’t worry! Just flip your felt over. This ornament is reversible and super forgiving!
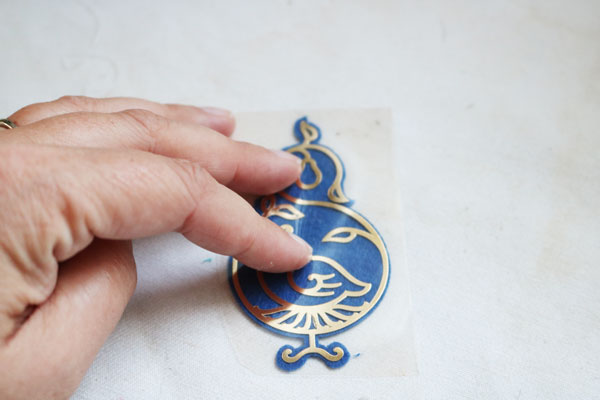
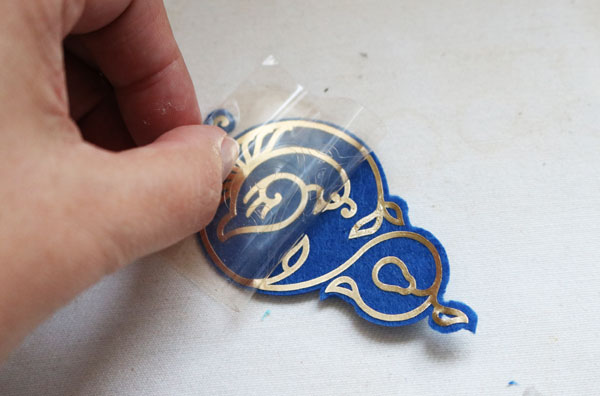
Use your Easy Press or iron to fuse the iron on. Then peel back the protective sheet.
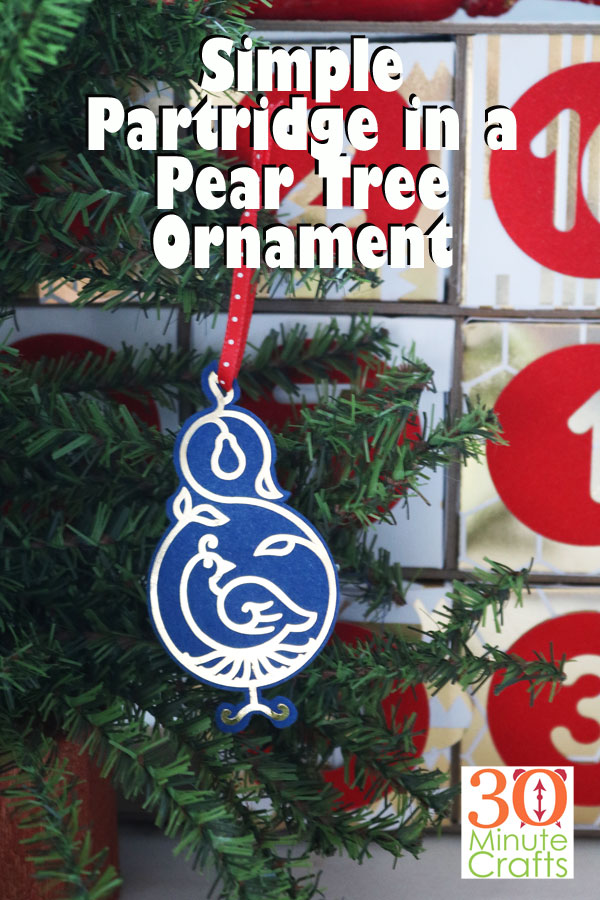
Now all you need is to add some string or ribbon to the top, and hang up your partridge in a pear tree ornament!

Come back tomorrow for another 12 Days of Christmas ornament… and be sure to check out all the ideas below!


This is stunning!!!