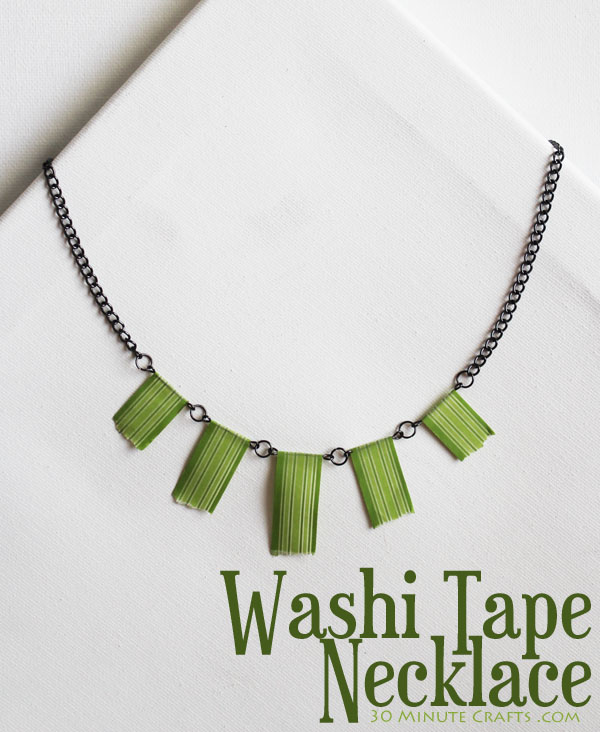
Washi Tape has taken the crafty world by storm! It comes in so many fun colors and patterns that it is truly addicting. Earlier this week I did a video chat with some of my friends where we shared fun washi tape crafts. And yesterday I shared with you a tutorial for my Washi Tape Flowers. Well, today I wanted to share a Washi Tape Necklace! Yup… Washi tape is now WEARABLE! Make the necklace to fit standard sized washi tape, and you can tear off the tape and replace it with a different color washi tape to match your outfit for the day.
Want to make your own awesome washi tape necklace? Of course you do! It doesn’t take long to whip it up…
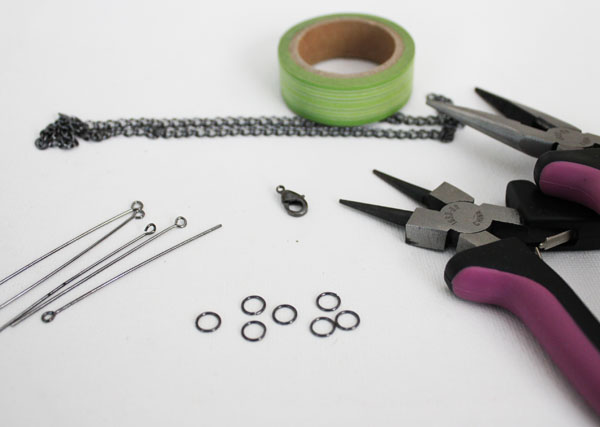
Supplies you need to make your washi tape necklace:
5 Eye Pins (found in jewelry section)
8 jump rings
Necklace chain
Lobster clasp
2 pairs of pliers (one must be round nosed, one must have a cutting edge)
Washi Tape (of course!)
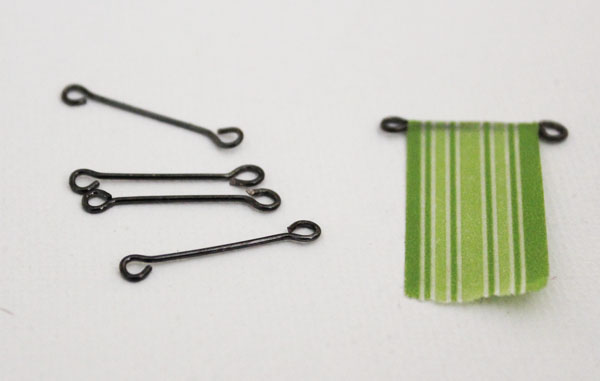
Start with one eye pin. Fold a piece of washi tape over it, close to the eye. Using the round-nosed pliers, curve the other end into a U shape to determine how much of the wire you’ll need. Cut off the excess (save the piece you cut for the next step), and finish the circle with the round nosed pliers. Note: if you want your necklace to lie flat, make sure that the two loops on your wire face the same way – the wire should lay flat on a surface, with the holes pointing up. If this is not the case, twist the loops until the wire lies flat. 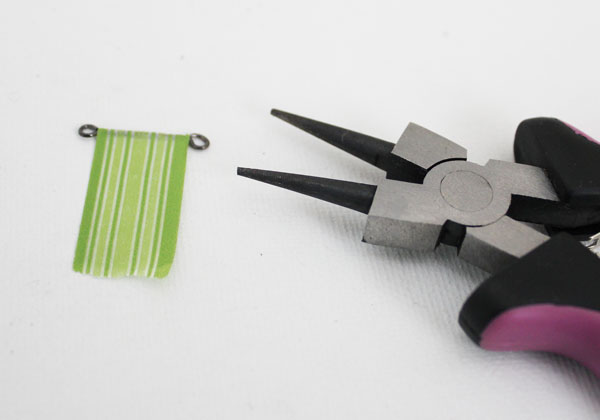
After you’ve made one pin, you can use the piece you cut off to cut the excess off of all the other pins. This makes the process of making all the pins faster.
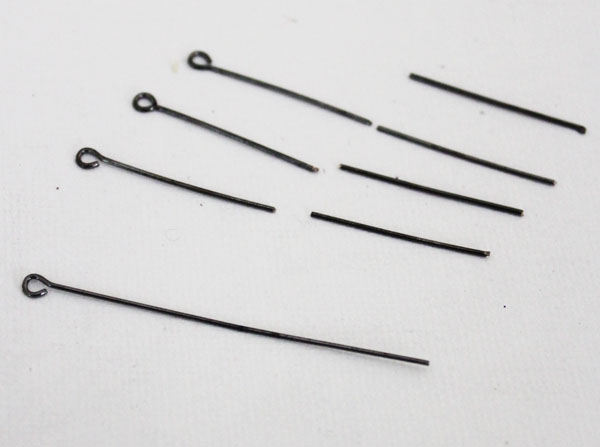
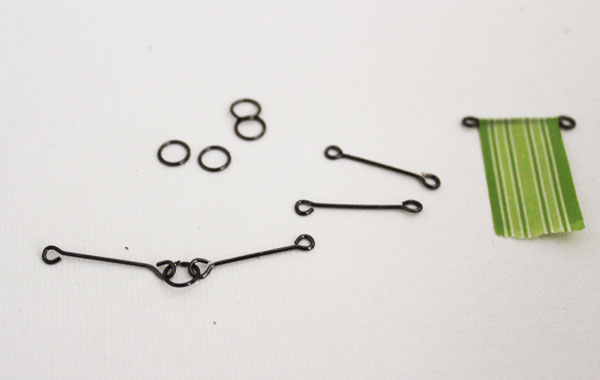
Once you’ve cut the pins, create the second loop on the other side of each, make sure that they all lie flat.
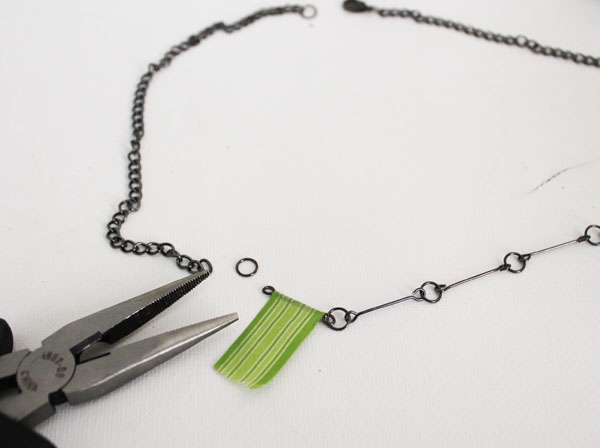
Attach them into a chain using a single jump ring between each.
Using jump rings, attach your chain to each side of your linked up eye pins. Cut the chain to length and add the lobster clasp to one end of the chain, and the last jump ring to the other end.
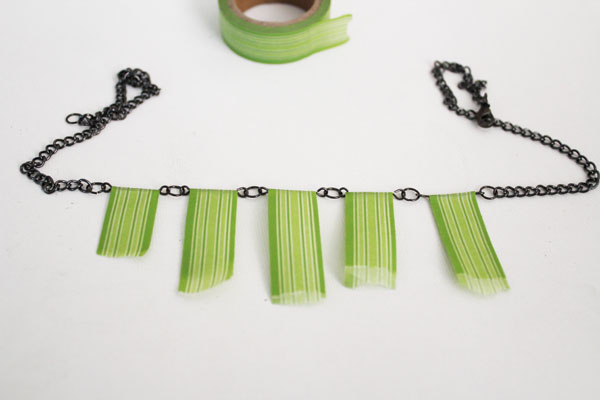
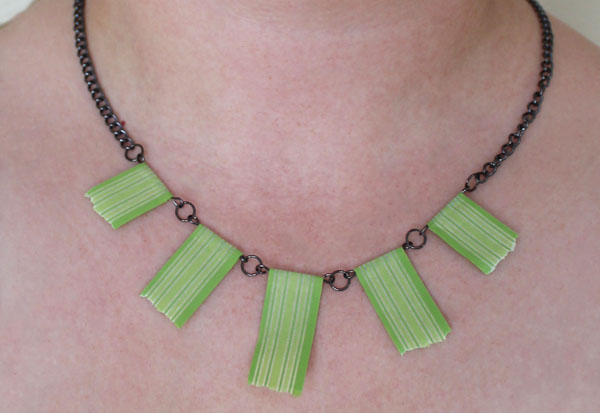
Once you’ve completed the necklace chain, add your washi tape. You can add different colors and lengths. You can trim the ends with pinking shears, or you can tear them. For this necklace I used one color washi tape.
I added the tape, then tore the middle piece so it was the longest, the pieces to each side slightly shorter, and the pieces on the ends slightly shorter than that.




Simply want to say your article is as amazing. The clarity to your submit is simply
nice and i could think you are knowledgeable in this subject.
Well together with your permission allow me to grab your feed to
keep updated with forthcoming post. Thanks 1,000,
000 and please carry on the rewarding work.